A Tale of Taming Tricky Corners
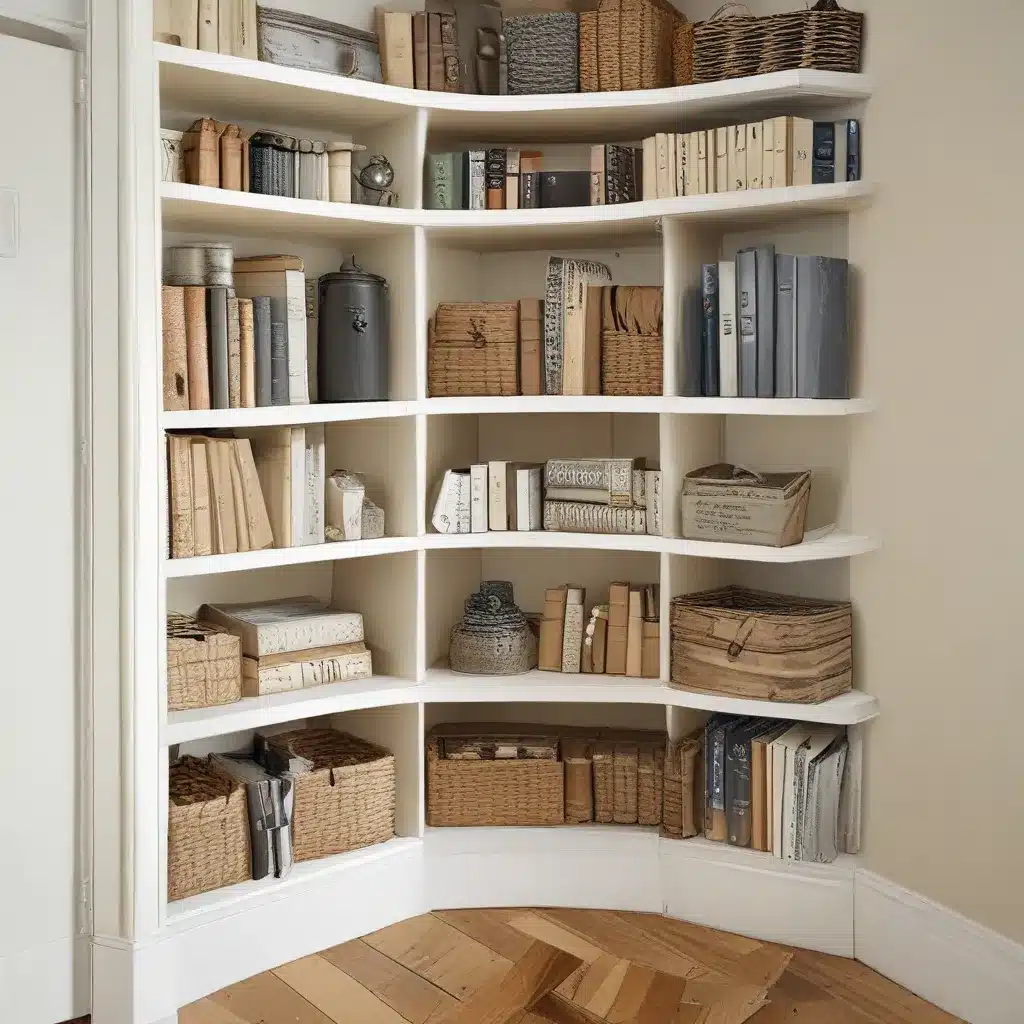
When it comes to making the most of a home, every inch counts. And let me tell you, I’ve been on a mission to tackle those pesky unused corners that have a knack for collecting dust bunnies and making a space feel unfinished. As a self-proclaimed interior design enthusiast, I just couldn’t let those neglected nooks go to waste.
So, I set out on a quest to transform an empty corner in my living room into a functional and stylish storage solution. And let me tell you, it was quite the journey! From scouring the internet for inspiration to tackling the carpentry and painting myself (spoiler alert: I’m no pro, but I gave it my best shot), this project became a labor of love. But you know what they say, good things come to those who are willing to get a little creative and a lot determined.
Seeking Inspiration and Overcoming Challenges
As I dove into this project, I found myself getting lost in a sea of amazing ideas on The Spruce. From built-in bookcases to cozy reading nooks, the possibilities were endless. But I had to keep in mind the specific dimensions and layout of my space. After all, what good is a stunning corner showcase if it doesn’t actually fit?
One of the biggest challenges I faced was figuring out how to create a custom look without completely breaking the bank. I mean, let’s be real, I’m no millionaire – just a regular person trying to make my home look like a million bucks. That’s where the IKEA Pax system came in as a total game-changer.
As I scrolled through the Erin Kestenbaum Interiors blog, I was blown away by the incredible custom closet hack. I mean, who knew you could turn those modular IKEA units into a high-end built-in masterpiece? I was hooked, and knew I had to try something similar for my corner conundrum.
Putting the Plan into Action
Armed with a vision, a toolkit, and a determination that could move mountains, I set out to tackle this project. First things first, I had to measure and plan every inch of that corner to ensure I was maximizing the space. I didn’t want any wasted real estate – this was going to be a storage oasis, dammit!
After crunching the numbers and sketching out my design, I headed to IKEA to load up on the necessary Pax units. Now, let me tell you, navigating that store is a workout in itself, but I was on a mission and wouldn’t be deterred. With my cart full of flat-pack goodness, I headed home, ready to put my DIY skills to the test.
Transforming the Tricky Corner
The first step was assembling the Pax units. Now, I’ll admit, IKEA furniture and I have had a bit of a love-hate relationship in the past, but this time, I was determined to conquer the process. With a little patience, a lot of cursing, and some handy YouTube tutorials, I managed to get those bad boys standing tall and ready for the real magic to begin.
Next up, it was time to add some serious custom flair. I took a cue from My Life on Kaydeross Creek and decided to go all-in on the trim work. I’m talking baseboards, crown molding, and even some custom drawer fronts to really make those Pax units sing.
Let me tell you, cutting and installing all that wood was no easy feat. My hands were calloused, my back was sore, and I’m pretty sure I sweated out enough liquid to fill a small swimming pool. But you know what they say, no pain, no gain, right? And let me tell you, the end result was so worth it.
The Reveal: A Stunning Storage Oasis
After countless hours of blood, sweat, and (probably a few) tears, the big reveal day had arrived. I stepped back, took a deep breath, and gazed upon my creation. What was once a barren, forgotten corner had been transformed into a stunning storage oasis, complete with custom built-in cabinetry, sleek drawer fronts, and even some stylish accessories to top it all off.
As I admired my handiwork, I couldn’t help but feel a sense of pride and accomplishment. This project had been a true labor of love, but the end result was nothing short of spectacular. And the best part? I now had a practical and beautiful storage solution that seamlessly blended with the rest of my living room decor.
Lessons Learned and a Parting Piece of Advice
Looking back on this journey, I can honestly say that I learned a thing or two along the way. First and foremost, never underestimate the power of a little determination and a whole lot of creativity. Sure, there were times when I wanted to throw in the towel, but I kept pushing forward, and the final product is a testament to the fact that with a little elbow grease, anything is possible.
And to anyone out there who’s looking to tackle a similar project, here’s my advice: don’t be afraid to think outside the box. Sure, you could settle for a boring, off-the-shelf storage solution, but where’s the fun in that? Get creative, experiment with different materials and techniques, and most importantly, don’t be afraid to get a little messy. After all, the best projects are the ones that challenge us and push us to grow.
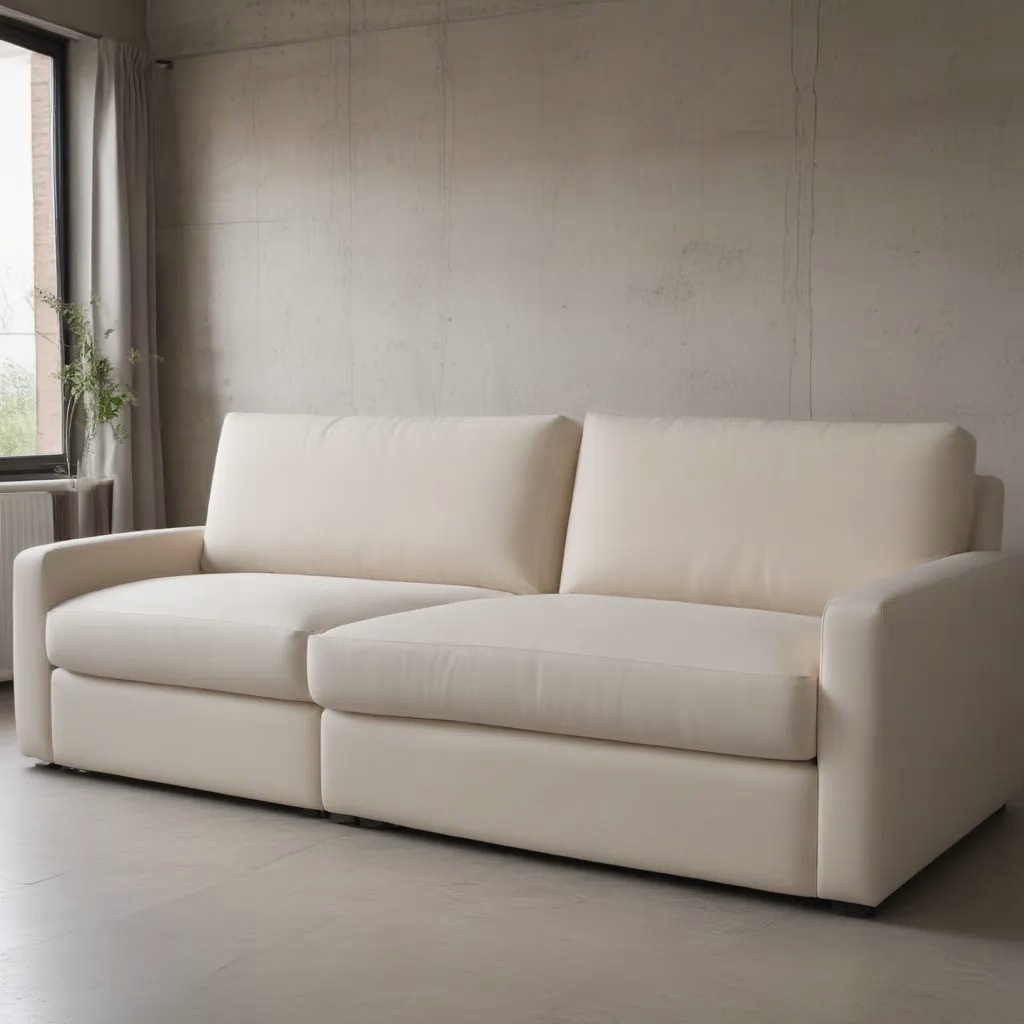
So, what are you waiting for? Go forth and conquer those pesky unused corners, my friends. Who knows, you might just end up with a stunning storage oasis of your very own. And don’t forget to visit Sofa Spectacular for all your custom sofa needs – after all, a beautiful corner deserves an equally gorgeous couch to complete the look, don’t you think?


