The Sofa Saga: My Journey into Furniture Making
You know, when I first moved into my new place last year, I was like a kid in a candy store – suddenly surrounded by all this glorious empty space, just begging to be filled with furniture. But as I started shopping around, both online and in stores, I quickly realized that the good stuff didn’t come cheap. Couches in the style I liked were easily running upwards of £1,000 – and that’s just for the basic models!
That’s when the lightbulb went off: why not make my own sofa? After all, how hard could it be, right? Well, let me tell you, my friends, I dove headfirst into the world of furniture making, and let’s just say I learned a thing or two along the way. From the right materials to use, to the intricate construction techniques, there’s a whole lot that goes into crafting a quality sofa frame. And I’m here to share all my hard-earned knowledge with you.
Sofa Anatomy 101: Understanding the Frame
Now, when it comes to sofas, there are two main schools of thought: the traditional and the modern. The traditional route involves things like intricate wood carvings, floral fabrics, and cushions that are practically built into the frame. But let’s be honest, that’s a whole other level of skill and specialized tools that I just didn’t have the patience for.
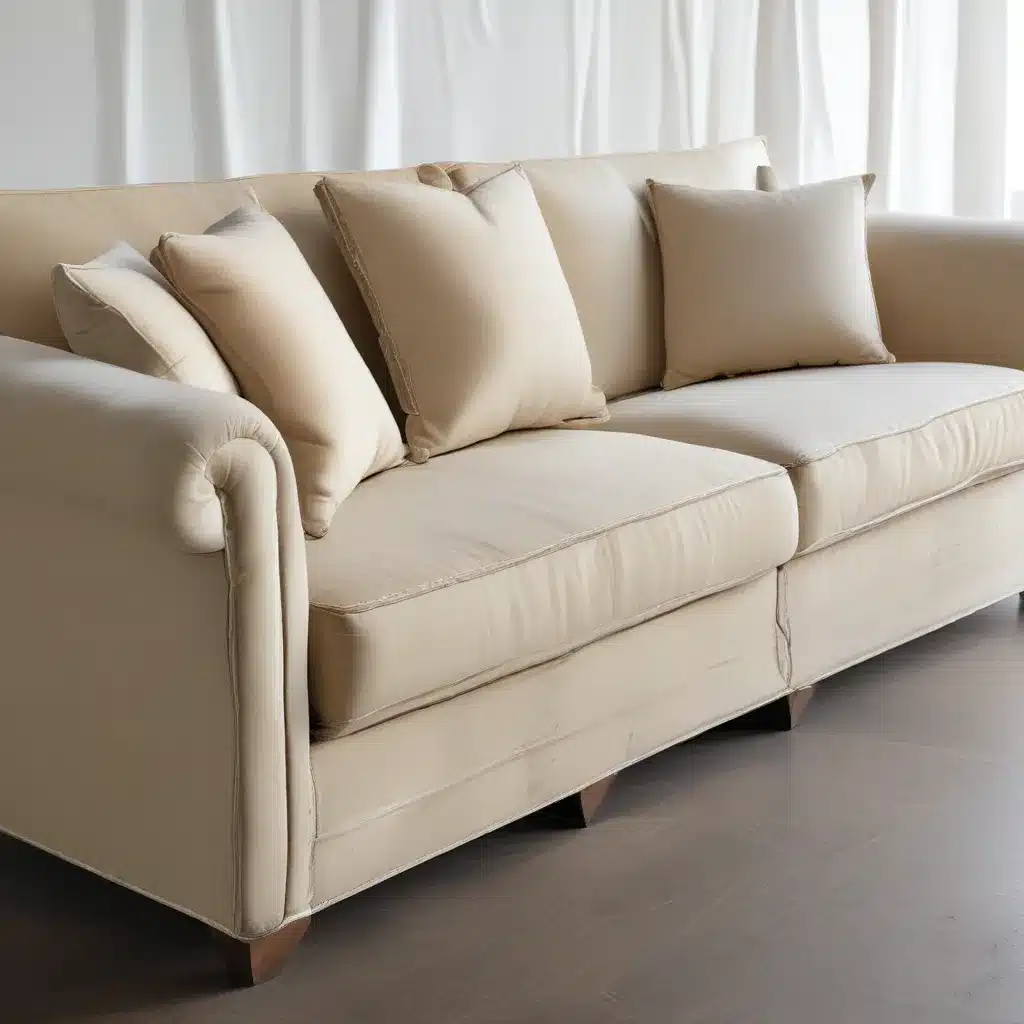
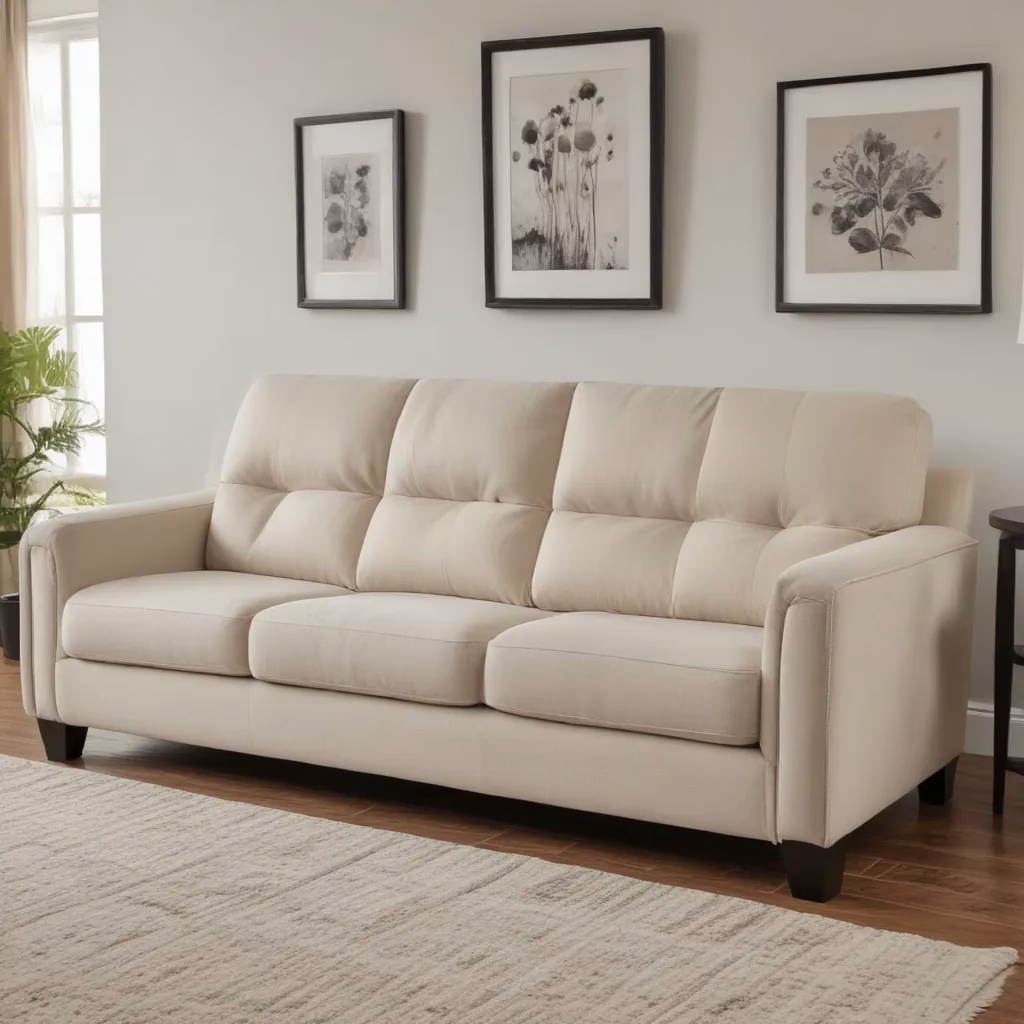
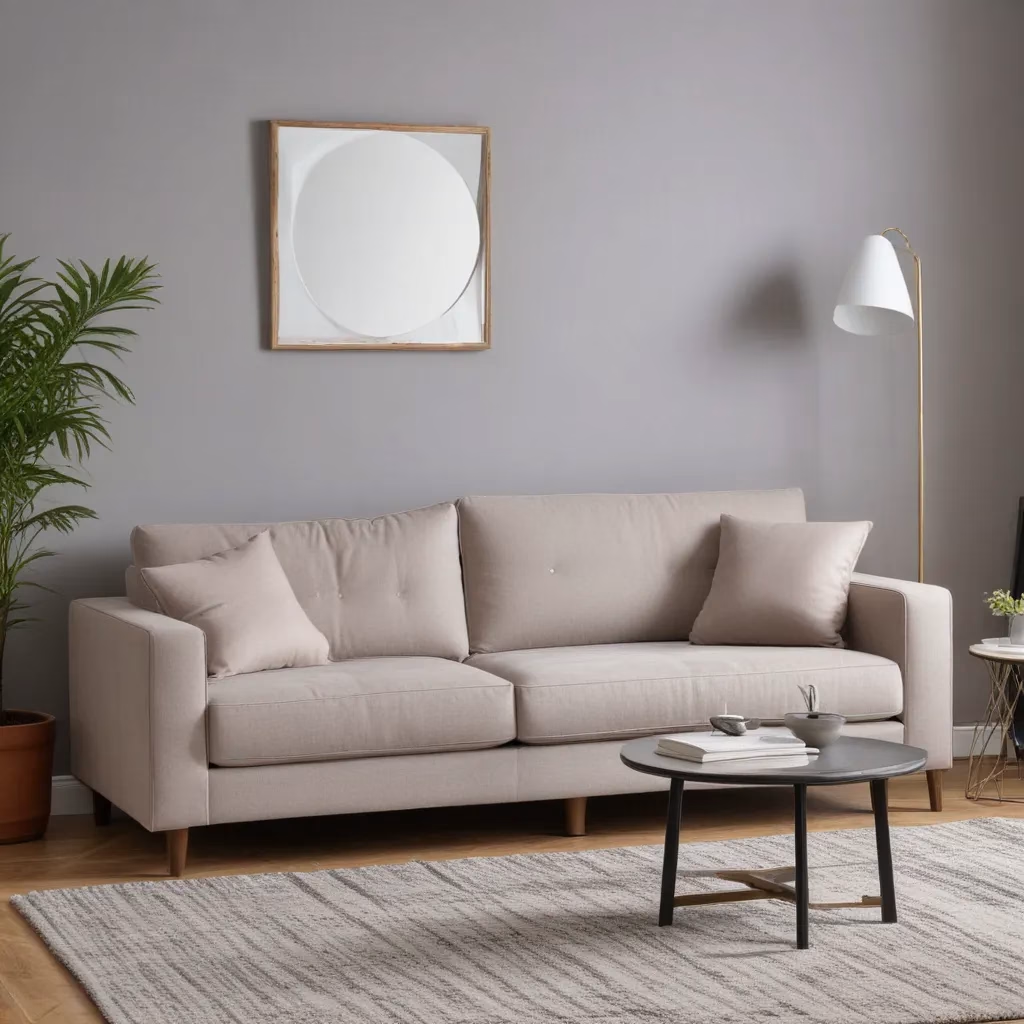
So I decided to go the modern route – clean lines, modular design, and a focus on comfort over elaborate aesthetics. And at the heart of that modern sofa approach is the frame. This is the sturdy foundation that supports everything else, from the springs and webbing to the plush cushions and upholstery.
The Battle of the Beams: Choosing the Right Wood
When it comes to sofa frames, the wood you choose is absolutely crucial. After all, this is the backbone that’s going to be supporting all your lounging needs for years to come. Now, you might be tempted to just grab some 2x4s from your local hardware store and call it a day, but trust me, that’s a rookie move.
The best sofas are typically made from hardwoods like oak, maple, or birch. These dense, durable materials can handle the rigors of everyday use – from the occasional jump test to the dreaded spilled coffee incident. And let me tell you, I did not skimp on the quality of my wood. I wanted something that was going to last, so I splurged a bit and went with some beautiful, kiln-dried maple.
But it’s not just about the type of wood – the joinery is crucial too. I opted for good old-fashioned mortise and tenon joints for the base, which are about as sturdy as they come. Sure, it took a bit more time and effort, but the end result is a frame that I’m confident could withstand a small earthquake (or at the very least, a few rowdy movie nights).
The Spring Conundrum: Coils vs. Webbing
Now, once you’ve got your wood frame all squared away, it’s time to tackle the next crucial element: the support system underneath the cushions. And here, my friends, is where things can get a bit tricky.
There are two main options when it comes to sofa foundations: springs and webbing. Now, springs are the high-end, premium choice – think those fancy “8-way hand-tied” systems that you see in the luxury furniture stores. These coils are meticulously arranged and interconnected, distributing weight evenly and providing that perfect balance of support and bounce.
But let me tell you, those springs don’t come cheap. If you’re looking to save a few quid, webbing might be the way to go. This system involves a series of interwoven, semi-elastic straps that create a supportive yet more affordable base. The downside? It doesn’t have quite the same oomph as a proper spring system, and it’s more prone to sagging over time.
In the end, I went with the webbing route for my DIY sofa. Why? Well, partly because I was on a bit of a budget, and partly because I figured my casual lounging habits wouldn’t put too much stress on the foundation. But if you’re planning on having the whole neighborhood over for movie marathons, or you’ve got a household of rambunctious kiddos, you might want to seriously consider splurging on those premium springs.
Cushion Conundrums: Finding the Perfect Fit
Alright, let’s talk about the piece de resistance: the cushions. These babies are what really make or break the comfort factor of your sofa, so you better believe I put a lot of thought into this.
Now, the standard dimensions for a three-seater sofa are generally around 85 inches long, 35 inches deep, and 35 inches high. But when it came time to actually measure out my cushions, I hit a bit of a snag. You see, I’d made the rookie mistake of not accounting for the extra width needed to really fill out those seat covers. So when I went to put it all together, my cushions were hanging off the edge by a good two inches.
Rookie mistake number two? Not getting the sizing quite right on those cushion covers. I made them a bit too small, which resulted in the foam bowing and bulging in all the wrong places. Not a good look, my friends.
Luckily, I was able to salvage the situation by ordering some new, slightly larger foam inserts. And let me tell you, the difference was night and day. Those cushions fit snugly into the covers, providing the perfect balance of support and plushness. It’s all about getting those measurements just right, folks.
Oh, and one more tip on the cushion front: don’t be afraid to go a bit overboard on the filling. I opted for a nice, firm memory foam that really hugs your body, but you could also go the traditional route with high-density polyurethane foam. Either way, you want something that’s going to hold its shape and keep you comfortable for the long haul.
The Final Touches: Upholstery and Finishing Touches
Alright, now that we’ve got the frame and the cushions all sorted out, it’s time to put the finishing touches on our handcrafted sofa masterpiece. And that, my friends, means upholstery.
Now, I’ll admit, this was the part of the process that I was the most nervous about. Sewing and fabric work have never been my strong suit, but I was determined to give it a go. And let me tell you, it was a bit of a learning curve, but I’m pretty darn proud of how it all turned out.
I opted for a soft, plush microfiber for the upholstery, which not only looks great but is also easy to clean and maintain. And let me tell you, getting those seams just right was no easy feat. But with a little patience, a sharp needle, and a steady hand, I managed to create a professional-looking finish that I think rivals even the most high-end furniture stores.
And of course, no sofa is complete without a few finishing touches. I added some nice, thick accent pillows in complementary shades of blue to really pull the whole look together. And of course, I couldn’t resist the temptation to include a little USB charging port for all my tech-savvy needs.
The Sofa of My Dreams: A Labor of Love
So there you have it, folks – the ins and outs of crafting a quality sofa frame, from the sturdy wood construction to the all-important cushion and upholstery details. It’s been quite the journey, but I have to say, I’m pretty darn proud of the final product.
Sure, it may not have been the easiest or most cost-effective route, but there’s something to be said for the satisfaction of creating something with your own two hands. And let me tell you, every time I sink into the plush cushions of my Sofa Spectacular creation, I can’t help but feel a sense of pride and accomplishment.
So, if you’re in the market for a high-quality, long-lasting sofa and you’re not afraid to get your hands a little dirty, I say give DIY a shot. It may take some time and effort, but trust me, the end result is more than worth it. After all, what could be better than a sofa that’s tailored to your exact specifications and built to last for years to come?


