The Sofa Search: An Odyssey of Comfort and Style
When I first moved into my new place, I was hit with a dilemma that I’m sure many of you can relate to – furnishing an entire home from scratch. As someone who previously lived in a tiny studio, I had the luxury of a rolling computer chair and a trusty computer table. But now, in my shiny new condo, I was staring at an empty living room, longing for the perfect sofa to tie the space together.
The Sofa Saga Begins
So began my sofa search odyssey. I scoured the internet and brick-and-mortar stores, and I was met with a dizzying array of options – from the affordable yet questionable IKEA offerings to the high-end, designer-curated selections. Prices ranged from a mere £600 all the way up to £2,000, and the designs I truly loved seemed to hover around the £1,000 mark.
That’s when the lightbulb moment struck: Why not make my own sofa? As I delved into research on the process, I was surprised to find that there wasn’t a wealth of resources out there documenting the hows and whys of sofa-making. Most tutorials focused on the traditional, vintage-inspired designs, which just didn’t fit the modern, clean-cut aesthetic I was going for.
The Modern Sofa Masterplan
Determined to create a sofa that would perfectly suit my space and style, I decided to take the road less traveled and embark on a custom sofa-building journey. Now, I’ll admit, I’m no master carpenter, but I was willing to put in the time and effort to learn the skills needed to bring my vision to life.
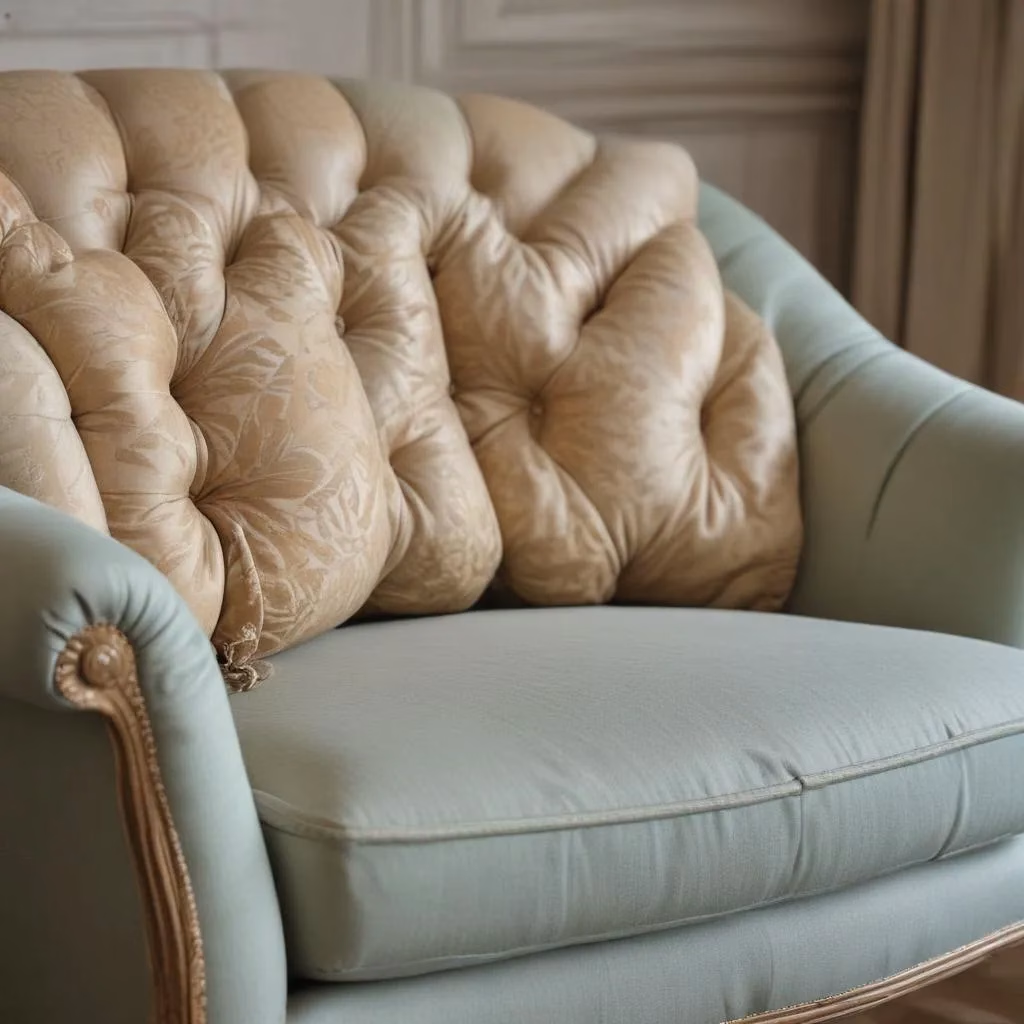
The first decision I had to make was whether to go the traditional or modern route. The traditional approach involves intricate wood carvings, built-in cushions, and a more ornate look. While undeniably beautiful, it also requires a level of upholstery expertise that I simply didn’t possess.
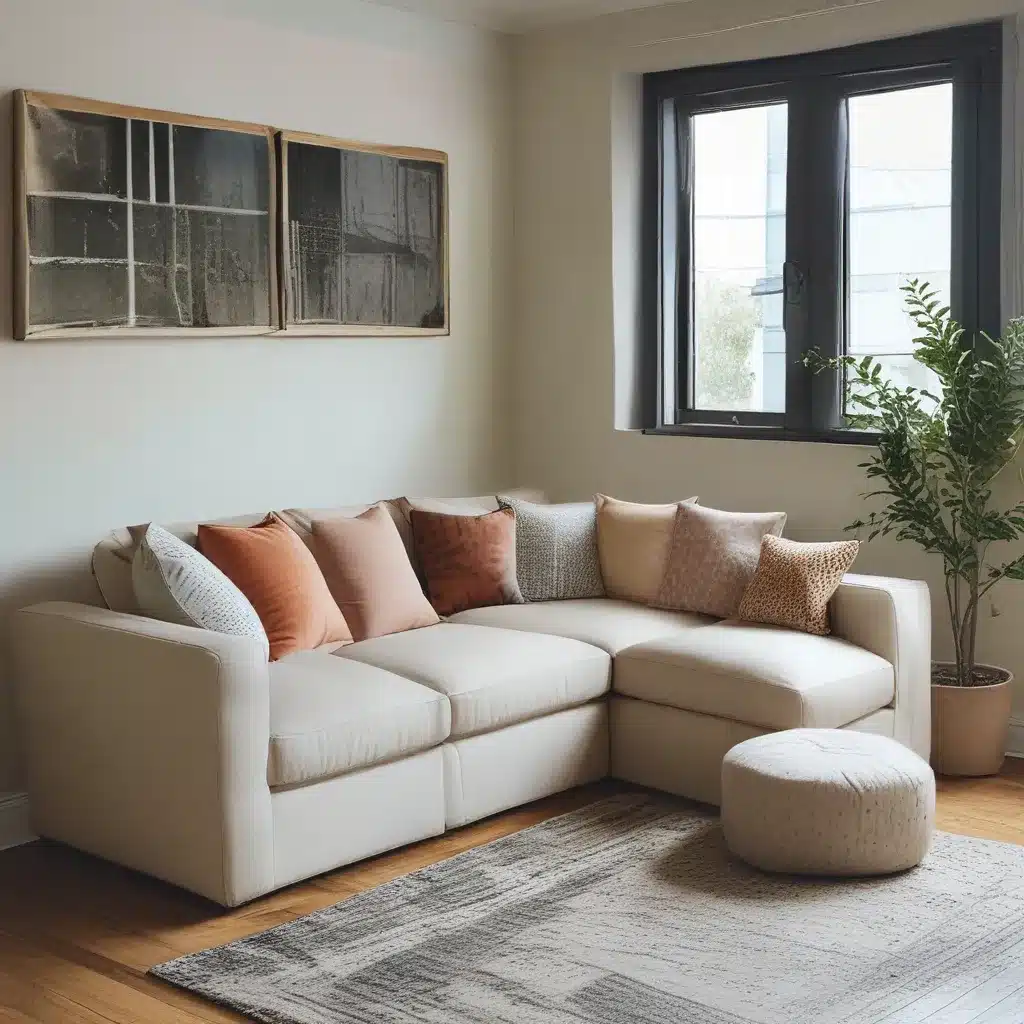
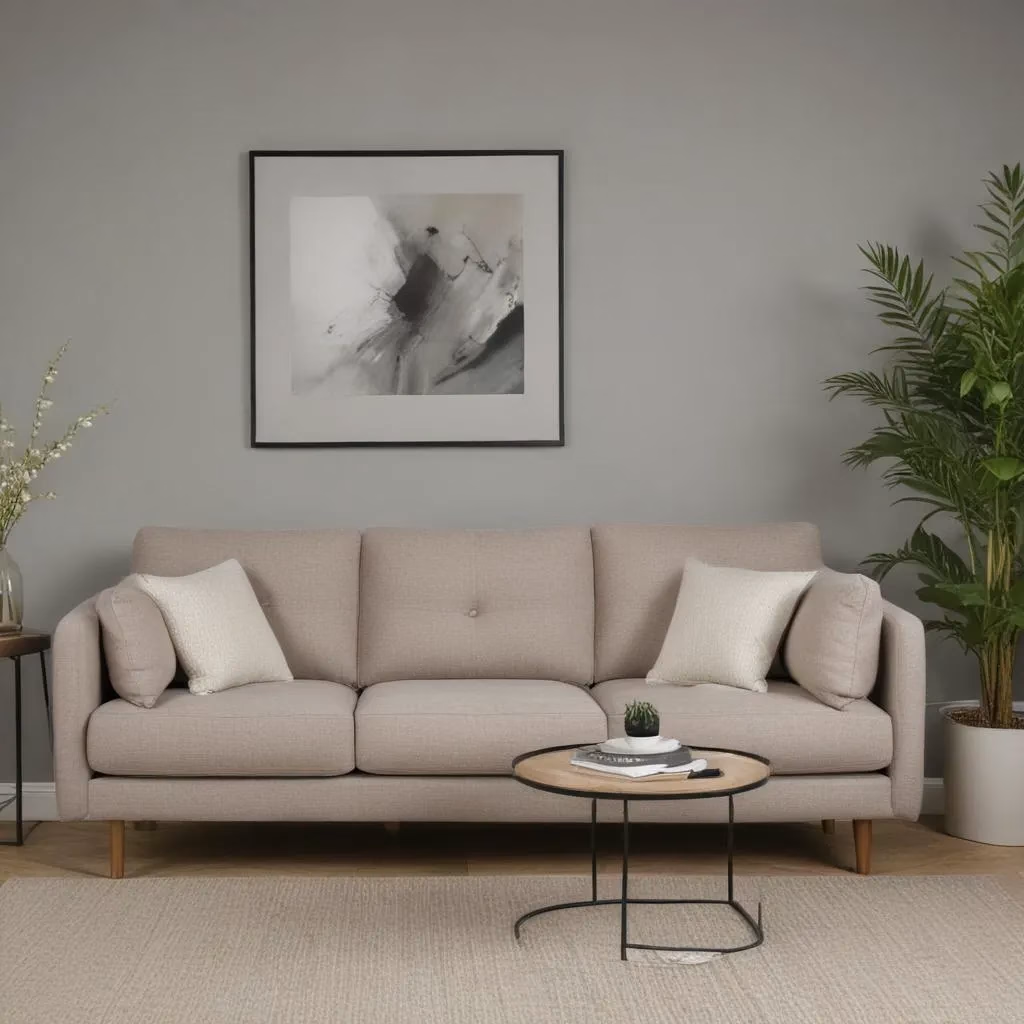
Embracing my inherent laziness (and lack of specialized tools), I opted for the modern design – the kind of sofa that immediately comes to mind when you think “couch.” This meant a clean-lined frame, modular cushions, and a focus on comfort over complex craftsmanship.
Sofa Anatomy 101
As I delved deeper into my research, I discovered that there’s a lot more to building a sofa than just slapping some wood together and calling it a day. The true magic happens beneath the surface, with the intricate system of springs, webbing, and cushions that work in tandem to create that perfect blend of support and plushness.
The traditional approach relies on a series of s-shaped springs, or “sinusoidal springs,” that run along the base of the sofa. These are the more affordable option, but they can also be prone to misalignment and squeaking over time.
The high-end alternative is the eight-way, hand-tied spring system. This involves individual coiled springs that are meticulously tied together in an eight-directional pattern, creating a sturdy and evenly distributed support system. It’s the reason why some sofas can cost upwards of £2,000 – and it’s a level of craftsmanship I knew I couldn’t replicate on my own.
Given my limited skills and tools, I opted for the more budget-friendly webbing approach. This involves criss-crossing elastic bands across the sofa frame, providing a solid foundation for the cushions above. While it may not have the same bouncy, luxurious feel as the spring system, it’s a reliable and cost-effective option – perfect for a DIY project like mine.
Designing the Ideal Sofa
With the structural foundation decided, it was time to tackle the visual aspects of my custom sofa. I scoured the internet for inspiration, studying the clean lines and modern silhouettes that caught my eye. As I sketched out various designs, I realized that I wanted something with a contemporary flair, but without sacrificing comfort and functionality.
One key consideration was the overall size and dimensions. A standard three-seat sofa typically measures around 85 inches long, 35 inches deep, and 35 inches high. But I knew that I needed to account for the realities of my living space – namely, the tricky task of maneuvering a large piece of furniture through narrow doorways and tight hallways.
After much deliberation, I settled on a design that struck the perfect balance between form and function. The sofa would be 85 inches long, to maximize seating, but with a slightly more compact depth of 30-35 inches. The seat height would be a comfortable 18 inches, with a slight incline for added support and a more relaxed lounging experience.
Sourcing the Materials
With the design locked in, it was time to gather the necessary materials and tools. Now, I’ll be honest – the cost of starting from scratch was a bit daunting. When I mapped out the expenses in a handy pie chart, I realized that the majority of the budget would be going towards the raw materials, with the cushions alone taking up a sizable chunk.
| Item | Cost |
|---|---|
| Materials | 60% |
| Cushions | 30% |
| Tools | 10% |
But I was determined to see this project through, and I knew that the satisfaction of creating a custom piece would be well worth the investment. After a bit of hunting, I managed to source all the necessary materials, from the wood for the frame to the microfiber fabric for the upholstery.
Building the Sofa Frame
With my materials and tools in hand, it was time to put my newfound carpentry skills to the test. I started by carefully measuring and cutting the wood for the frame, making sure to account for the width of the boards themselves. Nothing is more frustrating than meticulously planning your dimensions, only to realize that your actual cuts are off by a hair.
For the base, I opted for the traditional mortise and tenon joints – a strong and sturdy connection that would ensure my sofa could withstand the weight of countless movie marathons and friend-filled game nights. The rest of the frame came together with the help of trusty pocket screws, which allowed me to hide the fasteners from view for a seamless, professional look.
As I carefully assembled the pieces, I couldn’t help but feel a growing sense of pride. This wasn’t just a generic sofa – this was my sofa, a product of my own two hands and endless hours of research. With each satisfying click of the screws, I knew I was one step closer to creating a piece of furniture that would become the centerpiece of my living room.
Mastering the Webbing
The next step was tackling the webbing system that would form the supportive foundation for the cushions. Now, I know what you’re thinking – webbing, really? Isn’t that the cheap option that’s prone to sagging and squeaking?
Well, my friends, I beg to differ. When done right, webbing can be a perfectly viable and budget-friendly solution. I carefully measured and stretched the elastic bands across the frame, using a special tool to ensure a tight, even tension. The satisfying “drumming” sound they made as I worked was like music to my ears, a testament to the strength and stability of my handiwork.
To add an extra layer of reinforcement, I wove the straps through one another, creating a criss-cross pattern that would distribute weight evenly and prevent any unwanted drooping. Sure, the spring system might be a bit more luxurious, but for my needs and skill level, the webbing was the perfect choice.
Crafting the Cushions
With the frame and webbing in place, it was time to turn my attention to the cushions – the true stars of the sofa show. I knew that getting the dimensions right would be crucial, as ill-fitting cushions could make the entire piece look sloppy and unprofessional.
After carefully measuring the seat and back areas, I set to work sewing the microfiber covers. Now, let me tell you, upholstery fabric is a whole different beast compared to your average quilting cotton. It’s thicker, sturdier, and requires a bit more finesse to work with. But I was determined to master the art of the perfect seam, even if it meant a few frustrating moments with my sewing machine.
To ensure a snug, tailored fit, I added an extra inch or two of fabric to each cushion cover, allowing for a clean, tucked-in look. And to make the cushion insertion process a breeze, I employed a neat trick – I compressed the foam using a vacuum seal, then quickly stuffed it into the waiting cover before it had a chance to re-expand.
The Finishing Touches
With the cushions in place, it was time to tackle the final flourishes that would transform my DIY sofa into a true showstopper. First up: staining and sealing the wood frame. I carefully applied a rich, warm tone that would complement the sleek, contemporary lines of the design.
Next, I turned my attention to the accents – those little details that would really make my creation shine. I crafted a set of matching throw pillows in a range of complementary blues, adding a touch of playful texture to the mix. And to tie it all together, I installed a discreet USB port in the side of the frame, allowing me to keep my devices charged and within easy reach.
The Reveal: A Sofa to Call My Own
As I stood back and admired the finished product, I couldn’t help but feel a sense of pure elation. This wasn’t just any old sofa – this was my sofa, a testament to my determination, creativity, and newfound carpentry skills. Sure, it might not have the polish and perfection of a high-end designer piece, but it was uniquely mine, and that made it all the more special.
And you know what? I wouldn’t have it any other way. When friends and family come over, they’re always drawn to the custom touches, the little details that set my sofa apart from the mass-produced options they’re used to seeing. It’s a conversation starter, a piece of functional art that reflects my personal style and the journey I took to bring it to life.
So, if you find yourself facing a similar sofa dilemma – too little space, too many options – I encourage you to consider the custom route. It may take a bit more time and effort, but the end result is a one-of-a-kind piece that you can truly call your own. And who knows, you might just uncover a hidden talent for furniture-making along the way.
Now, if you’ll excuse me, I have a date with my custom sofa and the latest binge-worthy series on Sofaspectacular.co.uk. Cheers to creating the living room of your dreams!


