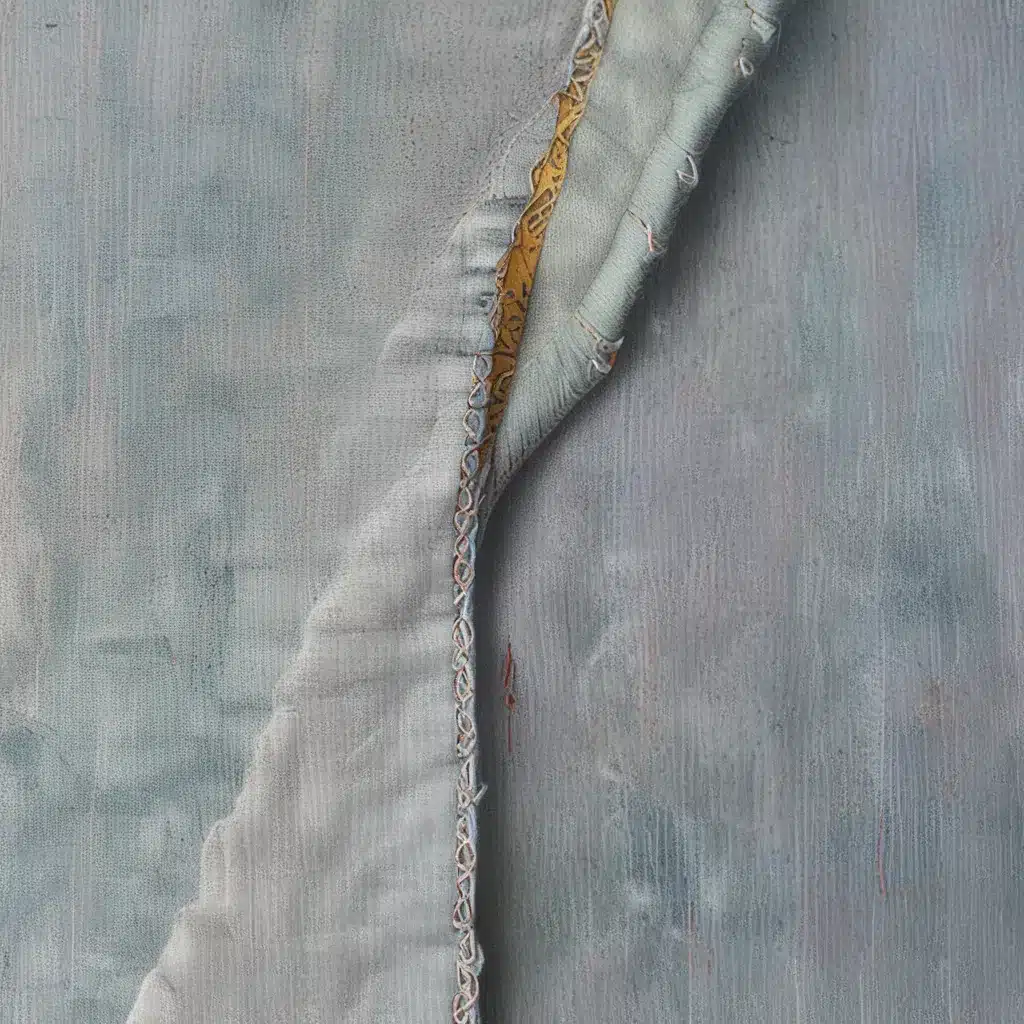
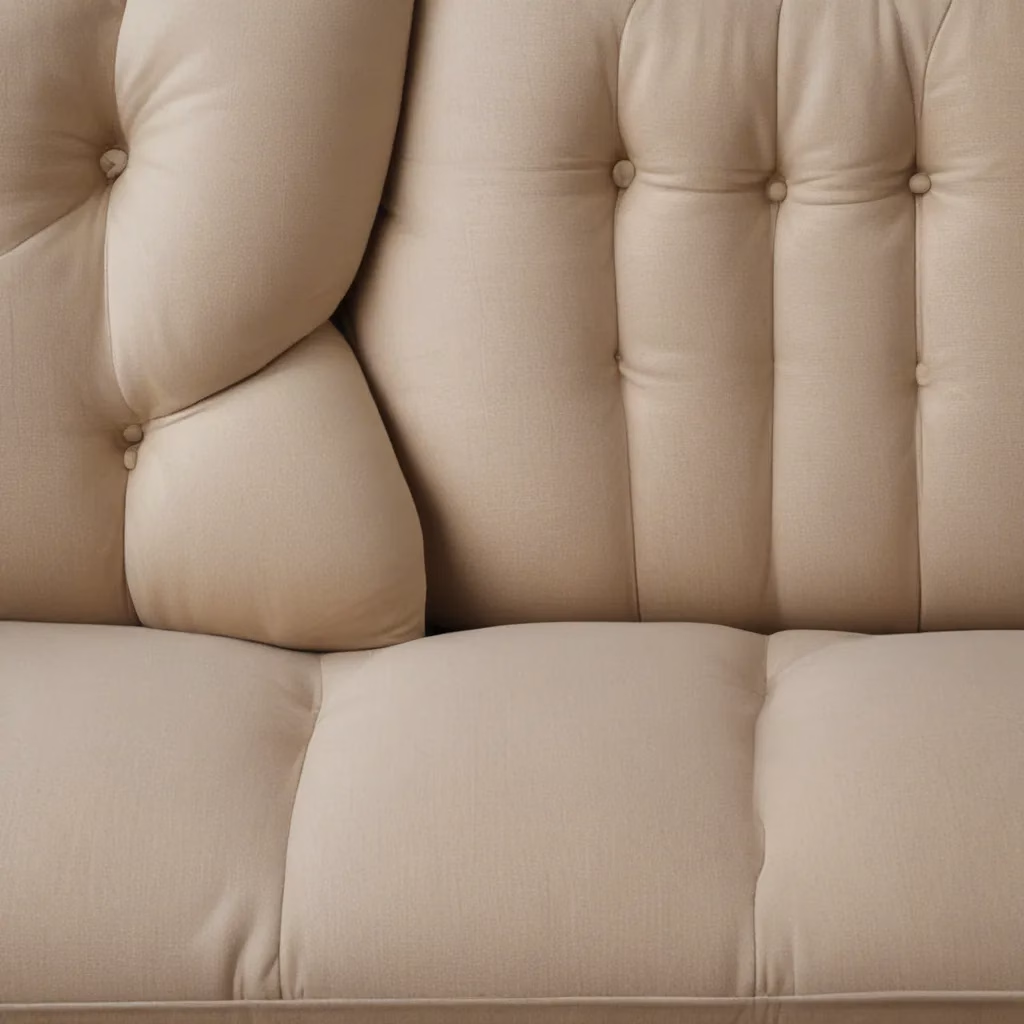
As a self-proclaimed couch potato, I’ve had my fair share of experience with worn and damaged sofas. One of the most common issues I’ve encountered is loose or split stitching – that dreaded moment when you sit down and hear that telltale ripping sound, signaling the demise of your beloved piece of furniture.
Identifying the Problem
The first step in repairing damaged stitching is to properly assess the issue. Take a close look at the affected area and determine the extent of the damage. Is it a small split in the seam, or has the stitching completely unraveled? Depending on the severity, the repair process may vary.
One of the best ways to identify potential stitching issues is to regularly inspect your sofa, especially in high-traffic areas like the seat cushions and armrests. This informative video from an upholstery expert provides a great overview of what to look for when checking your sofa’s stitching.
Gathering the Necessary Supplies
Before you dive into the repair process, it’s important to have the right tools and materials on hand. You’ll need a sturdy needle, heavy-duty thread (preferably matching the color of your sofa’s fabric), scissors, and potentially a seam ripper or small prying tool to help remove any damaged stitching.
If the damage is more extensive, you may also want to consider using a Speedy Stitcher, a specialized tool designed for repairing leather and heavy-duty fabrics. This nifty little gadget can make the stitching process much easier and more efficient.
Preparing the Area
Once you’ve gathered your supplies, it’s time to prepare the area for repair. If there are any loose threads or frayed edges, use the seam ripper or prying tool to carefully remove them, being mindful not to further damage the fabric.
If the stitching has completely unraveled, you may need to use a needle and thread to create a temporary “tacking” stitch to hold the fabric in place while you work. This will help prevent the material from shifting or bunching as you sew.
Repairing the Stitching
Now comes the fun part – the actual repair process. Start by threading your needle with a length of heavy-duty thread, making sure to knot the end to prevent it from slipping through the fabric.
Gently pull the edges of the split or damaged seam together, aligning them as best you can. Then, using small, even stitches, sew along the length of the seam, being careful not to pull the thread too tight and distort the fabric.
If you’re working with a particularly long or continuous seam, you may want to break it up into smaller sections, tying off the thread at the end of each segment and starting a new one for the next. This can help ensure a more consistent and uniform repair.
Once you’ve completed the stitching, carefully trim any excess thread and use a small brush or your fingers to gently fluff and smooth the fabric, blending the repaired area with the surrounding material.
Reinforcing the Repair
Depending on the amount of wear and tear your sofa has endured, you may want to consider reinforcing the repaired seam to prevent future issues. One effective method is to apply a small amount of fabric glue or seam sealant along the stitching, which can help strengthen the bond and provide an extra layer of protection.
Another option is to use a flexible urethane repair product, similar to what’s used for fixing leather boots. This can help create a waterproof and durable barrier along the seam, ensuring your sofa’s stitching stays intact for the long haul.
Caring for Your Sofa
Of course, the best way to avoid seam splitting and stitching issues is to properly care for your sofa in the first place. Make a habit of regularly vacuuming and spot-cleaning the fabric, and avoid placing heavy objects or sitting on the arms, which can put unnecessary stress on the stitching.
If you’re in the market for a new sofa, be sure to check out Sofas Spectacular, a custom sofa company in the UK that prides itself on using high-quality materials and construction techniques to ensure your furniture lasts for years to come.
The Final Stitch
Repairing loose or damaged stitching on your sofa may seem like a daunting task, but with the right tools and a little bit of patience, it’s a manageable job that can save you the hassle and expense of replacing the entire piece of furniture.
Remember, a well-cared-for sofa can be a lifelong companion, so don’t hesitate to roll up your sleeves and tackle those stitching issues head-on. Who knows, you might even surprise yourself with your newfound upholstery skills!


