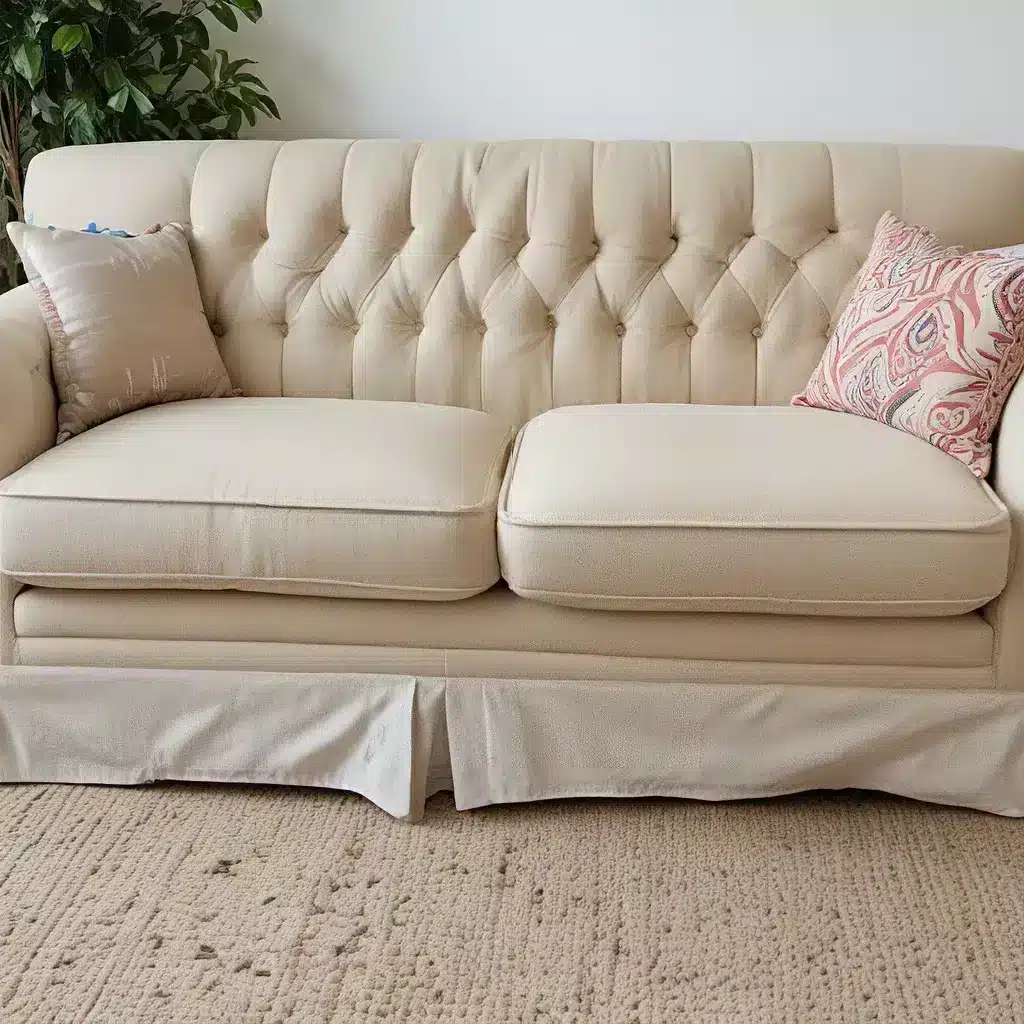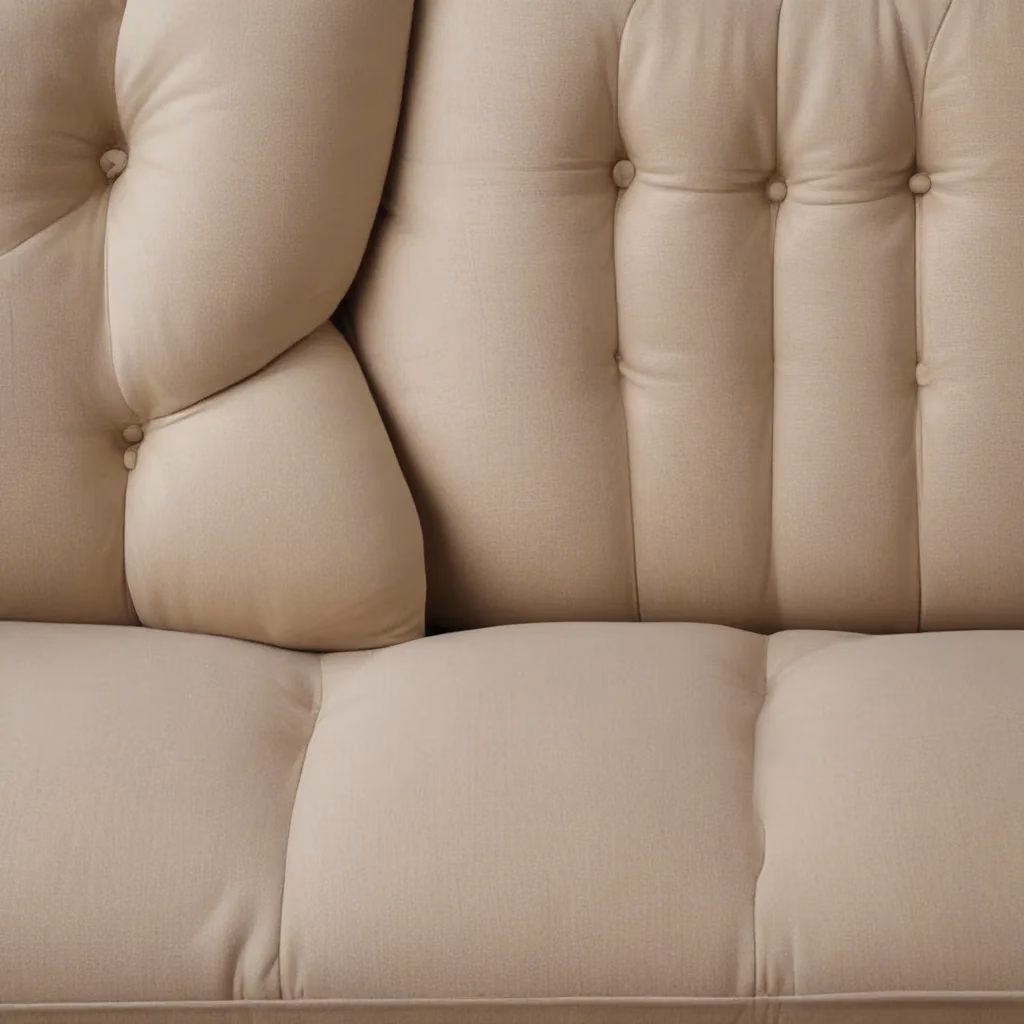
Ah, the age-old dilemma – your once-beloved sofa has succumbed to the dreaded Saggy Sofa Syndrome. You know the one, where the cushions have morphed into sad little pancakes, and sitting on it feels more like sinking into a marshmallow than enjoying a comfortable perch. Well, my friends, fret not! I’m here to share a game-changing solution that’ll have your sofa looking and feeling brand spankin’ new, without breaking the bank.
Uncovering the Culprit: Saggy Sofa Syndrome
I’ll admit, when my own living room sofa started showing signs of the Saggy Sofa Syndrome, I was tempted to throw in the towel and start shopping for a replacement. But then I stumbled upon an ingenious idea from my friend Susan at Living Rich On Less – she had revived her own couch just a year prior, and I figured, “Hey, if she can do it, so can I!”
Turns out, the solution was simpler than I could have imagined. All it took was a trip to Walmart, a box of Poly-Fil, and some good old-fashioned elbow grease. Before I knew it, my sofa was looking and feeling like it had just rolled off the showroom floor.
Step 1: Washing the Cushion Covers
The first step in my sofa makeover journey was to wash all the cushion and throw pillow covers. Now, I’ll admit, I had never actually done this before – I know, I know, it’s kind of gross. But let me tell you, the difference was astounding. Those covers were filthy, and once I tossed them in the washing machine, they came out looking brand new.
Step 2: Restuffing the Cushions
With the covers all fresh and clean, it was time to tackle the saggy cushions. I grabbed that trusty box of Poly-Fil from Walmart and got to work. For the back cushions, I simply unzipped the covers, stuffed them with the new batting, and voila – instant perkiness.
As for the seat cushions, I took it a step further and layered on some quilt batting to really plump them up. I even used a bit of spray adhesive to keep the batting in place, just to be extra sure it wouldn’t shift around.
The Transformation: A Whole New Sofa
When I stepped back and surveyed my handiwork, I was honestly amazed at the difference. My tired, saggy sofa had been reborn, and it looked like I had just brought home a brand-new piece of furniture. The cushions were plump and supportive, the throw pillows were fluffed to perfection, and the whole thing just exuded a sense of fresh, inviting comfort.
Honestly, I couldn’t believe I had waited so long to tackle this project. It was such an easy and budget-friendly way to breathe new life into my living room centerpiece, and I’m kicking myself for not doing it sooner.
Maintaining the Magic
Of course, with any DIY project, the real test is how well it holds up over time. But I’m happy to report that my sofa makeover has been a resounding success. The Poly-Fil and quilt batting have held up beautifully, and the cushions still look and feel just as plump and inviting as they did the day I finished the project.
Every few months, I like to give the covers a quick refresh by tossing them in the washing machine, and I’ve found that a light spritz of fabric refresher can help keep them smelling clean and cozy. And if I ever notice the cushions starting to sag again, I’m not afraid to bust out that trusty Poly-Fil and give them a little extra oomph.
The Moral of the Story
So, if your sofa is starting to show its age and you’re tempted to toss it in favor of a shiny new one, hold up! Before you make that investment, take a good, hard look at it and see if a little DIY TLC might be all it needs to look and feel like new again.
Trust me, the transformation is nothing short of magical, and the best part? It’s surprisingly easy and affordable to pull off. All it takes is a few simple supplies, a little elbow grease, and the willingness to get your hands a little (or a lot) dirty.
So what are you waiting for? Grab that box of Poly-Fil, round up those cushion covers, and get to work on reviving your worn sofa. I promise, the results will leave you wondering why you didn’t do it sooner!


