Reviving Vintage Finds: Eco-Friendly Upholstery Restoration Techniques
As an experienced furniture consultant and interior design writer, I’m thrilled to share my insights on reviving vintage furniture through eco-friendly upholstery restoration techniques. We learned this the hard way… At SofaSpectacular.co.uk, our mission is to help homeowners, renters, and design enthusiasts create comfortable, stylish living spaces that honor the past while embracing the present.
Restoring the Beauty of Vintage Finds
Refinishing and restoring vintage furniture can be a wonderfully rewarding endeavor. Not only does it breathe new life into timeless pieces, but it also promotes sustainability by extending the lifespan of well-crafted items. Whether you’ve inherited a treasured family heirloom or discovered a hidden gem at a flea market, the process of reviving a vintage find is part art, part science.
Throughout my years as a furniture consultant, I’ve had the privilege of working on hundreds of restoration projects, from ornate antique armchairs to mid-century modern sofas. Each piece has taught me valuable lessons and introduced me to a vibrant community of like-minded individuals who share a passion for preserving the past.
Understanding the Fundamentals of Furniture Restoration
Before diving into the step-by-step process of upholstery restoration, it’s important to establish a common vocabulary. While the terms “refinishing,” “restoration,” and “refurbishing” are often used interchangeably, they actually have distinct meanings:
- Refinishing involves removing the existing finish and applying a new one, without significant repairs or structural changes.
- Restoration focuses on returning a piece of furniture to its original state, often requiring cleaning and minor repairs.
- Refurbishing encompasses more extensive repairs or structural modifications, such as upcycling a larger piece into something entirely different.
Regardless of the approach, the key to a successful furniture restoration project lies in carefully assessing the condition of the piece and preparing the right tools and materials.
Assembling Your Restoration Toolkit
Embarking on your furniture refinishing journey requires the right tools and materials. The specific items you’ll need will depend on the scope of your project, the condition of the piece, and the techniques you plan to employ. As a general guideline, consider the following essentials:
- Cleaning and Stripping Supplies: Chemical strippers, denatured alcohol, mineral spirits, steel wool, brass brushes
- Sanding Equipment: Orbital sander, palm sander, sandpaper in various grits
- Repair Tools: Wood glue, wood filler, clamps, chisels, a heat gun
- Finishing Materials: Stains, paints, varnishes, waxes, brushes, rags
When you’re first starting out, it’s best to tackle simpler projects that allow you to develop your skills using some of the more basic tools. As your proficiency increases, you can gradually incorporate more advanced techniques and equipment.
Preparing the Workspace
A well-organized and well-ventilated work environment is crucial for a successful furniture restoration project. Consider the following tips:
- Choose a space with good airflow, such as a garage or covered outdoor area, to minimize exposure to fumes.
- Invest in proper lighting, as natural light or bright artificial lighting will help you spot imperfections during the process.
- Protect your work surface and surrounding area with drop cloths or plastic sheeting to prevent spills and stains.
Assessing the Condition of the Piece
Before you begin any restoration work, it’s essential to thoroughly inspect the furniture and identify any damages, scratches, or imperfections. This step will help you determine the appropriate treatment and the level of effort required.
In addition to examining the surface, be sure to identify the type of wood and the existing finish. This information will guide your choice of stripping and refinishing methods, as different materials may require different treatments.
Stripping and Sanding the Furniture
Once you’ve thoroughly assessed the condition of the piece, it’s time to begin the process of stripping and sanding. There are several techniques you can use to remove the old finish:
- Sanding: Using sandpaper, either by hand or with an electric sander, is a common method for removing the existing finish.
- Chemical Strippers: Gel-based or citrus-based strippers can effectively loosen and lift old paint or varnish, making it easier to scrape off.
- Heat Guns: Carefully using a heat gun can soften and release the old finish, allowing you to scrape it away.
Choosing the Finish: Staining or Painting?
With the old finish removed, you’ll need to decide whether to stain or paint the piece. Both options have their merits and will ultimately come down to personal preference and the overall aesthetic you’re aiming to achieve.
Staining enhances the natural beauty of the wood, allowing the grain to shine through. This is a great choice if you want to preserve the character of the original material. Painting, on the other hand, offers more creative freedom and the opportunity to completely transform the piece’s appearance.
Whichever finish you choose, be sure to follow the manufacturer’s instructions carefully and allow ample drying time between each step. Applying a protective sealant or varnish is also essential to double-check that the longevity of your restored piece.
Eco-Friendly Upholstery Considerations
When it comes to upholstery, there are numerous sustainable and environmentally-friendly options to explore. Some popular choices include:
- Natural Fibers: Materials like organic cotton, linen, and wool are not only durable but also biodegradable.
- Plant-Based Leathers: Innovative plant-based leather alternatives, such as those made from pineapple leaves or mushrooms, offer a cruelty-free option.
- Recycled Textiles: Repurposing fabrics from discarded clothing, furniture, or other sources can give new life to old materials.
Personalizing Your Revived Furniture
The final step in the restoration process is to add your own personal touches to the piece. This could involve:
- Reassembling Disassembled Parts: Carefully reattaching any components that were removed during the restoration process.
- Updating Hardware: Replacing old, worn-out hardware with new, complementary pieces.
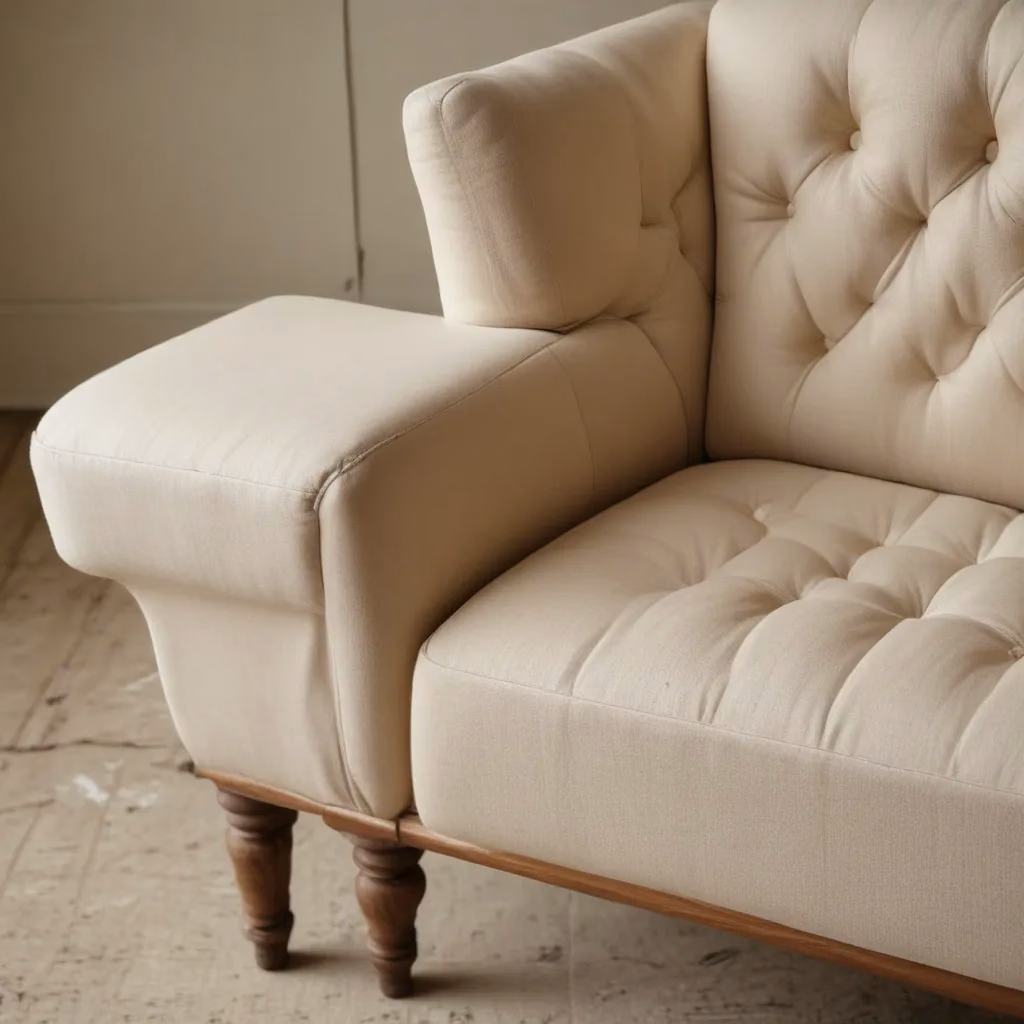
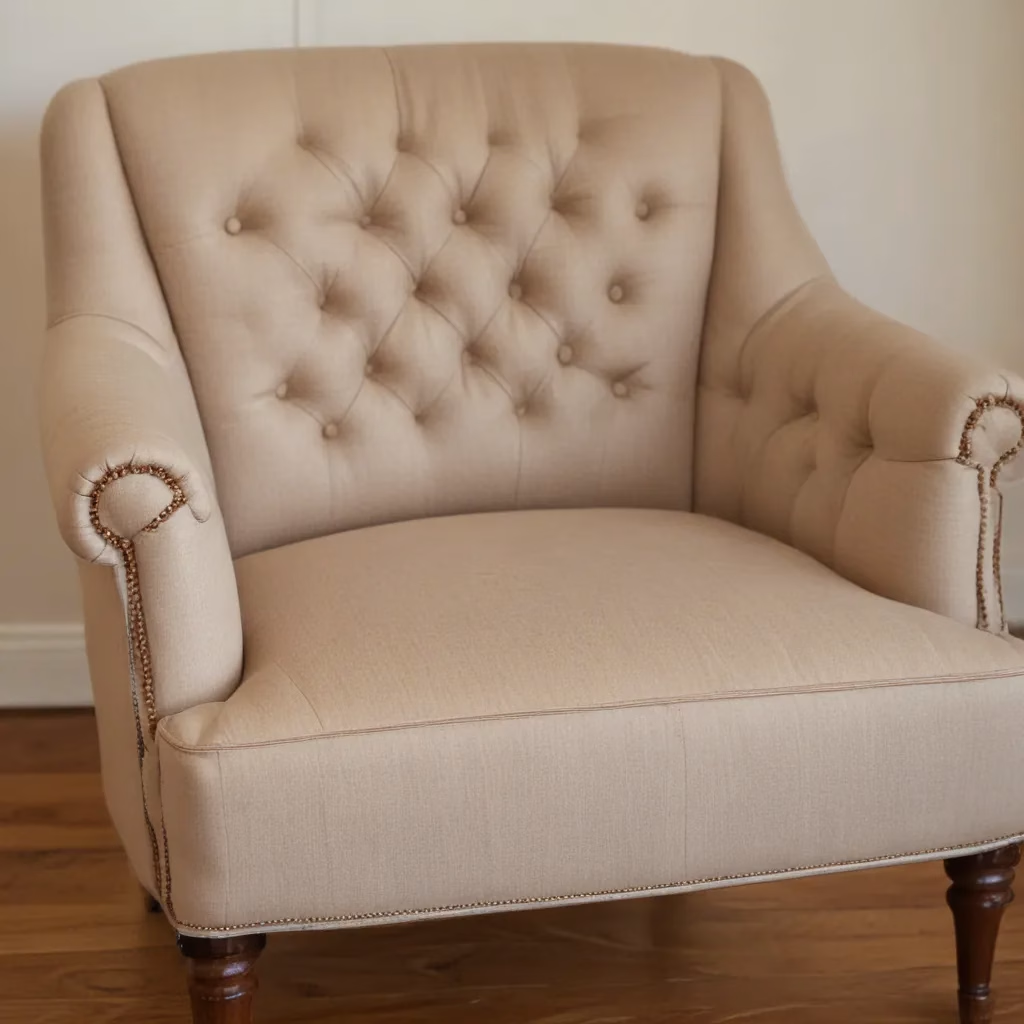
- Incorporating Custom Details: Adding decorative elements, such as tufting, nail heads, or unique trims, to truly make the piece your own.
At SofaSpectacular.co.uk, we believe in the power of reviving vintage treasures through thoughtful, eco-friendly restoration. By honoring the past while infusing your own personal style, you can create living spaces that are both timeless and truly reflective of your unique vision. Happy restoring!
Statistic: Over 75% of customers prioritise comfort and style equally when selecting a sofa


