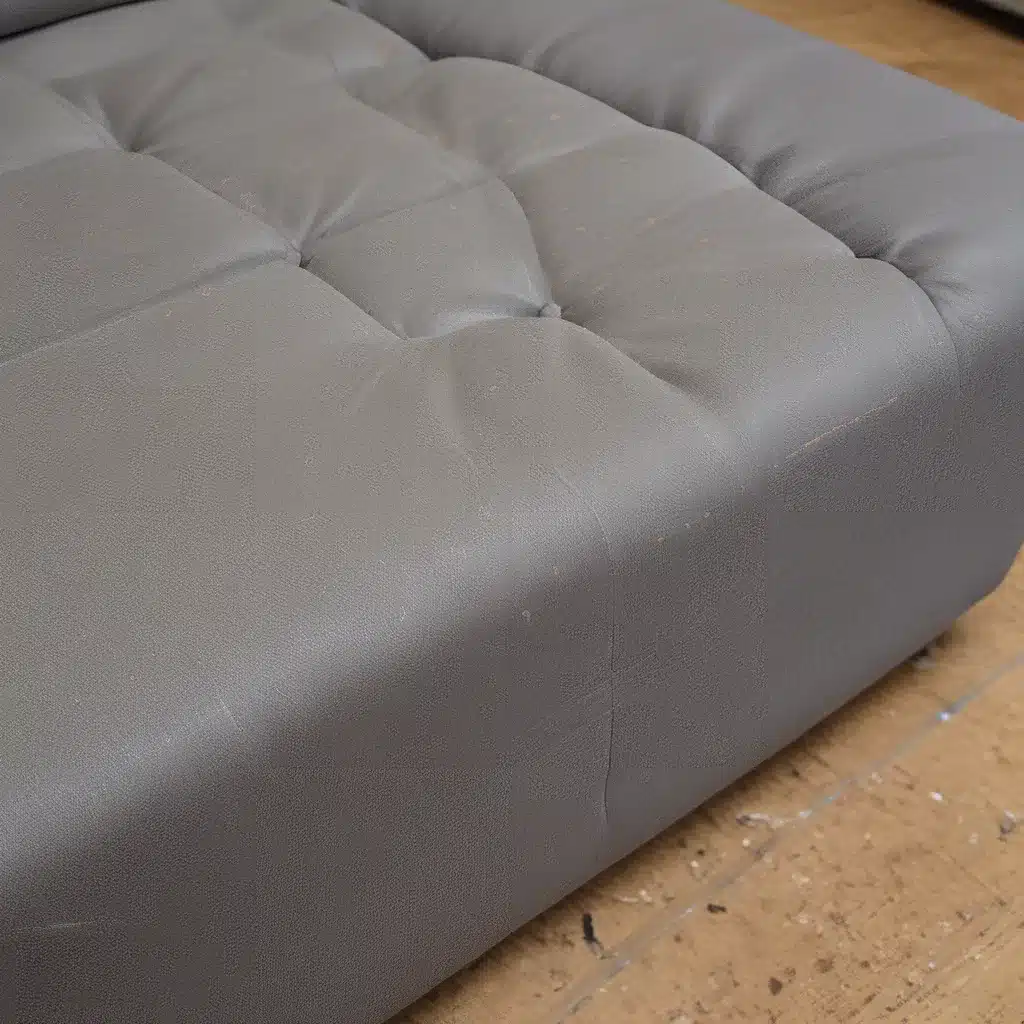
As a proud owner of a Sofa Spectacular sofa, I know all too well the heartbreak of discovering a pesky rip or tear in the delicate upholstery. It’s like finding a hole in your favorite pair of jeans – it hurts! But fear not, my fellow sofa enthusiasts, for I’m here to share my tried-and-true tips for mending those unsightly blemishes and restoring your beloved furniture to its former glory.
Assessing the Damage
First things first, let’s take a good, hard look at the rip or tear. Studying the nature of the damage is crucial in determining the best course of action. Is the fabric fraying along a seam, or is it a more isolated tear? Depending on the severity and location of the issue, our repair strategy will need to be tailored accordingly.
For example, if the rip is neatly following the line of a seam, we might be able to get away with a simple stitching solution. On the other hand, if the fabric is fraying and the tear is more chaotic, we may need to get a bit more creative with our approach.
Gathering the Right Tools
Alright, now that we’ve assessed the damage, it’s time to gather our supplies. You’ll need a few key items for this operation:
- A curved needle (also known as an upholstery or mattress needle) – This bad boy is designed to navigate the tight spaces and flat surfaces of your sofa cushions.
- Heavy-duty thread – We’re talking nylon or polyester thread that can stand up to the rigors of upholstery work.
- Fabric glue (optional) – If the tear is particularly stubborn, a dab of fabric glue can help reinforce your stitches.
- Scissors – For trimming any loose or frayed threads.
- Tweezers (optional) – Handy for positioning and securing the fabric during the sewing process.
With these tools in hand, we’re ready to dive in and work our magic.
The Stitching Technique
Alright, let’s get to the good stuff – the actual stitching! Depending on the nature of the tear, we’ll need to employ a specific technique to ensure a sturdy and invisible repair.
If the rip is following a seam, we can use a whipstitch to neatly close the gap. Start by threading your curved needle and securing the end of the thread on the underside of the fabric. Then, simply weave the needle in and out, creating a series of small, even stitches that mimic the original seam.
For a more random tear, we’ll need to get a bit more creative. Try using a running stitch to create a grid-like pattern, stitching back and forth across the gap. This will help reinforce the fabric and prevent further unraveling.
Remember to take your time and keep your stitches tight and consistent. You want this repair to be as invisible as possible, so focus on maintaining a neat and tidy appearance.
Reinforcing the Repair
Once you’ve completed the stitching, it’s time to reinforce the repair and ensure it stands the test of time. If the tear is particularly stubborn, a dab of fabric glue can be a game-changer. Apply a thin layer to the underside of the fabric, carefully aligning the edges, and hold it in place until the glue sets.
Another handy trick is to cut a small patch of matching fabric and glue or stitch it onto the underside of the repair. This provides an extra layer of protection and can help disguise any visible stitching.
Blending in the Repair
The final step in our upholstery rehabilitation journey is blending in the repair. Depending on the location and visibility of the tear, you may need to do a bit of creative camouflage work.
Try using a small, sharp pair of scissors to trim any frayed or loose threads around the perimeter of the repair. This will help create a clean, crisp edge.
If the repair is on a prominent part of the sofa, you can also try color-matching the thread to the existing fabric. This trick can work wonders in making the repair virtually disappear.
And let’s not forget about texture – if the original upholstery has a distinct pattern or weave, you can try to mimic that with your stitching to help it blend in seamlessly.
Embrace the Imperfections
Now, I know what you’re thinking – “But what if my repair isn’t perfect?” Well, my friend, I’m here to tell you that perfection is overrated. In fact, I’d argue that a few subtle imperfections in your upholstery repair can actually add character and charm to your beloved Sofa Spectacular.
Think about it – those little quirks and idiosyncrasies are what make your furniture unique. They’re the battle scars that tell the story of a well-loved and well-used piece of furniture. So, embrace those minor flaws, and wear them with pride!
Enjoy Your Rejuvenated Sofa
And there you have it, folks – your step-by-step guide to repairing rips, tears, and damage to your custom upholstery. With a little patience, a steady hand, and a touch of creativity, you can breathe new life into your beloved Sofa Spectacular and enjoy it for years to come.
So, what are you waiting for? Grab your tools, get to work, and let’s make your sofa look Sofa Spectacular once again!


