The Trials and Tribulations of a Leather Sofa Owner
Ah, the joys of leather furniture – the rich, supple feel, the sleek, sophisticated look, the eternal battle against the dreaded cracked and dried-out cushions. As the proud owner of a custom leather sofa from the illustrious Sofas Spectacular, I’ve had my fair share of leather-related adventures.
It all started when I first brought my beautiful, buttery-soft sofa home. I could practically hear the angels singing as I sank into the plush cushions, feeling like a king (or queen) on their throne. But alas, the honeymoon phase didn’t last forever. Before long, I noticed a few subtle changes – the leather starting to lose its luster, the cushions feeling a tad stiffer than they used to. Uh oh, the dreaded leather deterioration had begun.
Now, I’ll admit, I’m no stranger to a bit of procrastination. When those first signs of wear and tear appeared, I shrugged it off, figuring I’d get around to conditioning the leather eventually. “It’ll be fine,” I told myself. “How hard can it be, really?” Little did I know, I was about to embark on a leather-conditioning odyssey that would make Homer’s Odyssey look like a stroll through the park.
The Great Leather Conditioning Debacle
I started off with the best of intentions, scouring the internet for the perfect leather conditioner. I must have read a hundred reviews, each one more confusing than the last. “This one will make your leather supple and shiny!” “That one will protect against UV damage!” “The other one smells like unicorn tears and fairy dust!” It was enough to make my head spin.
After much deliberation (and a few too many online shopping cart abandonments), I finally settled on a seemingly reputable conditioner and placed my order. A few days later, the package arrived, and I tore into it with the enthusiasm of a kid on Christmas morning. This was it – the solution to all my leather-related woes.
Except… it wasn’t. As I meticulously applied the conditioner, following the instructions to the letter, I couldn’t help but feel like something was off. The leather didn’t seem to be absorbing the product the way it should, and the end result was a rather unsightly, sticky residue. Ugh, back to the drawing board.
The Leather Whisperer Emerges
Determined to get this right, I decided to do some more in-depth research. I scoured forums, read countless articles, and even watched a few DIY leather care tutorials on YouTube (let’s just say I learned some new dance moves in the process). And that’s when I stumbled upon a true leather-conditioning gem: The Ultimate Guide to Leather Care.
This comprehensive guide didn’t just tell me what to do – it explained why, with a level of detail that made me feel like I was being let in on the leather-care secrets of the gods. Suddenly, it all started to make sense. The importance of using the right products, the proper application techniques, the crucial role of conditioning frequency… it was like a lightbulb had been switched on in my brain.
Armed with my newfound knowledge, I set out to conquer the leather-conditioning beast once and for all. I carefully selected a high-quality conditioner, took my time applying it, and waited patiently for the results. And lo and behold, the transformation was nothing short of miraculous. My sofa’s leather was positively glowing, supple and smooth to the touch. It was as if I had just given my poor, neglected furniture a much-needed spa day.
The Secrets of Proper Leather Conditioning
So, what’s the secret to keeping your leather furniture looking its best? It all comes down to a few key principles:
1. Use the Right Conditioner
Not all leather conditioners are created equal. You’ll want to steer clear of cheap, silicone-based products that can actually do more harm than good. Instead, opt for a high-quality, natural-based conditioner that’s specifically formulated for the type of leather you’re working with.
2. Apply the Conditioner Correctly
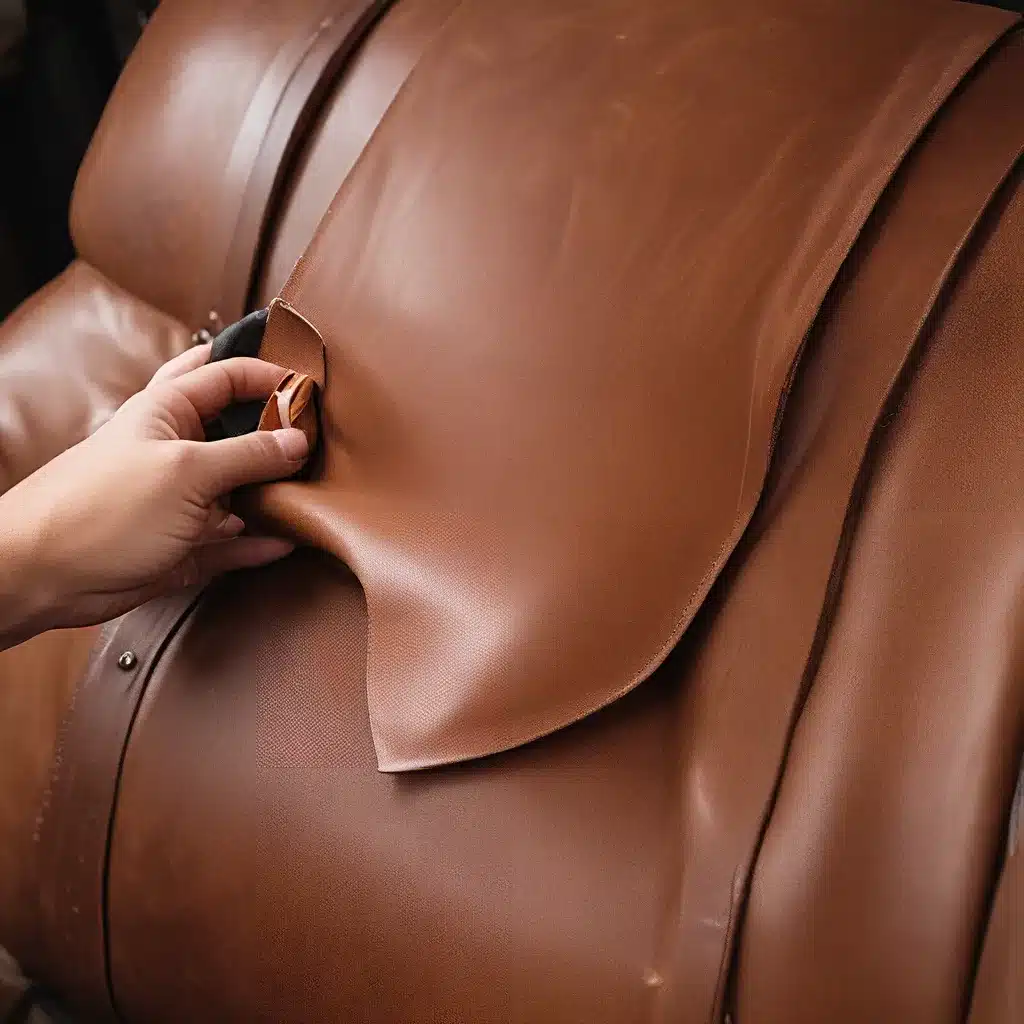
Slathering on the conditioner like you’re icing a cake is a recipe for disaster. Instead, apply a small amount to a clean, soft cloth and gently work it into the leather in a circular motion. This helps ensure even coverage and prevents any unsightly buildup.
3. Condition Regularly
Leather is a living, breathing material, and it needs regular TLC to stay in tip-top shape. Plan to condition your furniture every 6-12 months, or whenever you notice the leather starting to look a bit dry or dull.
4. Don’t Forget About Protection
Once you’ve got your conditioning routine down, don’t forget about the importance of protecting your leather from environmental factors like UV rays and moisture. A good quality leather protectant can help create a barrier against these threats, ensuring your furniture stays looking its best for years to come.
5. Embrace the Patina
As your leather ages, it’s natural for it to develop a beautiful, unique patina. Instead of fighting this process, learn to embrace it! A little wear and tear can add character and charm to your furniture, making it even more special and personalized.
Putting it All Together: A Leather Conditioning Roadmap
Now that you’ve got the basics down, let’s dive into a step-by-step guide to properly conditioning and caring for your leather furniture:
-
Assess the Condition: Take a close look at your leather and identify any problem areas. Is it dry and cracked? Faded and dull? This will help you choose the right conditioning products and approach.
-
Clean the Surface: Before applying any conditioner, it’s important to thoroughly clean the leather. Use a gentle, pH-neutral cleaner and a soft, lint-free cloth to remove any dirt, oils, or debris.
-
Choose Your Conditioner: As we discussed, not all conditioners are created equal. Look for a high-quality, natural-based formula that’s specifically formulated for the type of leather you have.
-
Apply the Conditioner: Using a clean, soft cloth, apply a small amount of conditioner to the leather, working it in with gentle, circular motions. Be sure to focus on any particularly dry or worn areas.
-
Let it Soak In: Allow the conditioner to fully absorb into the leather, which can take anywhere from 30 minutes to a few hours, depending on the product.
-
Buff and Shine: Once the conditioner has had time to work its magic, use a clean, dry cloth to gently buff the leather, revealing a beautiful, glossy finish.
-
Protect and Maintain: To keep your leather looking its best, apply a high-quality leather protectant every 6-12 months. This will help create a barrier against damaging UV rays, moisture, and other environmental factors.
-
Embrace the Patina: As your leather ages, don’t be afraid to let it develop a natural patina. This unique character will only make your furniture more beautiful and special over time.
The Leather Conditioning Showdown: Conditioner vs. Protectant
Now, you might be wondering, “But wait, what’s the difference between a conditioner and a protectant?” It’s a valid question, and one that often causes confusion among leather enthusiasts. Let’s break it down:
Leather Conditioner
– Purpose: Nourishes and revitalizes the leather, helping to keep it soft, supple, and moisturized.
– Key Ingredients: Natural oils, waxes, and emollients that penetrate the leather’s surface.
– Frequency of Use: Every 6-12 months, or as needed.
Leather Protectant
– Purpose: Creates a protective barrier on the leather’s surface, shielding it from harmful environmental factors like UV rays, moisture, and dirt.
– Key Ingredients: Silicones, polymers, and other water-repellent compounds.
– Frequency of Use: Every 6-12 months, or as needed.
In an ideal leather care routine, you’ll want to use both a conditioner and a protectant to keep your furniture looking its best. The conditioner nourishes and revitalizes the leather, while the protectant helps preserve its appearance and longevity.
The Leather Conditioning Cheat Sheet
Still feeling a bit overwhelmed by all this leather care information? Fear not, my friends – I’ve got you covered with a handy cheat sheet to help you navigate the world of leather conditioning and care:
| Task | Frequency |
|---|---|
| Cleaning | As needed, using a gentle, pH-neutral cleaner |
| Conditioning | Every 6-12 months |
| Protecting | Every 6-12 months |
| Buffing and Polishing | As needed, to maintain a glossy finish |
| Embracing the Patina | Always! |
Remember, the key to keeping your leather furniture looking its best is consistency and attention to detail. Don’t be afraid to experiment and find the routine that works best for you and your beloved sofa (or armchair, or ottoman, or… you get the idea).
The Leather Conditioning Finale: A Happily Ever After
And so, my fellow leather enthusiasts, we come to the end of our leather conditioning odyssey. From the trials and tribulations of my own leather-related woes to the secrets of proper conditioning and care, I hope you’ve learned a thing or two about keeping your leather furniture in tip-top shape.
Remember, the journey to leather perfection is a marathon, not a sprint. But with a little bit of patience, a whole lot of elbow grease, and a healthy dose of leather-care know-how, you’ll be well on your way to creating a legacy of luxurious, long-lasting leather furniture that will bring joy (and comfort) to your home for years to come.
So go forth, my friends, and condition like the leather-loving champions you are. Your bum (and your wallet) will thank you.


