Champagne Taste, Lemonade Budget
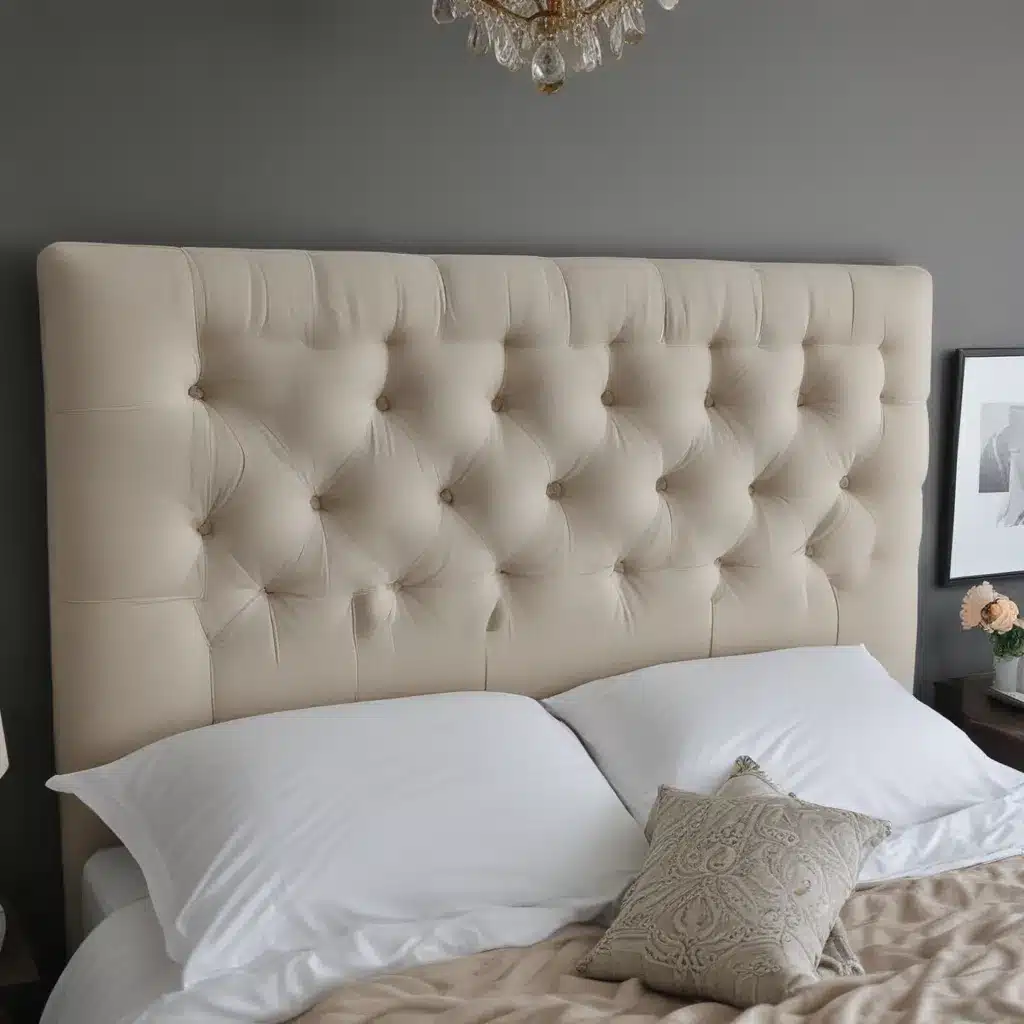
As a self-proclaimed DIY enthusiast with champagne taste and a lemonade budget, I’ve always had a love-hate relationship with high-end home decor. I yearn for those designer looks, but cringe at the price tags. So when I stumbled upon a tufted headboard that made my heart skip a beat, I knew I had to find a way to make it myself – on the cheap, of course.
After scouring YouTube and scouring the internet for tutorials, I set out to create my own version of this luxurious bedroom focal point. And let me tell you, it was no easy feat. The process was long, tedious, and required more patience than I thought I had. But in the end, I ended up with a headboard that looks like it came straight out of a high-end design magazine – and I did it all for under £50.
From Eyesore to Envy-Inducing
When I first started this project, I had an old, beat-up headboard that was more of an eyesore than a focal point. It was uncomfortable, ugly, and definitely not doing my bedroom any favors. But I saw past the dated, plastic panels and envisioned something truly spectacular.
The first step was to strip the headboard down to its bare bones. I removed the ugly panels and was left with just the wooden frame. Now, I know what you’re thinking – “But I don’t even have an old headboard to work with!” No problem! You can easily create a frame using inexpensive materials from your local hardware store.
Building the Frame
For my frame, I used two MDF doors that I had from an old, broken wardrobe. I simply cut them to the length of the headboard and nailed them onto the existing frame. You can also use 2x4s or plywood to create a sturdy, customized frame. The key is to make sure it’s big enough to fit your desired headboard size.
Once the frame was in place, it was time to start marking the holes for the tufting. Now, this is where the pegboard comes in handy. I used the pegboard as a template, marking the diamond pattern right onto the wood. This helped ensure my tufts were perfectly spaced and aligned.
Tufting Time
With the holes drilled, it was time for the fun (and slightly tedious) part – the tufting. I opted to use egg crate mattress foam, which is a super budget-friendly alternative to expensive upholstery foam. I simply layered two twin-sized toppers on top of the frame and secured them with staples.
Now came the moment of truth – the buttons. I’ll admit, this part was a bit of a learning curve. It took some trial and error to get the buttons just right, but with a few tricks up my sleeve (like using a long upholstery needle and waxed twine), I was able to get a professional-looking result.
The key to perfect tufting is all in the pleating. I learned the hard way that if you don’t get the first row of pleats just right, it throws off the entire look. So, I made sure to pinch and fold the fabric carefully, creating a deep, uniform tuck before moving on to the next button.
Finishing Touches
Once all the buttons were in place, it was time to tackle the edges. I folded and tucked the fabric around the sides, pulling it taut and stapling it securely. To give the headboard a polished look, I even wrapped the excess fabric around the legs and stapled it in place.
The final step was to cover up the messy backside. I used an old sheet and some upholstery tacks to create a clean, finished look. And voila – my once-hideous headboard was now the envy of the neighborhood.
The Joy of DIY
As I sit back and admire my handiwork, I can’t help but feel a sense of pride. Not only did I save a ton of money, but I also gained a valuable new skill in the process. Tufting may seem intimidating, but with a little patience and the right tools, it’s a technique that anyone can master.
So, if you’re like me and have champagne tastes on a lemonade budget, I highly encourage you to give this DIY tufted headboard a try. It may take some time and effort, but the end result is truly worth it. Plus, the satisfaction of creating something beautiful and unique with your own two hands is priceless.
Hop on over to Sofaspectacular.co.uk to find the perfect custom sofa to complement your new tufted headboard. With their wide range of styles and fabrics, you’re sure to find the perfect fit for your space. Happy DIYing!


