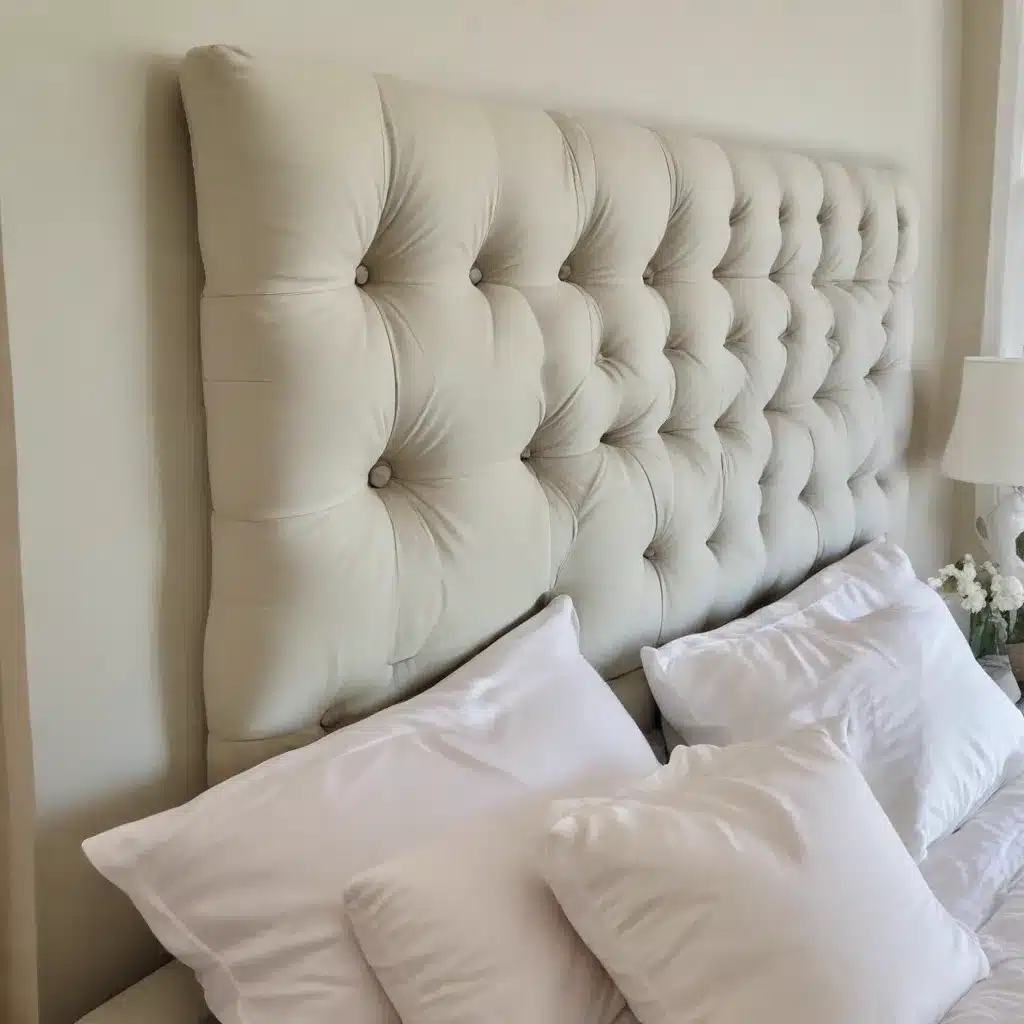
The Art of Tufted Headboards
As a furniture specialist, I’ve seen countless trends come and go, but tufted headboards have consistently remained a favorite among homeowners and interior designers alike. There’s something inherently luxurious and inviting about a well-crafted tufted headboard that can transform an ordinary bedroom into a sophisticated retreat.
Creating your own tufted headboard might seem daunting at first, but with the right guidance, it’s a project that can be both rewarding and cost-effective. Over the years, I’ve helped numerous clients bring their headboard visions to life, and I’m excited to share my expertise with you.
The beauty of a DIY tufted headboard lies not just in its aesthetic appeal, but also in the opportunity it provides for personal expression. You have complete control over the fabric, color, and tufting pattern, allowing you to create a piece that perfectly complements your bedroom decor. Whether you’re aiming for a classic, button-tufted look or a more modern interpretation with deep, diamond-shaped tufts, the possibilities are truly endless.
Gathering Your Materials
Before we dive into the step-by-step process, let’s talk about the materials you’ll need. In my experience, having everything prepared beforehand makes the project run much more smoothly. Here’s what you’ll need:
- A sturdy piece of plywood or MDF board cut to your desired headboard size
- High-density foam (2-3 inches thick)
- Batting
- Upholstery fabric of your choice
- Buttons (covered or plain, depending on your preference)
- Upholstery needle and strong thread
- Staple gun and staples
- Scissors
- Marker or chalk
- Drill with a long, thin bit
- Spray adhesive
When selecting your fabric, consider both aesthetics and durability. As someone who’s worked with various upholstery materials, I can’t stress enough the importance of choosing a fabric that not only looks good but can withstand daily use. Velvet, for instance, creates a luxurious look but can be more challenging to clean, while a sturdy cotton or linen blend offers a classic appearance and easier maintenance.
Preparing Your Headboard Base
The first step in creating your tufted headboard is preparing the base. This is crucial for ensuring the longevity and stability of your finished product. Start by laying your plywood or MDF board on a flat surface. If you’re aiming for a more dramatic look, you might consider rounding the top corners of your board. I’ve found that this small detail can really elevate the overall appearance of the headboard.
Next, you’ll want to apply the foam to your board. Use spray adhesive to ensure an even application. Make sure to cover the entire surface, paying special attention to the edges. Once the foam is secure, lay your batting over the foam. The batting helps to smooth out any imperfections and provides a soft, even surface for your fabric.
At this point, it’s a good idea to do a preliminary wrap of your fabric around the board to get a sense of how it will look. This step has saved me from many potential mishaps over the years, allowing for adjustments before any permanent attachments are made.
Marking Your Tufting Pattern
Now comes the fun part – deciding on your tufting pattern. The pattern you choose will significantly impact the final look of your headboard. A classic diamond pattern is timeless, but don’t be afraid to get creative. I’ve seen stunning headboards with asymmetrical patterns or even floral-inspired designs.
To mark your pattern, use a ruler and a marker or chalk to create a grid on your batting. The spacing between your tufts will depend on the size of your headboard and your personal preference. As a general rule, I recommend spacing tufts about 8-12 inches apart for a balanced look.
Once you’ve marked your grid, it’s time to drill. At each intersection point where you want a tuft, carefully drill a small hole through the batting, foam, and board. This is where you’ll pull your buttons through later. Be sure to vacuum any debris from drilling to keep your work surface clean.
Upholstering Your Headboard
With your base prepared and pattern marked, it’s time to apply your fabric. Lay your fabric face down on a clean surface, then place your padded board on top, centered. Carefully pull the fabric taut and staple it to the back of the board. Start at the center of each side and work your way out to the corners, continually smoothing the fabric as you go.
When you reach the corners, fold the fabric neatly to create a clean edge, then staple securely. This can be a bit tricky, so take your time. I often tell my clients that the corners can make or break the professional look of a DIY headboard, so patience here is key.
Creating the Tufts
Now for the most transformative part of the process – creating the tufts. Thread your upholstery needle with a long piece of strong thread or twine. Working from the back of the headboard, push the needle through one of the pre-drilled holes, then through your chosen button on the front side.
Bring the needle back through the fabric close to where it came out (but not through the same hole) and pull tightly to create the tuft. Secure the thread at the back with several knots or staples. Repeat this process for each tuft, working in a systematic way across your headboard.
As you create each tuft, take a moment to adjust the fabric, creating neat folds radiating out from the button. This attention to detail is what gives tufted headboards their distinctive, luxurious appearance.
Finishing Touches
Once all your tufts are in place, take a step back and admire your handiwork! But we’re not quite done yet. To give your headboard a truly professional finish, you might want to add a border. This can be done by creating a simple fold of fabric around the edges of the headboard and securing it with decorative nailheads or additional staples.
If you’ve opted for a freestanding headboard, you’ll need to attach legs or a support system. There are various methods for this, from simple brackets to more complex frame systems. The choice largely depends on your bed frame and personal preference.
Caring for Your Tufted Headboard
Now that you’ve created your beautiful tufted headboard, you’ll want to keep it looking its best. Regular vacuuming with a soft brush attachment will help remove dust and prevent dirt from settling into the fabric. For spot cleaning, always test any cleaning solution on an inconspicuous area first.
If you’ve used a light-colored fabric, you might want to consider applying a fabric protector to guard against stains. In my experience, this small extra step can significantly extend the life and beauty of your headboard.
Conclusion
Creating your own tufted headboard is a rewarding project that allows you to customize your bedroom decor while potentially saving money compared to store-bought options. The process requires patience and attention to detail, but the result is a stunning, personalized piece of furniture that you can be proud of.
Remember, the key to success lies in thorough preparation, careful execution, and a willingness to take your time with each step. Don’t be discouraged if your first attempt isn’t perfect – even professionals like myself had to start somewhere!
For more inspiration and expert advice on all things furniture-related, feel free to explore our website. Happy crafting, and sweet dreams in your newly upgraded bedroom!


