The Sofa Saga: How I Built My Dream Couch (And You Can Too!)
Have you ever found yourself browsing endless online stores and showrooms, unable to find the perfect sofa to complete your living room? You know the one – the ideal size, shape, and color to tie the whole space together. Well, my friends, I’m here to tell you that the solution to your furniture woes may be simpler than you think: make it yourself!
Now, I know what you’re thinking – “I’m no craftsman, how on earth could I build a sofa from scratch?” Trust me, I was right there with you. As a self-proclaimed DIY novice, the idea of constructing my own couch seemed equal parts exciting and terrifying. But after months of research, trial and error, and a healthy dose of elbow grease, I’m proud to say I created a custom sofa that is the crown jewel of my living room. And you know what? If I can do it, so can you!
Sofa Spectacular may be the UK’s premier destination for custom-made sofas, but I’m here to show you that with a little determination (and the right guidance), you can become your own master upholsterer. So, grab a cup of tea, get cozy, and let me take you on the journey of how I made my dream sofa a reality.
Choosing Your Couch Adventure: Traditional vs. Modern
When it comes to sofas, there are two main schools of thought – the classic, vintage-inspired design or the sleek, contemporary look. As I dove into my research, I quickly realized that each style requires a vastly different approach.
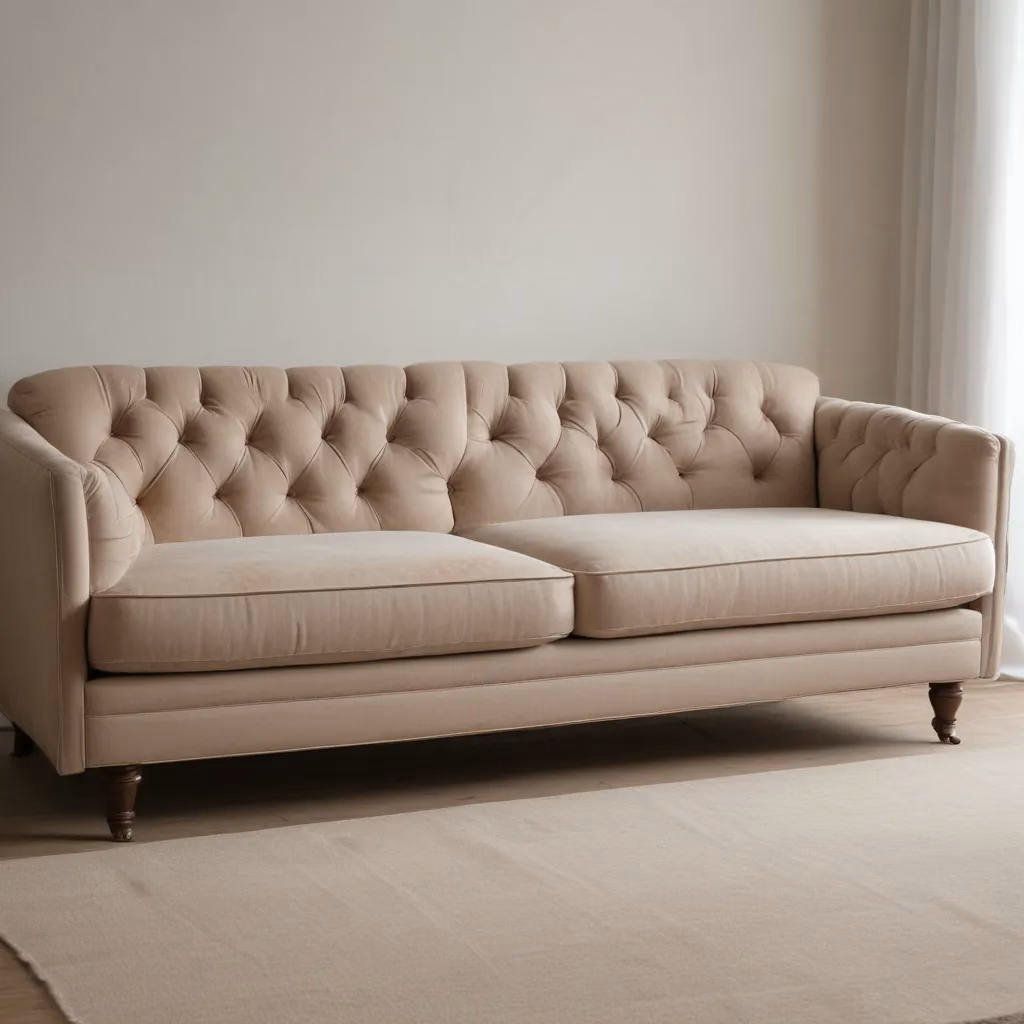
The traditional sofa, with its ornate, carved wood frames and fully-integrated cushions, is the epitome of old-world elegance. However, these types of couches also demand a level of upholstery skill that would make even the most seasoned seamstress quiver in their boots. Intricate pleating, tufting, and the delicate art of webbing and springs – it’s a lot to take on for a first-time furniture maker.
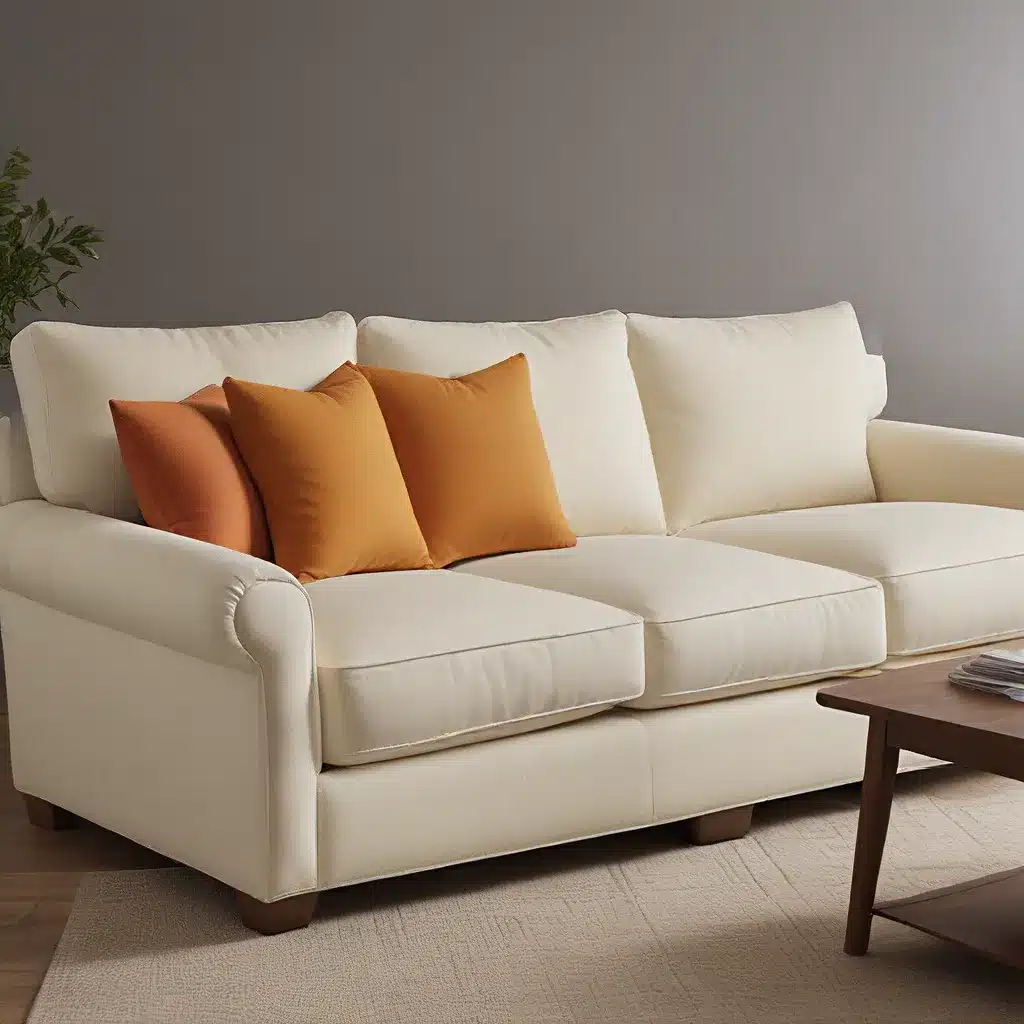
On the other hand, the modern sofa design is a bit more approachable for the DIY enthusiast. These sleek, clean-lined masterpieces often feature modular, removable cushions and a focus on sturdy, yet simple, frame construction. While you still need a steady hand and some specialized tools, the modern sofa is a more forgiving canvas for the novice upholsterer.
After much deliberation, I decided to go the modern route. After all, I may be crafty, but I’m certainly no seamstress! The prospect of building my own sofa from the ground up was daunting enough without having to worry about perfectly pleated skirts and tufted backrests.
Measure Twice, Cut Once (and Then Measure Again!)
With my design aesthetic locked in, it was time to get down to the nitty-gritty of planning out the physical structure of my custom sofa. And let me tell you, there’s a lot more to it than simply choosing a size and going for it.
First and foremost, I quickly learned that the “standard” sofa dimensions you see bandied about online are really more like general guidelines. The actual measurements can vary quite a bit depending on the style, your personal preferences, and the unique constraints of your living space. For example, the typical three-seater sofa is said to be around 85 inches long, 35 inches deep, and 35 inches high. But does that really work for your room? And what about seat height, depth, and back angle – do those generic numbers align with your idea of comfort?
As I pored over design inspiration and mapped out sketches, I realized that getting the proportions just right was going to be crucial. Too long and I’d never be able to get it through the door; too shallow and it would feel more like a park bench than a plush place to sink in. It was time to break out the tape measure and get precise.
After countless revisions and plenty of double-checking, I settled on dimensions that I knew would work seamlessly in my living room. The frame would be 84 inches wide, 35 inches deep, and 34 inches tall, with a seat height of 18 inches and a gentle 10-degree recline in the backrest. Now it was time to start building!
Building the Bones: Crafting the Frame
With my measurements finalized, I gathered up my tools and materials and got to work on the foundation of my custom sofa. And let me tell you, this was no easy feat for a self-proclaimed DIY novice.
The key to a sturdy, long-lasting sofa frame lies in the joinery. While I could have taken the easy route and simply screwed the pieces together, I decided to challenge myself with traditional mortise and tenon joints. These intricate, interlocking connections create an incredibly strong and stable framework – perfect for supporting all the weight that’s about to be piled on top.
Now, if you’re anything like me, the thought of cutting precise mortise and tenon joints by hand is enough to make your palms sweat. But with a little patience, a sharp chisel, and my trusty power tools, I managed to create a frame that was not only sturdy but a true work of art. The satisfying “click” as each joint slid into place was all the motivation I needed to power through.
Of course, the frame wasn’t the only structural element I had to consider. Underneath the plush cushions lies a system of support that’s essential for comfort and longevity. After weighing the pros and cons of springs versus webbing, I opted for the latter. While springs may offer a bit more bounce, the webbing provides a solid, even foundation that I knew would hold up to years of use (and the occasional impromptu trampoline session from my overly-energetic dog).
Upholstery 101: Covering the Cushions
With the sturdy frame complete, it was time to turn my attention to the plush, inviting cushions that would transform my creation from a wooden skeleton into a fully-fledged sofa. And let me tell you, this was the part of the process that had me the most intimidated.
You see, I may be handy with a drill and a saw, but when it came to the delicate art of sewing, I was decidedly less confident. Measuring, cutting, and stitching the perfect covers for my custom cushions felt like a daunting task – one that, if done improperly, could ruin the entire project.
But as I dove into the world of upholstery, I discovered that with the right tools, a few helpful tips, and a healthy dose of patience, even a sewing novice like myself could produce professional-looking results. The key was taking the time to get the measurements just right, factoring in enough “give” for a smooth, wrinkle-free finish.
After carefully cutting out my fabric pieces and putting needle to thread, I was amazed at how quickly the cushion covers began to take shape. And when I finally slid those perfectly-fitted cushions into place on my sofa frame, the sense of accomplishment was unparalleled. This was my creation, born from my own two hands, and it was everything I’d imagined and more.
The Finishing Touches: Staining, Sealing, and Styling
With the structure and upholstery complete, it was time to put the final polish on my custom sofa masterpiece. First up? Staining and sealing the exposed wood elements to give them a rich, lustrous finish.
Now, I’ll admit, as much as I love the look of a beautifully stained and sealed piece of furniture, the process itself is not my favorite. There’s just something about the strong chemical smells and the need for meticulous attention to detail that makes my DIY-loving heart quiver. But, as with every other step of this project, I pushed through, carefully applying the stain and sealant according to the manufacturer’s instructions.
And when I finally stepped back and admired my handiwork, I couldn’t help but smile. The warm, inviting tones of the wood perfectly complemented the soft, plush cushions, creating a cohesive, custom-designed look that I knew would be the envy of all my guests.
Of course, no sofa is complete without the perfect finishing touches. After sewing a few coordinating accent pillows to add a pop of color, I knew my living room transformation was complete. This sofa wasn’t just a piece of furniture – it was a reflection of my personal style, a unique creation that I could truly call my own.
The Sofa-Maker’s Reward: Reaping the Rewards of Your Labor
As I sink into the cushions of my handcrafted sofa, a sense of immense pride washes over me. Sure, it was a long, sometimes frustrating journey filled with measurements, power tools, and more than a few pricey mistakes. But looking around at the cozy, custom-designed space I’ve created, I know it was all worth it.
You see, there’s something deeply rewarding about bringing your vision to life, about taking a blank canvas and molding it into something truly unique. And when it comes to a centerpiece as important as a living room sofa, that sense of ownership and accomplishment is amplified tenfold.
So, if you’re like me and you’ve found yourself endlessly scrolling through sofa after sofa, unable to find the perfect fit, I urge you to consider taking the DIY plunge. Yes, it will require time, effort, and a willingness to learn. But the end result – a custom-built sofa that is a true reflection of your personal style and needs – is a prize worth fighting for.
Who knows, maybe one day you’ll be the one sharing your own sofa-making saga, inspiring others to unleash their inner furniture designer. After all, with a little determination and the right guidance, the possibilities are truly endless. So, what are you waiting for? Let’s get building!


