Intro: Crafting a Custom Seating Solution
As a self-proclaimed DIY enthusiast, I’ve tackled my fair share of home projects over the years. From revamping our tired kitchen to breathtaking feature walls, there’s always something new to conquer. But one task that’s been on my to-do list for ages? Building a custom storage bench to maximize seating in our dining room.
You see, our home has a rather quirky layout – cozy, but lacking in that ample entertaining space we crave. And with a growing family, we needed a solution that could seamlessly blend form and function. Enter the storage bench of my dreams! Not only would it provide extra seating for guests, but hidden compartments to stash away those odds and ends that tend to accumulate.
Laying the Groundwork
After scouring the web for inspiration, I landed on the perfect plan from Houseful of Handmade. Chock-full of detailed instructions and helpful visuals, I felt completely prepared to tackle this project head-on. The first step? Measuring the space to ensure a custom fit.
Using my trusty tape measure, I carefully mapped out the nook where the bench would live, taking note of any potential obstacles like electrical outlets or heating vents. With those key dimensions in hand, I could start sourcing the necessary materials – from sturdy 2x4s to plywood panels and cushion foam. And let me tell you, the thrill of seeing that initial vision start to take shape is what fuels my DIY passion!
Assembling the Bench Frame
Now came the fun part – the actual building process. Following the step-by-step guidance from Houseful of Handmade, I set to work constructing the bench frame. Using a Kreg jig to create precise pocket holes, I assembled the 2×4 pieces into a sturdy, square structure. This hidden joinery not only added stability, but also ensured a seamless, built-in look once the project was complete.
As I meticulously secured each board, I couldn’t help but marvel at the sheer sturdiness of the frame. This wasn’t going to be your average, wobbly bench – no, this was a rock-solid foundation that would stand the test of time (and the antics of my active little ones). With the frame in place, I moved on to encasing it in beautiful beadboard paneling, creating that classic, cottage-inspired aesthetic I adore.
Crafting the Cushioned Seating
While the structural elements were coming together nicely, I knew the true magic would happen when I tackled the seating area. Drawing inspiration from the Houseful of Handmade design, I opted to upholster the bench top rather than sewing individual cushions. Not only would this provide a streamlined, seamless look, but it would also be far easier to maintain in the long run.
Sourcing high-density foam from a local outdoor supply store, I carefully measured and cut the pieces to fit the plywood top. Then, using a spray adhesive, I bonded the foam to the wood, creating a cushy foundation. From there, it was time to work my sewing machine magic, wrapping the entire assembly in a durable vinyl fabric. With a few strategic folds and some well-placed staples, I transformed this plain plywood into a sumptuous, inviting perch.
Finishing Touches and Final Reveal
As the project neared completion, I couldn’t wait to see the final product in all its glory. Following the Houseful of Handmade guide, I added the finishing touches – trim pieces to create a truly built-in appearance and a fresh coat of paint to tie it all together. And let me tell you, the end result was nothing short of stunning.
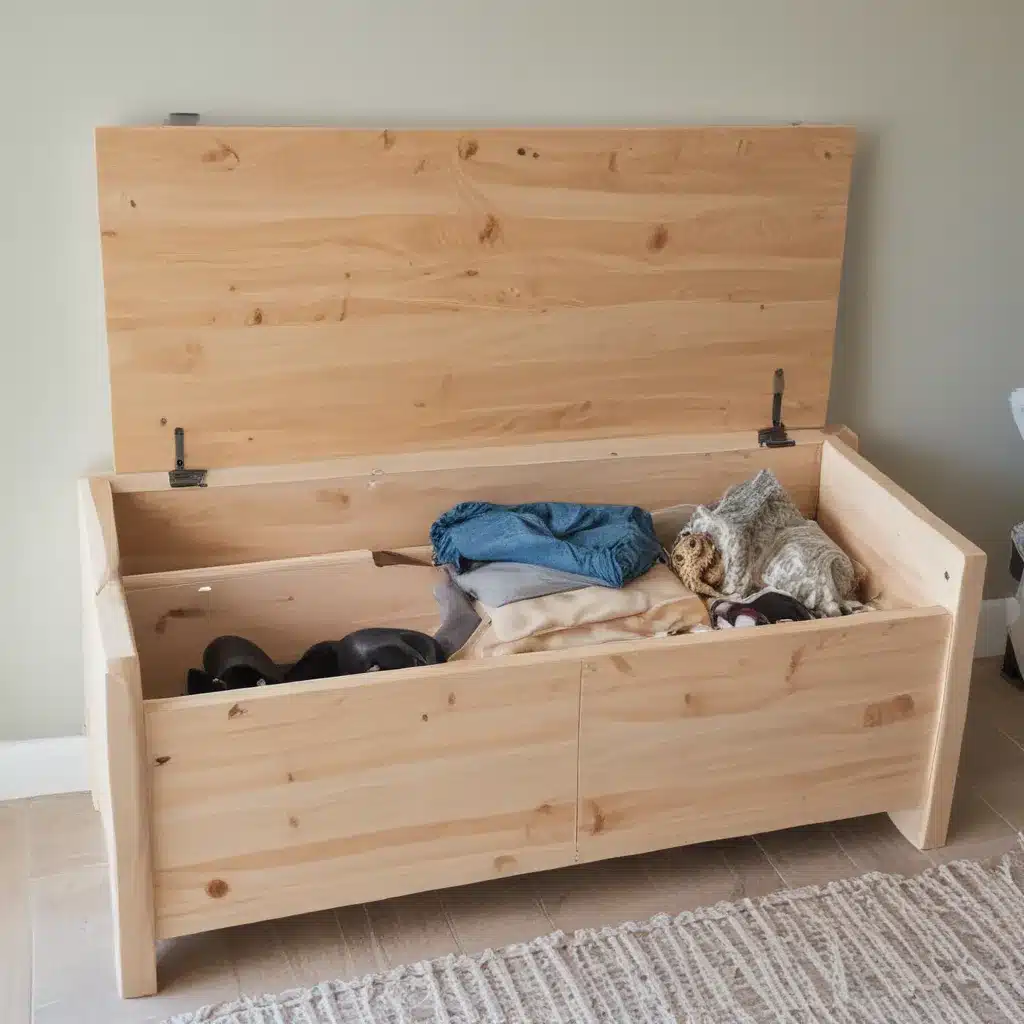
Not only does our new storage bench provide ample seating for guests, but it also boasts hidden compartments perfect for stashing away linens, serving platters, and other entertaining essentials. The best part? It seamlessly blends with the existing decor, looking as if it was always meant to be there. Needless to say, I’m thrilled with how this Sofa Spectacular project turned out, and I can’t wait to show it off the next time we host a dinner party.
If you’re looking to add a touch of custom charm to your home, I highly recommend tackling a storage bench like this one. With a little elbow grease and the right plan, you can transform a dull nook into a functional, beautiful focal point. So why not get started on your own DIY bench today? Trust me, the sense of pride you’ll feel when it’s all said and done is worth every minute.


