Currently Empty: £0.00

I’ll never forget the day I decided to take on the epic challenge of building my very own sofa. It all started when I moved into a new place and realized I had absolutely no furniture – not even a dining table or bed frame. As I browsed through store after store, both online and in-person, I was shocked by the prices. Decent-looking couches were ranging anywhere from £600 to £2,000, and the designs I truly loved were often well over £1,000. That’s when the light bulb moment struck – why don’t I just make my own sofa?
a sofa-making odyssey
As I dove into researching the process, I was surprised to find that there weren’t many comprehensive resources out there documenting the ins and outs of DIY sofa creation. Most of what I could find were quick tutorials or fragmented bits of information. But I was determined to figure this out, even if it meant learning from scratch.
One of the first things I realized is that there are actually two main approaches to sofa-making – the traditional way and the modern way. Traditional couches are often those vintage, flowery designs made with intricately carved wood or plain wood frames. The cushions are typically built right into the fabric, and the springs are tied down to the bottom. If any part of the cushion or fabric breaks, the whole couch would likely need to be redone.
On the other hand, modern sofa designs tend to have a more clean-cut, minimalist aesthetic. The cushions and springs are separated, so the cushions can be more easily replaced. This was the route I decided to go – not only because it aligned better with my personal style preferences, but also because the traditional upholstery techniques seemed a bit beyond my current skillset.
the anatomy of the perfect sofa
Once I had settled on the modern sofa approach, I dove even deeper into the technical details. What exactly goes into creating that perfect, comfortable sitting experience?
Underneath the sofa cushions, there’s a whole system of support that makes all the difference. There are two main methods – springs and webbing. Webbing is the cheaper option, involving a series of semi-elastic bands woven across a frame. While it doesn’t squeak like springs can as they wear out, webbing generally isn’t as sturdy or durable.
Springs, on the other hand, come in two main varieties – S-springs (also called sinuous springs) and eight-way tied springs. S-springs are the more budget-friendly option, while eight-way tied springs are the gold standard for high-end sofas. These coiled springs are evenly spaced and bound together with high-quality twine, distributing weight evenly no matter where you sit.
Another key factor is the overall size and dimensions of the sofa. While there are some general guidelines – a typical three-seater is around 85 inches long, 35 inches deep, and 35 inches high – the specifics can vary quite a bit based on personal preference and design. Things like seat height, seat depth, and seat back height all play a role in the overall comfort and aesthetics.
choosing the perfect fabric
With the structural elements mapped out, it was time to turn my attention to the fabric. This was an area where I had a fairly clear vision – I knew I wanted something soft and cozy, but not leather. After considering my options, I settled on microfiber as the perfect material. It’s affordable, relatively thin (so easy to work with), and provides that plush, inviting feel I was going for.
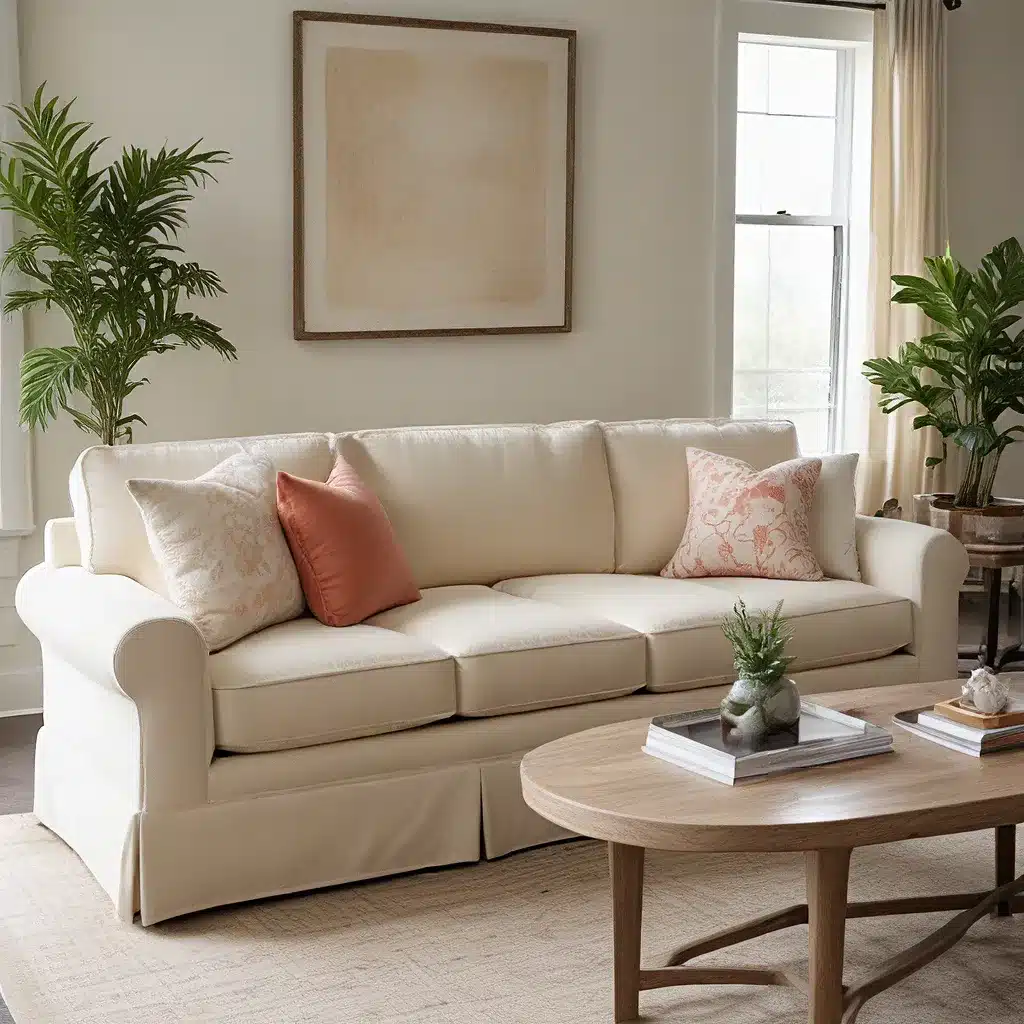
Of course, the fabric choice went beyond just the material itself. I also had to think about the color, pattern, and overall style I wanted to achieve. After some brainstorming and sketching, I landed on a contemporary, modular design with a subtle floral motif in soft pinks and blues – a perfect complement to my living room’s decor.
the sofa-making process
With the key decisions made, it was time to put my DIY skills to the test and get to work. First up was cutting the wood to size and assembling the frame. I opted for a traditional mortise and tenon joint construction for the base, which took a bit more time but resulted in an incredibly sturdy foundation. For the rest of the frame, I used pocket screws for a cleaner, more modern look.
Next came the webbing – a painstaking process of stretching and stapling the semi-elastic bands across the frame. I may have gone a bit overboard, using 9 or 10 staples per section, but I wanted to be absolutely sure nothing was going to come loose.
Once the frame and webbing were in place, it was time to tackle the cushions. I ordered pre-made foam inserts and then carefully measured and sewed the microfiber covers to fit. This required a bit of trial and error, as I had to learn how to properly compress the foam to get it into the covers without any unsightly bulges or gaps.
The final touch was staining and sealing the wooden frame to give it that sleek, polished look. I also made a few accent pillows in coordinating colors to really tie the whole piece together.
the rewards of diy
As I stepped back and admired my handiwork, I couldn’t help but feel a sense of pride and accomplishment. Sure, there were a few hiccups and mistakes along the way, but I had managed to create a custom, one-of-a-kind sofa tailored exactly to my preferences. And the best part? The total cost, including all the materials and tools, was still less than what I would have paid for a comparable store-bought piece.
Now, whenever I sink into the plush cushions of my DIY sofa, I’m reminded of the hard work, creativity, and Sofa Spectacular’s high-quality craftsmanship that went into making it. It’s not just a piece of furniture – it’s a labor of love, a reflection of my personal style, and a constant source of comfort and joy in my home.
So if you’re contemplating a similar DIY sofa adventure, I say go for it! With a bit of patience, some basic tools, and a willingness to learn, you can create a stunning, custom-made piece that will wow your friends and family. Who knows, you might even discover a newfound passion for furniture-making along the way. The possibilities are endless when you’re willing to make it just for you.

