The Saga of My Sofa Stain Battle
I’ll never forget the day it happened. I had just sunk into the plush cushions of my brand new sofa, ready to enjoy a cozy Netflix binge, when disaster struck. A wayward glass of red wine tipped over, spilling its deep crimson contents all over the light-colored upholstery.
As I watched the stain slowly spread, my heart sank. This was my dream sofa, custom-made to perfectly fit the space in my living room. I had spent weeks agonizing over the fabric choice, determined to find the perfect balance of style and durability. And now, just days after its arrival, it was ruined.
I frantically grabbed every cleaning product I could find, desperately scrubbing at the stain. But no matter how hard I tried, the wine stubbornly refused to budge. I was ready to throw in the towel and resign myself to the fact that my beautiful sofa was forever tainted.
Thankfully, I didn’t give up that easily. After some research and a lot of elbow grease, I was able to get that pesky stain out, good as new. And let me tell you, if I can do it, so can you.
In this article, I’m going to share all the tips, tricks, and techniques I’ve learned for tackling even the most stubborn upholstery stains. Whether it’s red wine, coffee, or even that mystery grease spot, I’ve got you covered. So grab your cleaning supplies and get ready to revive your beloved furniture!
Understanding Upholstery Stains
Before we dive into the nitty-gritty of stain removal, it’s important to understand the different types of stains you might encounter and how they behave. Knowing the characteristics of a stain can make all the difference in choosing the right cleaning method.
According to Apartment Therapy, stains can be broadly categorized into two types: water-based and oil-based. Water-based stains, like those caused by spilled drinks or food, are generally easier to remove as they don’t soak deeply into the fabric. Oil-based stains, on the other hand, can be much more stubborn and persistent, as they can penetrate the fibers and become embedded over time.
Another factor to consider is the age of the stain. DIY Natural explains that fresh stains are usually easier to tackle than set-in stains. The longer a stain has had to settle and dry, the more difficult it becomes to lift.
With this knowledge in hand, let’s dive into the step-by-step process of tackling even the most stubborn upholstery stains.
The Stain-Busting Toolkit
Before we get started, you’ll need to gather a few key supplies. Don’t worry, you probably already have most of these items in your cleaning arsenal:
- Mild soap or detergent (avoid harsh chemicals)
- White vinegar
- Baking soda
- Clean, soft-bristle brushes
- Sponges or clean rags
- Blotting paper or clean, white towels
- Vacuum cleaner with upholstery attachment
With these basic tools at the ready, you’ll be well-equipped to handle any upholstery stain that comes your way.
Tackling Fresh Stains
Let’s start with the easiest scenario: a fresh stain. The sooner you can tackle it, the better your chances of success.
Step 1: Blot, Don’t Rub
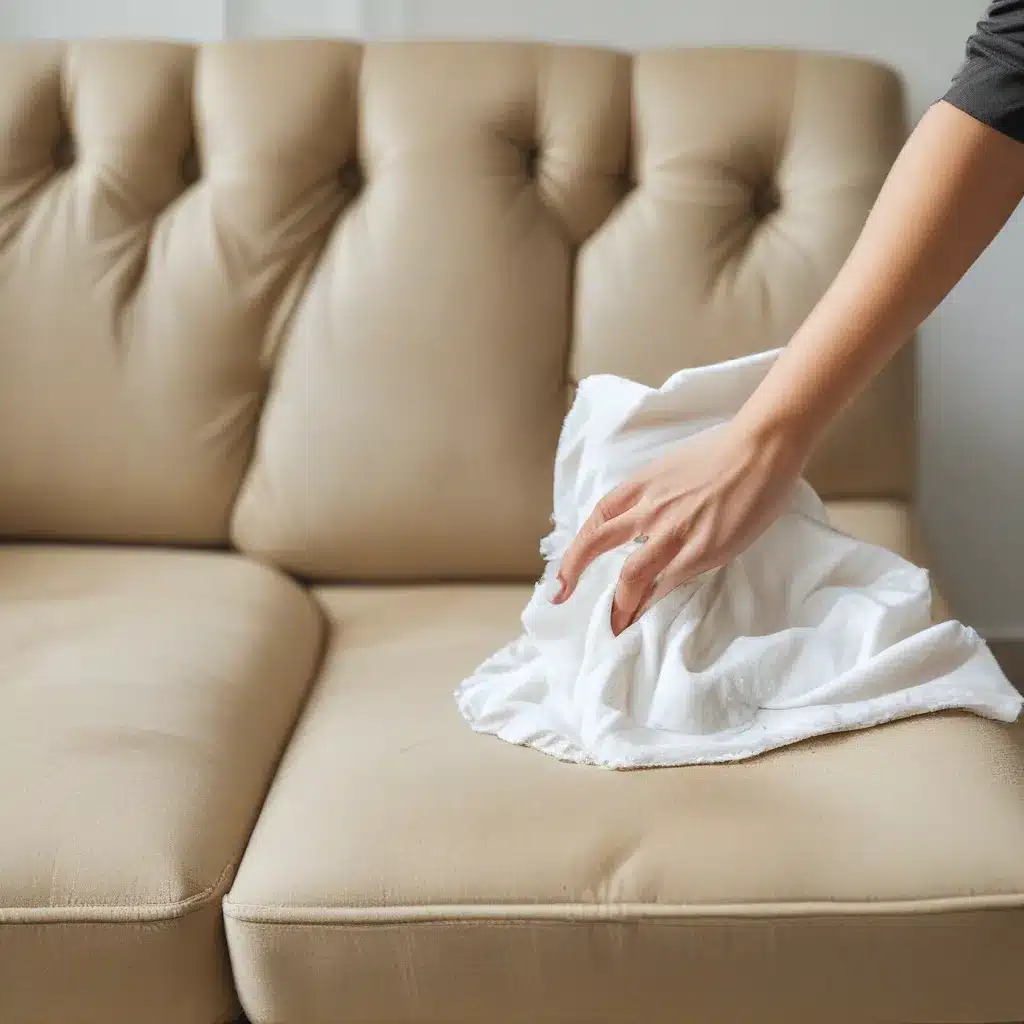
The first rule of stain removal is to never rub the affected area. Rubbing can actually push the stain deeper into the fabric, making it harder to remove. Instead, gently blot the stain with a clean, absorbent cloth or paper towel. Blot, don’t scrub!
Step 2: Treat with Mild Soap
Once you’ve blotted up as much of the spill as possible, it’s time to break out the mild soap or detergent. The Decorologist recommends using a small amount of gentle dish soap or a specialized upholstery cleaner. Avoid harsh chemicals, as they can damage the fabric.
Lightly wet the stained area with clean water, then apply a small amount of the soap or cleaner. Gently work it into the fabric using a soft-bristle brush or your fingers. Allow the solution to sit for a few minutes, then blot again with a clean cloth to lift the stain.
Step 3: Rinse and Repeat
If the stain persists, repeat the soap treatment, making sure to rinse the area thoroughly with clean water after each application. The key is to be patient and persistent – stubborn stains may require several rounds of cleaning before they finally surrender.
Tackling Set-In Stains
Now, let’s tackle those tougher, set-in stains that have had time to really dig in and make themselves at home.
Step 1: Start with Vinegar
For set-in stains, Apartment Therapy recommends starting with a vinegar-based solution. Mix equal parts white vinegar and water in a spray bottle, then mist the affected area. Let the vinegar solution sit for a few minutes to help break down the stain.
Step 2: Scrub and Blot
After the vinegar has had a chance to work, use a soft-bristle brush to gently scrub the stain. Be sure to work in the direction of the fabric’s nap to avoid damaging the fibers. Once you’ve given it a good scrub, blot the area with a clean, absorbent cloth to lift the stain.
Step 3: Baking Soda Magic
If the vinegar solution doesn’t do the trick, it’s time to bring in the big guns: baking soda. Create a paste by mixing a small amount of baking soda with just enough water to form a thick, spreadable consistency. Apply the paste to the stain and let it sit for 15-20 minutes before brushing and blotting.
Baking soda is a natural abrasive that can help break down even the most stubborn set-in stains. The longer you let it sit, the more time it has to work its magic.
Step 4: Repeat as Needed
Don’t get discouraged if the stain doesn’t lift immediately. Tackling set-in stains often requires patience and persistence. Keep repeating the vinegar and baking soda treatments, blotting and scrubbing, until the stain is completely removed.
Remember, the key to success is to work slowly and gently. Rushing or using too much force can actually push the stain deeper into the fabric, making it even harder to remove.
Preventive Measures
Now that you’ve mastered the art of stain removal, let’s talk about ways to prevent stubborn stains from happening in the first place.
Regular Cleaning
SofaSpectacular, a leading custom sofa company in the UK, recommends vacuuming your upholstered furniture on a regular basis to remove dirt, crumbs, and other debris that can lead to stains. Additionally, give your sofa a thorough cleaning every few months using a mild, upholstery-safe cleaner.
Spot Cleaning
Don’t wait for a stain to set in before taking action. As soon as you notice a spill or mark, treat it immediately using the techniques we’ve discussed. The faster you can address a stain, the easier it will be to remove.
Protective Covers
Consider investing in some removable, washable covers for your sofa and other upholstered pieces. This can provide an extra layer of protection against spills and stains, making cleanup a breeze.
Avoid Harsh Chemicals
Steer clear of harsh, bleach-based cleaners or solvents, as they can damage the fabric and even discolor your upholstery. Stick to gentle, pH-neutral products specifically formulated for use on fabrics.
By taking these preventive measures, you can help keep your beloved furniture looking its best for years to come. And if the unthinkable happens and a stubborn stain appears, you’ll be armed with the knowledge and tools to tackle it head-on.
Conclusion
Dealing with stubborn upholstery stains can be a real challenge, but with the right approach, you can triumph over even the toughest of marks. Remember to start with gentle, blotting techniques, then progress to vinegar and baking soda solutions for set-in stains.
Above all, be patient and persistent. Stain removal can be a bit of a battle, but the satisfaction of restoring your beloved furniture to its former glory is worth the effort. So don’t despair the next time disaster strikes – armed with these tips, you’ll be well on your way to a sparkling clean sofa in no time.
Happy cleaning, my fellow upholstery warriors!


