Confessions of a Serial Couch Ripper
I have a complicated relationship with my sofas. In my younger, more reckless days, I was somewhat of a serial couch ripper. Whether it was dramatically flinging myself onto the cushions, or engaging in spirited roughhousing with my (admittedly large) dog, I had a knack for creating new and interesting ‘design features’ on my poor upholstered furniture.
Looking back, I cringe at the carnage I left in my wake. Gaping holes, fraying edges, and forlorn cushions that had seen better days. But hey, what can I say? I was young, I was foolish, and I didn’t know the first thing about properly caring for and repairing my sofas.
Sofa Spectacular, my go-to custom sofa company in the UK, has seen it all. And let me tell you, they’ve had to work some serious magic to revive my well-loved (read: thoroughly abused) pieces over the years. That’s why I’m excited to share their expert tips and tricks for fixing rips and tears in upholstery. Whether you’re dealing with the aftermath of your own couch-related mishaps, or simply want to learn how to prolong the life of your furniture, this comprehensive guide has got you covered.
Assess the Damage
The first step in any upholstery repair journey is to take a good, hard look at the damage and determine the best course of action. Is it a small, clean tear? A jagged rip along a seam? Or a full-blown gaping hole that looks like it was created by a rampaging rhinoceros? (Believe me, I’ve seen it all.)
According to the experts at Make Magazine, the key is to carefully study the rip and understand its nature. Is the fabric on one side still intact, or is it starting to fray? This will inform the repair method you choose.
For small, clean tears, a simple stitch or two might do the trick. But for larger, more severe damage, you may need to get a bit more creative. Think patches, reinforcements, and strategic placement of decorative elements to camouflage the problem areas.
Gather Your Tools
Now that you’ve got a handle on the situation, it’s time to assemble your upholstery repair toolkit. This is where things can get a bit Martha Stewart-esque, but trust me, having the right supplies on hand will make all the difference in the world.
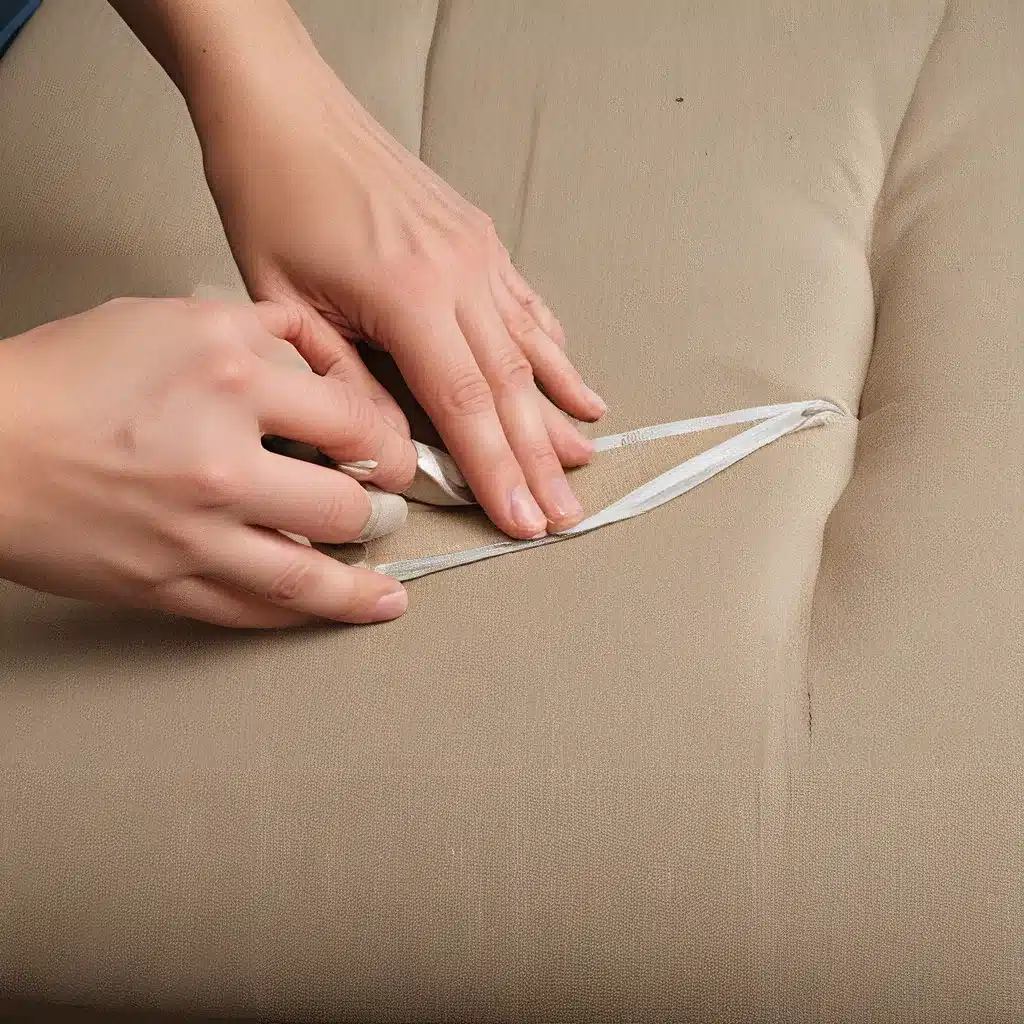
First and foremost, you’ll need a sturdy, curved upholstery needle and some heavy-duty thread. As the experts at Making It Lovely suggest, you can even bend a regular crewel embroidery needle with a pair of pliers to create your own makeshift upholstery needle.
Other essential items include scissors, a thimble (to protect those delicate fingertips), and potentially some fabric glue or patches, depending on the nature of the damage. Oh, and don’t forget a nice, bright light to illuminate your work area. Trust me, you don’t want to be squinting at those tiny stitches in the dim glow of a single desk lamp.
Stitch it Up
Alright, now that you’ve got your tools at the ready, it’s time to get to work. Depending on the severity of the rip, your stitching technique may vary, but the general principles remain the same.
For small, clean tears, a simple running stitch can work wonders. Start by carefully threading your needle and securing the end with a knot. Then, take small, even stitches, carefully weaving the fabric back together. Be sure to keep your stitches tight and evenly spaced to create a seamless, invisible repair.
As the Instructables tutorial advises, pay close attention to the edges of the fabric, making sure they’re neatly tucked in and secured. This will help prevent further unraveling and keep your repair looking tidy.
For larger, more jagged rips, you may need to get a bit more creative. Consider reinforcing the area with a small patch of fabric, either stitched or glued in place. This not only adds strength and stability to the repair, but can also help camouflage the damage.
And don’t be afraid to get a little decorative with your stitching! A few strategically placed zig-zags or embroidered flourishes can transform a simple repair into a stylish design feature. After all, isn’t that what being a maker is all about?
Breathe New Life into Old Furniture
Once you’ve mastered the art of upholstery repair, the world of well-loved, well-used furniture is your oyster. Those tattered, torn sofas and chairs that were destined for the trash heap can now be transformed into cherished, one-of-a-kind pieces that tell a story.
Think about it – each rip, each patch, each carefully placed stitch is a testament to the life your furniture has lived. The couch that’s seen you through countless movie marathons, the chair that’s weathered the storm of countless toddler tantrums, the loveseat that’s quietly observed the ups and downs of your relationship – they all have a tale to tell.
And now, with your newfound upholstery repair skills, you can ensure those stories continue to be written. Whether it’s salvaging a family heirloom or breathing new life into a secondhand find, the satisfaction of rescuing a piece of furniture from the brink of destruction is truly unparalleled.
So, the next time you find yourself confronted with a rip or tear in your beloved upholstered furniture, don’t despair. Grab your trusty needle and thread, channel your inner maker, and get to work. Who knows – you might just end up creating your new favorite piece in the process.


