Have you ever found yourself staring at a perfectly good piece of furniture, lamenting the outdated fabric that just doesn’t fit your home’s aesthetic anymore? Well, my friends, I’m here to tell you that there’s a solution that doesn’t involve breaking the bank on a complete reupholstery job. Prepare to be amazed, because today, I’m going to show you how to breathe new life into your dated upholstery using simple DIY painting techniques.
Now, I know what you’re thinking – “Paint on fabric? Isn’t that just a recipe for disaster?” Well, fear not, because I’ve done the research and the legwork, and I’m here to share my tried-and-true methods with you. Trust me, by the time you’re done reading this, you’ll be itching to grab a brush and transform your tired old furniture into a showstopper.
Fabric Types and Preparation
Before we dive in, let’s talk about the most important step: choosing the right fabric. Smooth cotton or poly blends are the MVPs when it comes to painting upholstery. These fabrics are the most suitable because the paint will adhere beautifully, and the finished result will be a soft, supple surface that feels amazing to the touch.
Now, I know what you’re thinking – “But what about that gorgeous velvet armchair I’ve been eyeing?” Well, I’m sorry to burst your bubble, but fabrics with a lot of texture, like velvet or thick woven fabrics, are much more challenging to paint over. The paint tends to form a thick, crunchy crust after soaking into those textured fibers. If you’ve got your heart set on a piece like that, consider using a liquid dye instead, or simply go the slipcover route.
Before you start painting, make sure to give your fabric a good once-over. Vacuum up any nooks and crannies to remove any dust or debris, and spot-clean any stains so they don’t bleed through the paint and ruin your hard work. And don’t forget to tape off any parts you want to protect from the paint, like the legs or any hardware.
The Magic of Diluted Paint
Alright, now for the fun part – let’s talk about the paint itself. I’ve done some extensive testing, and I can tell you with absolute certainty that the key to keeping your fabric soft and supple is to use diluted paint. That’s right, you heard me correctly – diluted paint.
I found that a ratio of 3 parts paint to 2 parts water creates the perfect consistency, kind of like crepe or pancake batter. This helps the paint soak into the fabric, rather than sitting on top and creating a stiff, crusty finish. And let me tell you, the results are nothing short of magical.
Now, when it comes to the actual paint, I used Sherwin Williams Emerald Latex paint in Dover White, satin finish. I love this stuff because it’s not only gorgeous, but it also meets the most stringent VOC regulations and has antimicrobial agents to inhibit the growth of mold and mildew on the paint surface. Win-win, if you ask me.
Layer by Layer, the Transformation Begins
Okay, time to get painting! Start by spraying your fabric with water until it’s nice and damp. This will help that first coat of paint soak in and create a seamless, integrated look. Then, using either a brush or a paint sprayer (I swear by my HomeRight Finish Max Fine Finish Sprayer), apply that first diluted coat.
Now, here’s where the real magic happens. After applying the first coat, take a rag or sponge and rub the painted surface. This helps the paint really soak into the fabric, creating a soft, supple finish. Just don’t forget to do this only for the first coat – the subsequent layers won’t need it.
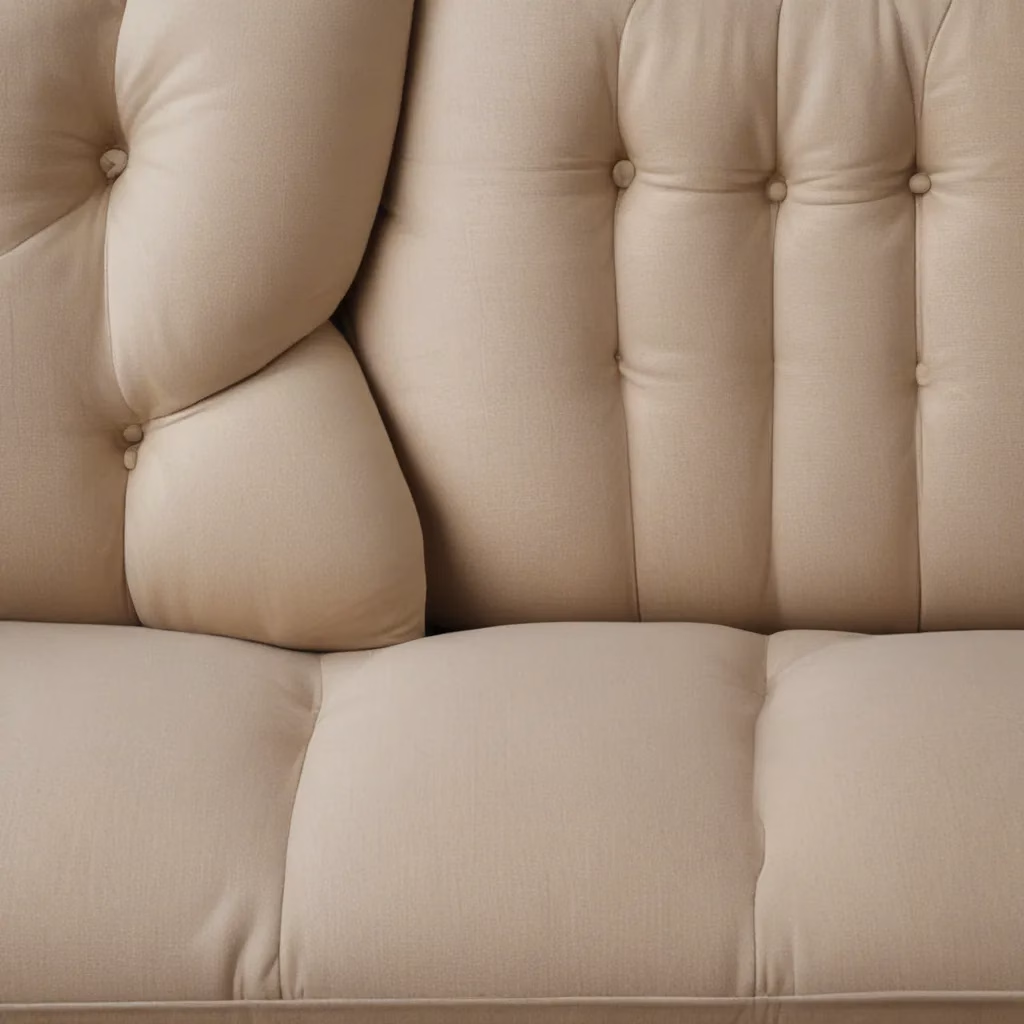
Let that first coat dry, and then sand the painted areas with some extra-fine 320-400 grit sandpaper. Sanding between each coat is another key to keeping that fabric feeling luxurious, rather than stiff and crunchy. Trust me, you’ll be amazed at the difference.
Repeat this process, applying the second coat, sanding, and so on, until you’re satisfied with the coverage and finish. I ended up doing a total of four coats on my chair, and let me tell you, the transformation was nothing short of jaw-dropping.
The Reveal: A Bright, Airy Masterpiece
When I first started this project, I’ll admit, I was a bit nervous. I mean, painting upholstery? That’s not exactly a common DIY, is it? But as each coat of paint went on, and the fabric started to transform, I knew I was onto something special.
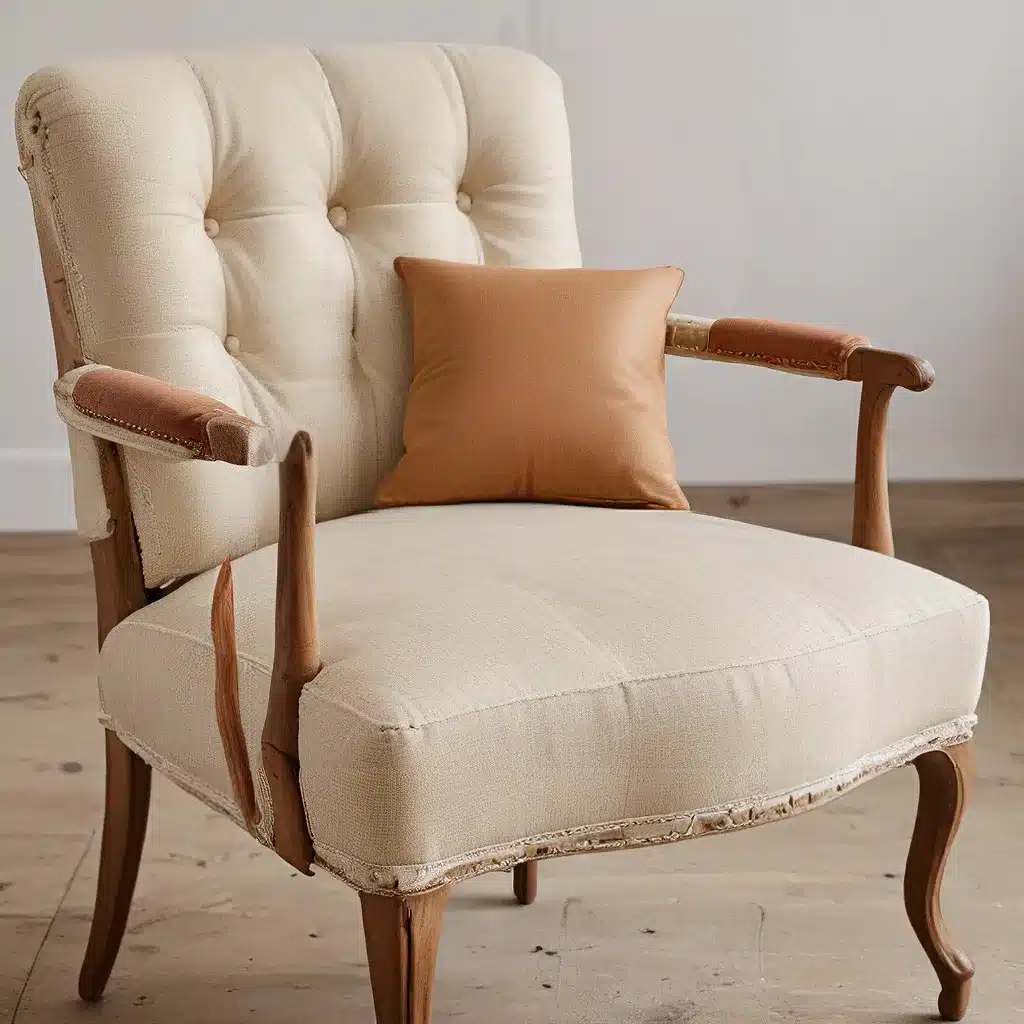
And let me tell you, the final result was nothing short of spectacular. Our once-dated, drab chair is now a bright, airy masterpiece, radiating an effortless sophistication that perfectly complements the rest of our decor. And the best part? The fabric feels like smooth, supple leather – no stiffness or crunchy texture in sight.
I have to say, I’m pretty proud of myself. This little DIY project not only saved me a ton of money, but it also allowed me to breathe new life into a piece of furniture that I truly loved. And the best part? Now, every time I look at that chair, I’m reminded of the satisfaction and sense of accomplishment that comes with taking on a challenge and coming out on top.
Beyond the Chair: Endless Possibilities
But you know what they say – once you start, you just can’t stop. And let me tell you, the furniture-painting bug has bitten me hard. I’m already eyeing up other pieces around the house, mentally planning their transformations.
Perhaps you’re in the same boat, staring at that tired old sofa or armchair, wondering if there’s a solution that doesn’t involve breaking the bank. Well, my friends, I’m here to tell you that the possibilities are endless. With a little elbow grease, some diluted paint, and a whole lot of determination, you can breathe new life into any piece of upholstered furniture.
So, what are you waiting for? Grab your brushes, crank up the tunes, and get ready to embark on your very own furniture-rejuvenation journey. Trust me, the results will be nothing short of awe-inspiring. And who knows, maybe you’ll even inspire the rest of your family to get in on the action. After all, a little paint-and-sanding party never hurt anyone, right?
Sofa Spectacular is the perfect place to find all the inspiration and resources you need to transform your dated furniture into a showstopper. So why wait? Let’s get painting!


