The Beauty of Slipcovers: A Personal Journey
As a furniture specialist, I’ve seen countless trends come and go, but there’s one that has consistently captured my heart: the timeless appeal of slipcovers. I remember my initial skepticism about these fabric covers. “Aren’t they just glorified dust sheets?” I once thought. How wrong I was! Over the years, I’ve come to appreciate the versatility, practicality, and sheer elegance that a well-chosen slipcover can bring to a room.
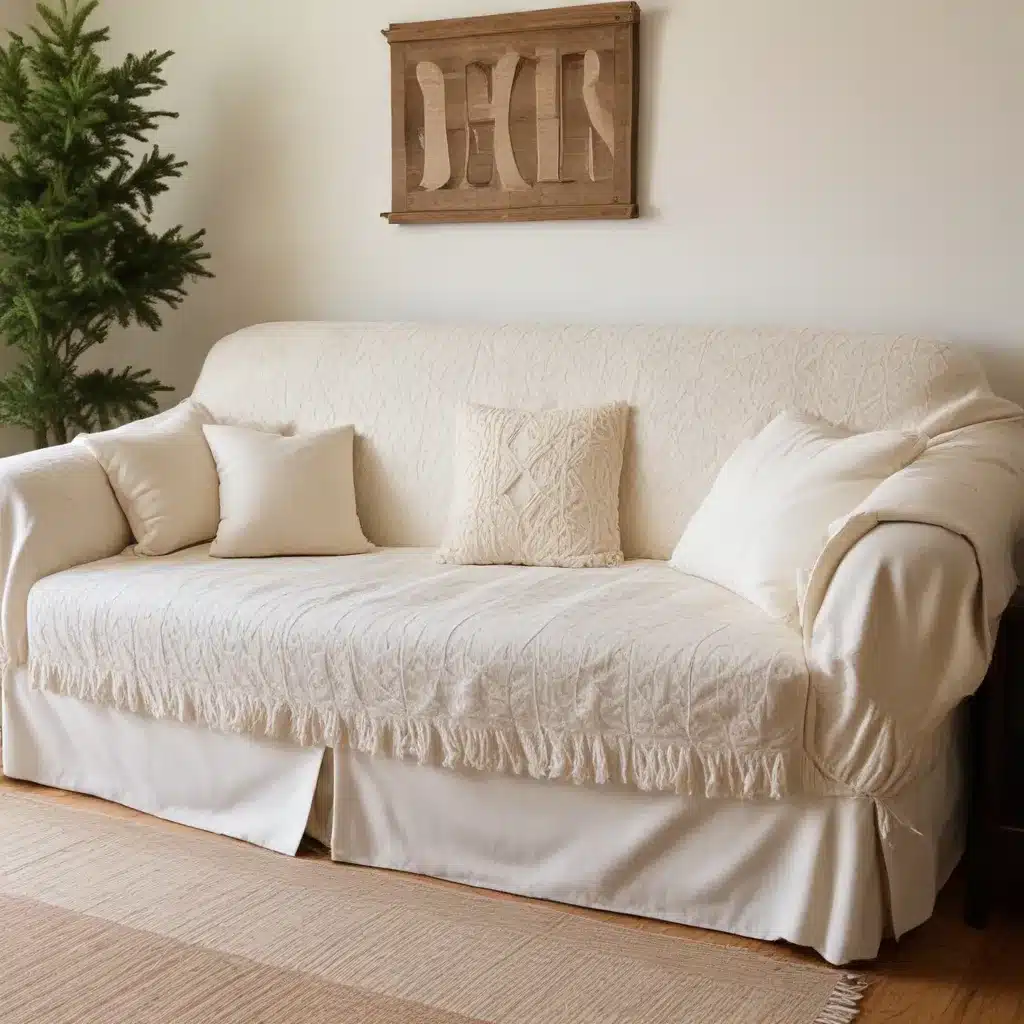
My first encounter with a truly stunning slipcover was at a client’s home in the countryside. As I stepped into their living room, my eyes were immediately drawn to a luxurious white sofa. The fabric draped beautifully, creating soft folds that invited you to sink in and relax. What struck me most was how this simple addition transformed an ordinary piece of furniture into the focal point of the room.
The homeowner shared her secret: it was a DIY slipcover she’d made herself. I was astounded. This revelation sparked my fascination with slipcovers and set me on a path to explore their potential. Since then, I’ve helped countless clients revitalize their living spaces with this simple yet effective technique.
Why Slipcovers Are a Game-Changer for Winter Decor
When the chill of winter sets in, our instinct is to create warm, inviting spaces within our homes. Slipcovers play a crucial role in this transformation. They offer an immediate way to change the look and feel of your furniture, adapting it to the cozy atmosphere we crave during the colder months.
Think about it: a light, breezy linen slipcover might be perfect for summer, but as temperatures drop, swapping it for a rich, textured fabric can instantly make your room feel warmer. I’ve seen clients use everything from soft velvets to chunky woven cottons, each choice bringing its own unique character to the space.
But it’s not just about aesthetics. Slipcovers provide practical benefits that are especially valuable in winter. They add an extra layer of insulation to your furniture, making it more comfortable to snuggle up on those long, cold evenings. Plus, they protect your upholstery from the wear and tear that comes with increased indoor time during winter months.
The DIY Advantage: Crafting Your Perfect Slipcover
Now, you might be wondering, “Why DIY?” I asked myself the same question when I first started exploring slipcovers. The answer lies in the unparalleled customization and satisfaction that comes with creating something yourself. When you make your own slipcover, you have complete control over every aspect – from the fabric choice to the fit.
I remember the first time I attempted to make a slipcover. It was for my own sofa, a beloved piece that had seen better days. I chose a sturdy cotton duck cloth in a warm cream color. The process was not without its challenges – there were moments of frustration as I wrestled with fabric and sewing machine alike. But when I finally slipped the finished cover over my sofa, the sense of achievement was indescribable.
The best part? I could wash it whenever I wanted. No more worrying about spills or pet hair. This practicality is a huge advantage of slipcovers, especially for families with children or pets. It’s a feature that many of my clients have come to appreciate over time.
Choosing the Right Fabric for Your Winter Slipcover
Selecting the perfect fabric for your winter slipcover is crucial. It’s not just about color or pattern – though these are important considerations. The texture and weight of the fabric play a significant role in creating that cozy winter feel.
In my experience, heavier fabrics work best for winter slipcovers. They drape beautifully and provide that extra warmth we crave. Some of my favorite options include:
-
Velvet: Luxurious and soft, velvet adds a touch of elegance to any room. It’s perfect for creating a rich, inviting atmosphere.
-
Chenille: This fabric has a unique texture that’s both visually interesting and wonderfully tactile. It’s incredibly cozy and perfect for snuggling.
-
Wool blend: For a more rustic look, wool blends offer warmth and durability. They’re especially suited to country-style or traditional interiors.
-
Heavy cotton: A versatile option that comes in a variety of textures and weights. Look for thicker weaves for winter use.
When choosing your fabric, consider not just the look but also the practicality. If you have pets or children, opt for fabrics that are easy to clean and durable. Always check the care instructions before making your final decision.
Step-by-Step Guide to Creating Your DIY Slipcover
Creating your own slipcover might seem daunting, but with a little patience and the right approach, it’s a rewarding project. Here’s a simplified guide to get you started:
-
Measure your sofa: Take detailed measurements of every part of your sofa. Don’t forget to measure the depth of the cushions and the height of the arms.
-
Choose and prepare your fabric: Once you’ve selected your fabric, wash and iron it to prevent shrinkage later.
-
Create a pattern: Use large pieces of paper or old bed sheets to create a pattern. Drape these over your sofa and pin them in place, trimming to fit.
-
Cut your fabric: Use your pattern to cut out the fabric pieces. Remember to add seam allowances.
-
Sew the pieces together: Start with the larger sections like the seat and back. Then attach the smaller pieces like arm covers.
-
Add finishing touches: Hem the edges and add any decorative elements like piping or buttons.
-
Fit and adjust: Put the slipcover on your sofa and make any necessary adjustments for a perfect fit.
Remember, your first attempt might not be perfect, and that’s okay. Each project is a learning experience. I still recall the wonky seams on my first slipcover – but with each subsequent project, my skills improved.
Styling Your Newly Slipcovered Sofa for Winter
Once you’ve created your perfect winter slipcover, it’s time to style your sofa to enhance that cozy winter feeling. This is where you can really let your creativity shine. Here are some ideas I’ve used in my own home and recommended to clients:
-
Layer with throws: Add depth and texture with chunky knit blankets or faux fur throws. These not only look inviting but are practical for chilly evenings.
-
Mix and match cushions: Play with different textures and patterns in your cushions. Think velvet, wool, and even some metallic accents for a festive touch.
-
Introduce warm lighting: Place table lamps or floor lamps near your sofa to create a warm, inviting glow.
-
Add natural elements: Incorporate winter greenery or pinecones in your decor to bring a touch of nature indoors.
-
Create a cozy nook: If space allows, arrange a small side table and a reading lamp next to your sofa to create the perfect spot for winter reading.
Remember, the key is to create a space that feels warm and inviting to you. Don’t be afraid to experiment with different combinations until you find what works best in your home.
Maintaining Your Winter Slipcover
One of the great advantages of slipcovers is their ease of maintenance. However, to keep your winter slipcover looking its best throughout the season, there are a few care tips to keep in mind:
-
Regular vacuuming: Use the upholstery attachment on your vacuum to remove dust and debris weekly.
-
Spot cleaning: Address spills immediately to prevent staining. Use a clean, damp cloth and blot – don’t rub – the affected area.
-
Washing: Check the care instructions for your fabric. Most slipcovers can be machine washed, but some may require dry cleaning.
-
Ironing or steaming: To keep your slipcover looking crisp, iron or steam it after washing. This is especially important for fabrics like cotton or linen that tend to wrinkle.
-
Rotating cushions: If your slipcover includes separate cushion covers, rotate them regularly to ensure even wear.
By following these simple steps, you can keep your slipcover looking fresh and inviting all winter long.
Beyond Winter: Slipcovers for All Seasons
While we’ve focused on winter slipcovers, it’s worth noting that the beauty of this approach lies in its flexibility. As the seasons change, so can your slipcovers. I’ve worked with clients who have a collection of slipcovers they rotate throughout the year, effortlessly transforming their living spaces with the changing seasons.
For spring, consider light, breathable fabrics in fresh, vibrant colors. Summer might call for crisp whites or cool blues. Autumn is perfect for warm, earthy tones. By changing your slipcovers seasonally, you can keep your interior design dynamic and always in tune with the world outside your windows.
This approach not only keeps your decor fresh and exciting but also protects your furniture year-round. It’s a cost-effective way to update your living space without investing in new furniture every few years.
Conclusion: Embracing the Warmth of Winter with Your DIY Slipcover
As we wrap up our journey through the world of DIY winter slipcovers, I hope you’re feeling inspired to take on this project in your own home. Creating a cozy, inviting space during the colder months is about more than just aesthetics – it’s about crafting an environment where you and your loved ones can truly relax and enjoy the season.
Remember, the process of making your own slipcover is as rewarding as the end result. It’s an opportunity to express your creativity, learn new skills, and create something truly unique for your home. And when you’re curled up on your newly slipcovered sofa, sipping hot cocoa and watching the snow fall outside, you’ll have the added satisfaction of knowing you created this cozy haven yourself.
If you’re looking for more inspiration or advice on creating the perfect living space, don’t hesitate to explore Sofa Spectacular. We’re always here to help you make your home as comfortable and stylish as possible, no matter the season.
So, grab your fabric, dust off that sewing machine, and get ready to transform your living room into the cozy winter retreat you’ve always dreamed of. Happy crafting!


