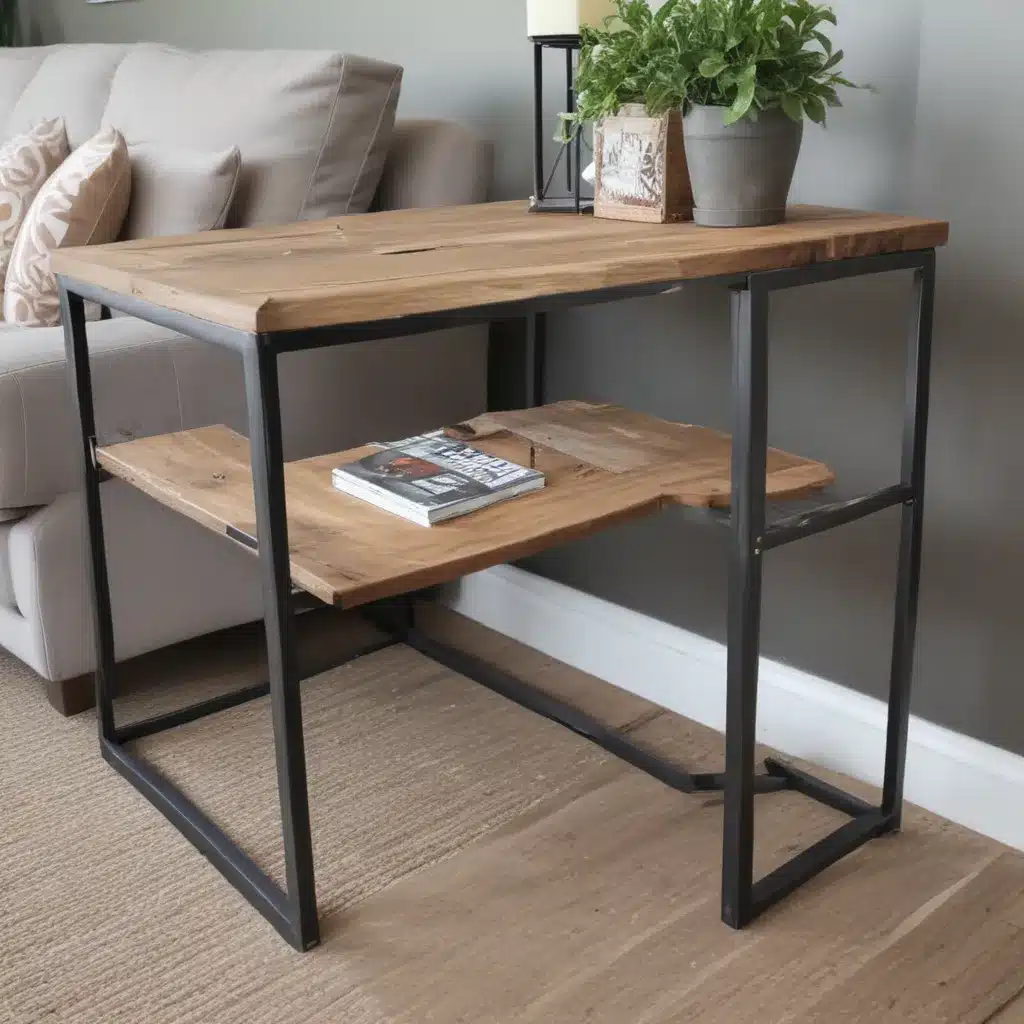
The Birth of a Sofa Table
You know those moments when you come home to find your brand new sectional sofa completely destroyed? Well, that’s exactly what happened to us. Our lovely pup, Rain, has some anxiety issues and couldn’t resist chewing up our lovely new couch. We tried finding a dog-proof option on the market, but nothing seemed to fit the bill – removable cushions, durable materials, and safe disassembly.
That’s when I proposed to my fiancé, Mat, that we take matters into our own hands and design and build a sofa of our own. We wanted to save money by reusing the leather cushions from our old sectional, so the new design had to accommodate those measurements. But more than that, we both really love the industrial, blended look of metal and natural wood. This was our chance to incorporate that aesthetic into our home.
Sketching Out the Design
We started by measuring the old couch and creating some 2D diagrams to get a feel for the dimensions. Since we were working as a team, we both needed to fully understand the plan. We decided to mock it up using a 3D modeling software called SketchUp. Now, neither of us are experts in the program, but the tutorials were super helpful, and it allowed us to visualize the concept and work out the kinks before we ever picked up a tool.
As we played around with the design, we actually ended up changing the arm style at the last minute. Originally, we were going for a more angled, cushioned look, similar to the District Millhouse’s Hourglass Couch. But in the end, we decided that squared-off arms would be more comfortable.
Cutting and Crafting the Metal Frame
With our design solidified, it was time to get to work. The first step was creating a cut plan. As Mat put it, “If I wasn’t around, I’d probably just start cutting instantly with no plan in place, resulting in wasted time and material.” So he diligently mapped out each section’s pieces and figured out the most efficient way to utilize the metal.
We purchased our supplies from a local metal distributor, which ended up being a lot less expensive than the big box stores, even if the selection was more limited. With our cut plan in hand, we tackled the metal cutting with a miter saw. Now, I should note that not all miter saws can handle cutting metal, so be sure to check the capabilities of your tool before getting started. We went through three saw blades during this process, but the LENOX 10-in 52-Tooth Steel-Cutting Circular Saw Blade was by far the best, getting us through about 80% of the cuts.
One key tip for the corners: you don’t want any butt joints because the metal is hollow, and it would look terrible. Instead, you should do miter cuts to create a solid, seamless look.
Now, our workspace wasn’t exactly a professional shop setup. The ground wasn’t perfectly level, and we didn’t have all the fancy tools. But we made do with what we had, using magnetic welding clamps to try and keep the frame square as we tack-welded the pieces together. That way, if a measurement was off or we tacked something in the wrong spot, we could easily break the weld, fix it, and tack it again.
Once we had the pieces in the right places, we welded it all solid, alternating which corners we worked on to minimize any warping from the heat. And let me tell you, I’ve never done so much grinding in my life! Every single weld needed to be ground down flat for the smooth, industrial look we were going for.
Crafting the Wooden Top
With the metal frame complete, it was time to tackle the wooden top. We headed to our local hardware store and had them rough-cut the plywood pieces for us. Of course, nothing is ever perfect, so we still had to do some hand-sawing and sanding to get everything to fit just right.
Each piece of plywood needed to be sanded down to get a nice, soft finish, and the corners all had to be rounded for a more forgiving look. Then, we stained the wood a rich, dark color, following the instructions on the label, and finished it off with a spray varnish.
Painting the Metal Frame
Initially, our plan was to paint the metal frame black, but once we saw it, it just reminded me of those old futon couches from my college days – not the look we were going for at all. So we switched gears and found this gorgeous dark brown “cappuccino” colored paint instead. It took four cans to get the coverage we wanted, but the end result was worth it.
Assembling the Sofa Table
The final step was putting it all together. We just secured the plywood to the metal frame using wood screws through the pre-drilled holes in the angle iron. Originally, we thought we’d need to bolt each section of the sectional together, but with the weight of the metal, it ended up not being necessary.
The most satisfying part was adding the repaired old cushions to the couch and sitting down for the first time. Honestly, I think our new creation is even better looking than the old sectional. But hey, maybe I’m just a little biased.
Lessons Learned
I have to be honest – this project took us a full year to complete. We picked away at it slowly, struggling with the wrong tools in the beginning. Our original plan was to make this with just a hacksaw and an oxy-acetylene welding torch, but that would have been a disaster.
The best advice I can give is to take your time with the design and planning stages. Work out all the bugs upfront, because it will save you so much time and frustration down the road. And don’t be afraid to invest in the right tools for the job – it makes all the difference.
Despite the challenges, I’m so proud of what we accomplished. Not only do we have a custom, one-of-a-kind sofa table that perfectly fits our style, but we also gained some valuable DIY skills along the way.
If you’re feeling inspired to take on a similar project, I’d definitely recommend checking out the Instructables tutorial and the Plaster & Disaster blog post that were such a huge help to us. And of course, if you have any questions, feel free to reach out to the team at Sofas Spectacular – we’re always happy to lend a hand!


