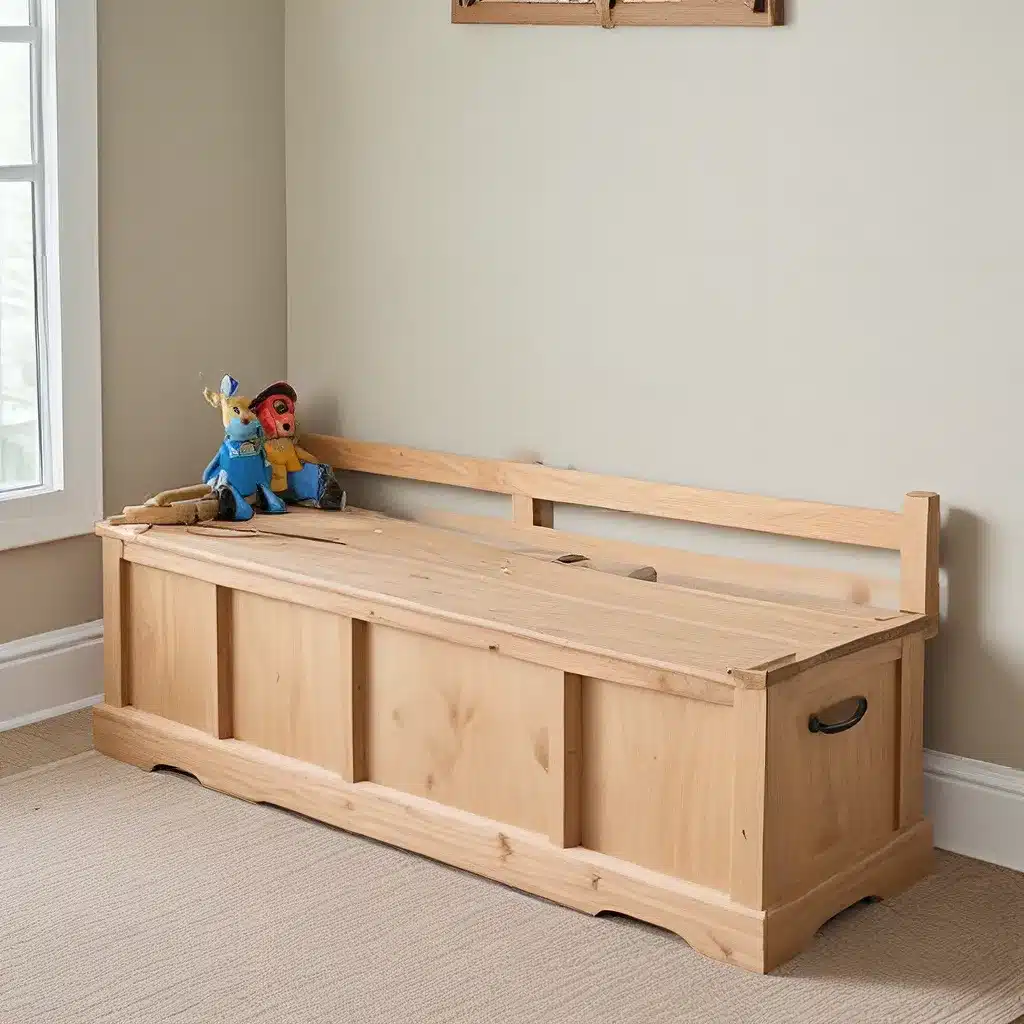
A DIY Project to Maximize Your Space
As a self-proclaimed “recovering clutter-bug,” I know all too well the struggle of trying to find a place for everything in our home. It seems like no matter how organized I try to be, there’s always something that ends up in a pile, shoved in a closet, or stashed under the bed. But today, I’m excited to share a project that’s not only going to give us some much-needed extra seating, but also provide hidden storage to tame the clutter – a custom built-in storage bench!
Now, I’ll be the first to admit, building furniture from scratch can feel a little intimidating. But trust me, with the right plan and a few basic tools, even a beginner like me can create a stunning and functional piece for our home. And the best part? This storage bench is completely customizable to fit your unique space.
Planning for the Perfect Fit
When it comes to a built-in piece like this, the first and most crucial step is getting your measurements just right. You’ll want to carefully assess the area where you plan to install the bench and make note of the width, depth, and height. As the team at Woodshop Diaries suggests, it’s better to err on the side of making your bench a bit smaller than the space, rather than trying to squeeze in something too large. That way, you can easily slide it into place and fill any gaps with trim for a seamless, built-in look.
Once you have your measurements, you can start to think about the overall design. Do you want open cubbies for display and easy access? Or would you prefer the storage to be behind hidden doors or drawers? Abby from Making It With Abby has a fantastic tutorial that walks you through creating both open and closed storage options.
Personally, I’m leaning towards the open cubby design. I love the idea of having a place to stash extra throw blankets, board games, or even some of my favorite decorative items. And with three or four cubbies, I can keep everything neatly organized and easily accessible.
Building the Base
Alright, now that we’ve got our plan in place, let’s dive into the actual construction! The first step is to build a sturdy base for the bench to sit on. Abby recommends using 2×6 boards to create a frame that’s slightly larger than the overall dimensions of your bench. This will give you a solid foundation to work from and also allow you to wrap the existing baseboards around the base for a truly built-in look.
Once you’ve got your base assembled, it’s time to start building the main box. Shara from Woodshop Diaries suggests using 3/4″ plywood for the sides, bottom, and any dividers you want to add. This not only makes the structure super sturdy, but also provides a smooth, seamless surface to work with.
Remember those measurements we took earlier? Now’s the time to put them to use! Cut your plywood pieces to size, making sure to account for any outlets, light switches, or other obstructions in your space. And don’t forget to drill those all-important pocket holes – this will be a game-changer when it comes to assembling the frame.
Adding the Finishing Touches
With the main structure complete, it’s time to start thinking about the details that will really make this storage bench shine. First up, let’s talk about that front face. Abby’s tutorial suggests using a simple 1×12 trim board across the top, with vertical pieces to create the individual cubby openings. This is a great way to give your bench a custom, built-in look without a ton of extra effort.
And speaking of those cubbies, don’t forget to add your dividers! Shara recommends using more 3/4″ plywood and spacing them out evenly to create the perfect storage nooks. You can even add a little extra flair by adding decorative trim or molding around the openings.
Now for the fun part – the bench top! You’ve got a few options here. If you’re feeling ambitious, you could create a custom wood top by gluing up some 2x boards or using a pre-made butcher block. Kati from Houseful of Handmade used this approach and even added a hinged section for easy access to the storage below.
Personally, I’m leaning towards an upholstered top. Not only is this a great way to add a cozy, comfortable element to the bench, but it also provides the perfect opportunity to tie in your home’s existing style. Simply cut a piece of plywood to size, add some high-density foam, and wrap it in your chosen fabric. Finish it off with a few decorative tacks or trim, and you’re good to go!
Bringing it All Together
Alright, now that we’ve covered the major steps, let’s take a moment to appreciate just how far we’ve come. What started as an empty, underutilized space is now a stunning, functional piece that’s going to transform the way we use our home.
Just imagine the possibilities – extra seating for when the whole family comes over, a cozy spot to curl up with a good book, or a stylish way to stash all those odds and ends that seem to accumulate. And the best part? We did it all ourselves, with our own two hands.
As I put the final touches on my custom storage bench, I can’t help but feel a sense of pride and accomplishment. This project may have started out as a way to tackle my clutter problem, but it’s turned into so much more. It’s a reflection of my personal style, a testament to my DIY skills, and a true game-changer for the way we live in and enjoy our home.
So, what are you waiting for? Grab your tools, dive into those measurements, and let’s build something amazing together! With a little creativity and a whole lot of determination, I know you can turn your own empty space into a stunning, functional storage bench that’s truly one-of-a-kind. And who knows – you might just catch the DIY bug, just like I did. Happy building!


