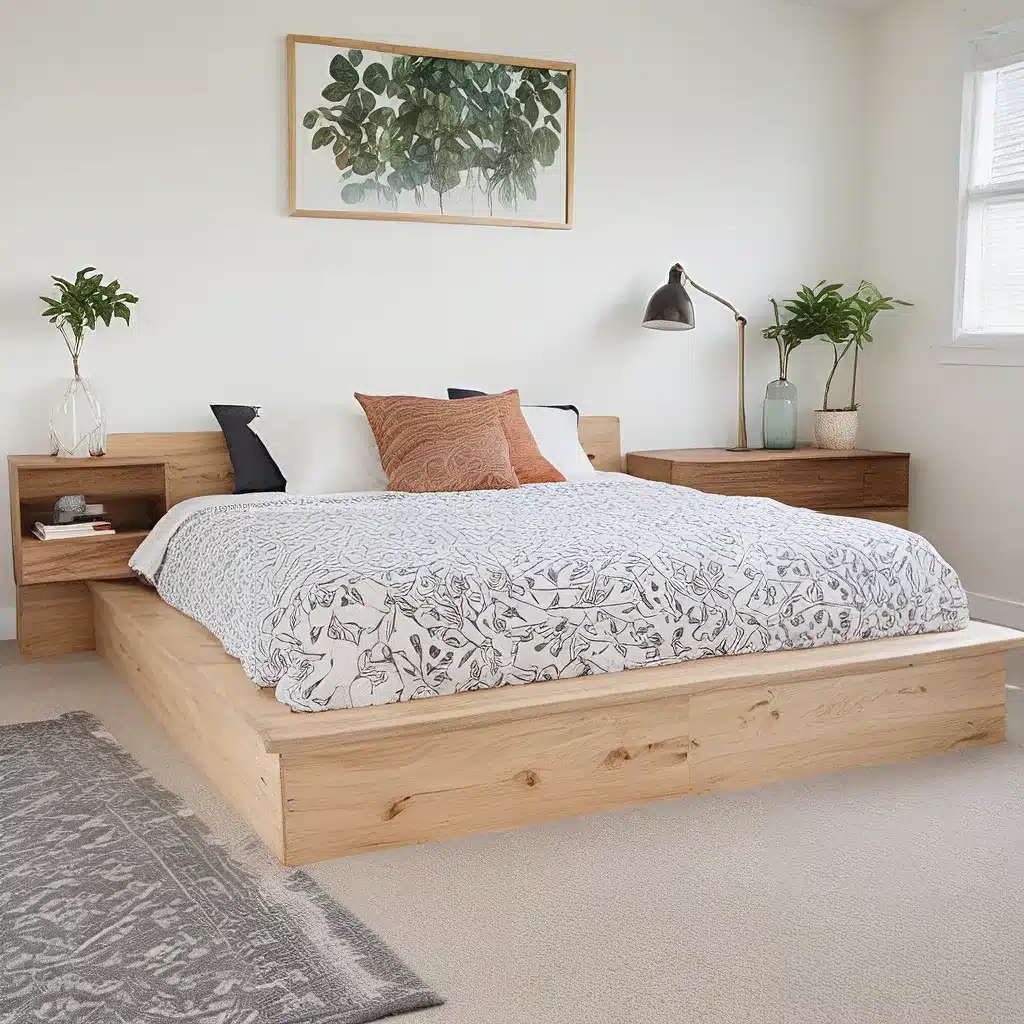
Are you tired of your old, creaky bed frame that feels like it’s about to collapse under the weight of a feather? Well, my friend, I’ve got the perfect solution for you – a DIY modern platform bed that will not only elevate your sleeping experience but also add a touch of style and sophistication to your bedroom.
Now, I know what you’re thinking – “But I’m no woodworking expert! How on earth am I supposed to build a bed from scratch?” Fear not, my handy-dandy friend, because I’m here to walk you through the process step-by-step. Trust me, it’s easier than you might think, and the end result will have you feeling like a master carpenter.
Why a Platform Bed?
Before we dive into the nitty-gritty of the build, let’s talk about why a platform bed is the way to go. First and foremost, they’re space-saving. No more bulky headboards or footboards taking up precious square footage in your bedroom. With a platform bed, the mattress sits directly on the frame, creating a clean, minimalist look that’s perfect for smaller spaces.
But it’s not just about the aesthetics – platform beds also offer better support for your mattress. The solid foundation helps to evenly distribute your weight, reducing the risk of sagging and ensuring a more comfortable night’s sleep. And let’s not forget the added storage that many platform beds provide with built-in drawers or cubbies. That’s a win-win in my book!
Gathering Your Materials
Okay, now that you’re convinced that a DIY platform bed is the way to go, let’s talk about what you’ll need to get started. The great news is that the materials required are relatively inexpensive and easily accessible at your local home improvement store. Here’s what you’ll need:
- Plywood – You’ll want to use a sturdy, high-quality plywood for the bed frame and platform. I recommend a thickness of at least 3/4 inch.
- 2×4 or 2×6 lumber – These will be used for the bed’s support structure.
- Wood screws – Make sure to get screws that are long enough to securely fasten the components together.
- Wood glue – This will help to create a strong, durable bond between the pieces.
- Sandpaper – You’ll need various grits to smooth out the wood and create a beautiful, finished look.
- Drill – A power drill is essential for drilling pilot holes and driving in the screws.
- Measuring tape, pencil, and square – These are your basic tools for marking and measuring.
Once you’ve gathered all your materials, it’s time to put on your construction hat and get to work!
Step-by-Step DIY Platform Bed Instructions
Alright, here’s where the fun begins. Follow these easy-to-follow steps, and you’ll be sleeping on your brand-new platform bed in no time.
Step 1: Measure and cut the plywood
Measure your mattress and add a few inches to each side to create the platform. This will ensure a snug fit. Use a circular saw or table saw to cut the plywood to the desired size.
Step 2: Construct the frame
Grab your 2×4 or 2×6 lumber and cut them to the appropriate lengths for the side rails and cross supports. Arrange the pieces on a flat surface and use wood screws to assemble the frame. Make sure the joints are secure and square.
Step 3: Attach the plywood platform
Spread a generous amount of wood glue on the top of the frame, then carefully place the plywood platform on top. Use screws to firmly attach the plywood to the frame.
Step 4: Add the legs (optional)
If you want to give your platform bed a little extra height, you can attach 4×4 wooden legs to the corners of the frame. This will also create space underneath for storage bins or drawers.
Step 5: Sand and finish
Once the structure is complete, it’s time to sand the entire surface smooth. Start with a coarser grit sandpaper and work your way up to a finer grit for a silky-smooth finish. Finally, apply your desired stain or paint to give the bed a personalized touch.
And there you have it, folks! Your very own modern DIY platform bed. I can already picture you sprawled out on your new creation, basking in the glory of your handywork. But wait, there’s more…
Customizing Your Platform Bed
Now that you’ve built the basic frame, the real fun begins. There are so many ways to customize your platform bed to make it truly unique. Here are a few ideas to get your creative juices flowing:
Add Drawers or Cubbies
As I mentioned earlier, one of the best features of a platform bed is the built-in storage space. You can easily incorporate drawers or cubbies into the design, perfect for stashing away linens, extra pillows, or anything else you need to keep out of sight.
Incorporate Lighting
Take your platform bed to the next level by adding LED strip lighting underneath the frame or even installing reading lights in the headboard. This not only looks stunning but also provides a cozy, ambient glow to your bedroom.
Upholster the Headboard
If you’re feeling extra fancy, consider upholstering the headboard with a plush fabric or even tufted leather. This will add a touch of luxury and make your bed the centerpiece of the room.
Mix and Match Materials
Don’t be afraid to experiment with different materials beyond just wood. Try incorporating metal, concrete, or even reclaimed wood into your design for a truly unique and one-of-a-kind platform bed.
The possibilities are truly endless when it comes to customizing your DIY platform bed. So let your imagination run wild and create a sleep sanctuary that’s perfect for you.
Troubleshooting and Tips
Now, I know what you’re thinking – “This all sounds great, but what if I run into problems?” Fear not, my friends, I’ve got your back. Here are a few common issues you might encounter and how to solve them:
Wobbly Frame
If your bed frame feels a bit unstable, double-check that all the joints are securely fastened and the frame is perfectly square. You can also try adding additional cross supports or reinforcing the legs.
Squeaky Bed
Ah, the dreaded squeak. This can be caused by loose screws or even friction between the wood pieces. Tighten any loose screws and try adding a bit of wood glue or silicone lubricant to the problem areas.
Sagging Mattress
If your mattress is starting to sag in the middle, it could be due to an uneven platform or insufficient support. Make sure the plywood is firmly attached and consider adding extra cross supports or legs to provide a sturdy foundation.
And remember, patience and attention to detail are key when it comes to a successful DIY platform bed project. Take your time, double-check your measurements, and don’t be afraid to ask for help if you get stuck.
Elevate Your Bedroom with a DIY Platform Bed
So, there you have it – everything you need to know to transform your bedroom with a stunning DIY modern platform bed. Not only will this project save you a ton of money, but you’ll also have the satisfaction of creating something truly unique and tailored to your personal style.
And let’s not forget the practical benefits of a platform bed – the ample storage space, the improved mattress support, and the clean, minimalist aesthetic. It’s a win-win-win in my book.
So, what are you waiting for? Grab your tools, dive into the world of DIY, and get ready to elevate your sleeping experience (and your bedroom decor) to new heights. Trust me, your future well-rested self will thank you.
Oh, and if you’re looking for some high-quality mattresses to complete your new platform bed, be sure to check out the selection at Sofa Spectacular. They’ve got all the latest and greatest in sleep technology, so you can wake up feeling refreshed and energized every single day.
Happy building, my friends! Let me know if you have any other questions – I’m always happy to lend a helping hand (or a power tool, if needed).


