Bargain Hunting and DIY Decor: Transforming My Worn Sofa on a Shoestring
As a self-proclaimed bargain hunter and DIY enthusiast, I’ve always had a knack for spotting hidden gems and turning them into stunning showpieces. So, when my beloved sofa started showing signs of wear and tear, I knew I couldn’t just toss it aside. No, this was the perfect opportunity to unleash my inner designer and give my living room a budget-friendly facelift.
The Sofa Saga Begins
It all started a few months ago when I was relaxing on my trusty sofa, sipping my morning coffee, and noticed a few concerning spots and worn patches. “Oh no,” I thought, “my beloved seating spot is on its last legs!” I’ve had this sofa for nearly a decade, and it’s been through thick and thin with me. From movie marathons to hosting epic game nights, this couch has seen it all. But alas, the ravages of time and the wear and tear of everyday life had taken their toll.
A Budgetary Challenge
As I surveyed the damage, my mind started racing. I couldn’t bear the thought of parting ways with my trusty sofa, but the idea of shelling out hundreds of pounds for a brand-new one made my wallet cringe. That’s when inspiration struck – what if I could breathe new life into my existing sofa with a little elbow grease and a modest budget?
Frugal Furniture Rehab
I started rummaging through my DIY supplies, determined to find a solution that wouldn’t break the bank. And then it hit me – why not try a DIY sofa makeover? After all, I’d seen some amazing transformations online, from refurbished dressers to custom sofa tables. Surely, I could work my magic on my trusty sofa too.
Sofa Makeover Step-by-Step
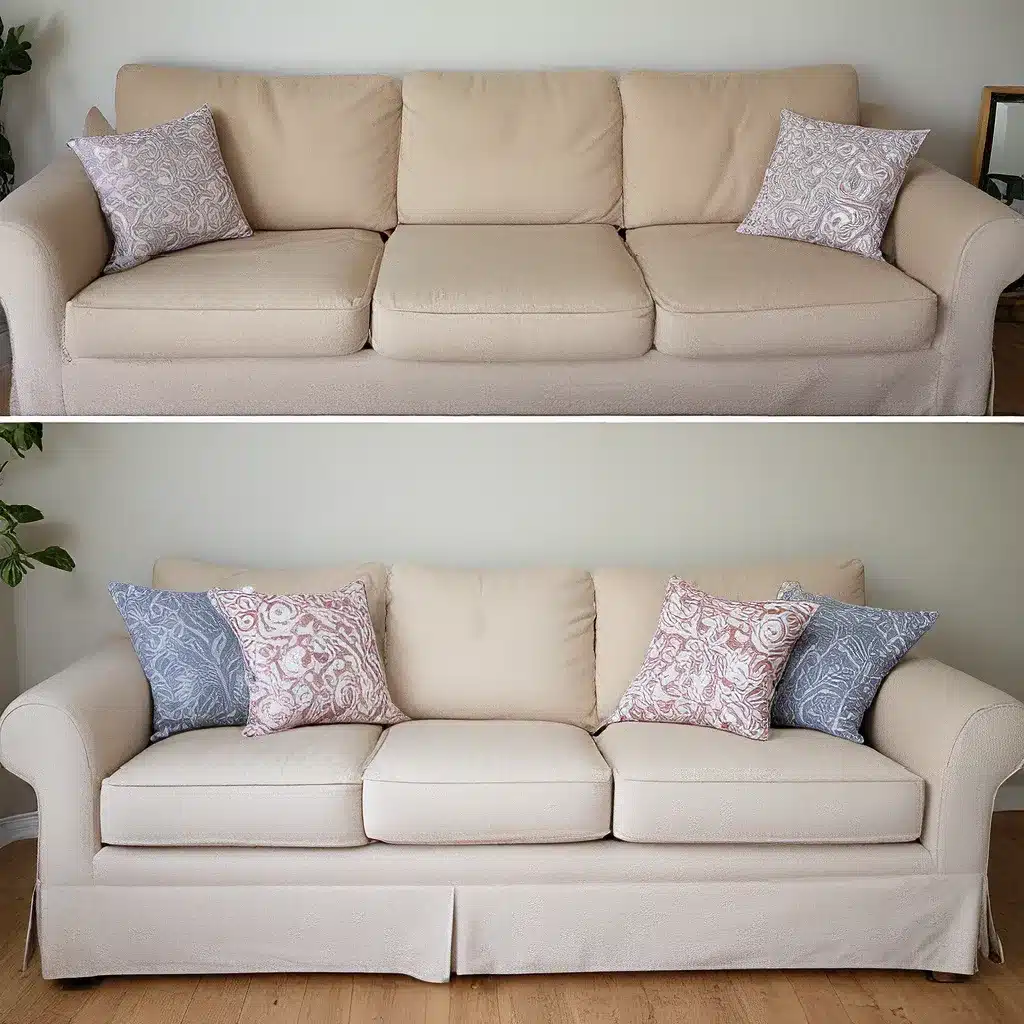
The first order of business was to assess the damage. My sofa had a few worn spots, a couple of stains, and the upholstery was starting to look a bit tired. “No problem,” I thought, “a little elbow grease and some strategic DIY know-how, and this sofa will be as good as new!”
I started by giving the entire surface a thorough cleaning, using a mix of mild soap and warm water. This helped lift any stubborn stains and refresh the fabric. Next, I turned my attention to the worn areas. Using a fabric patch kit, I carefully mended the holes and smoothed out the uneven surfaces.
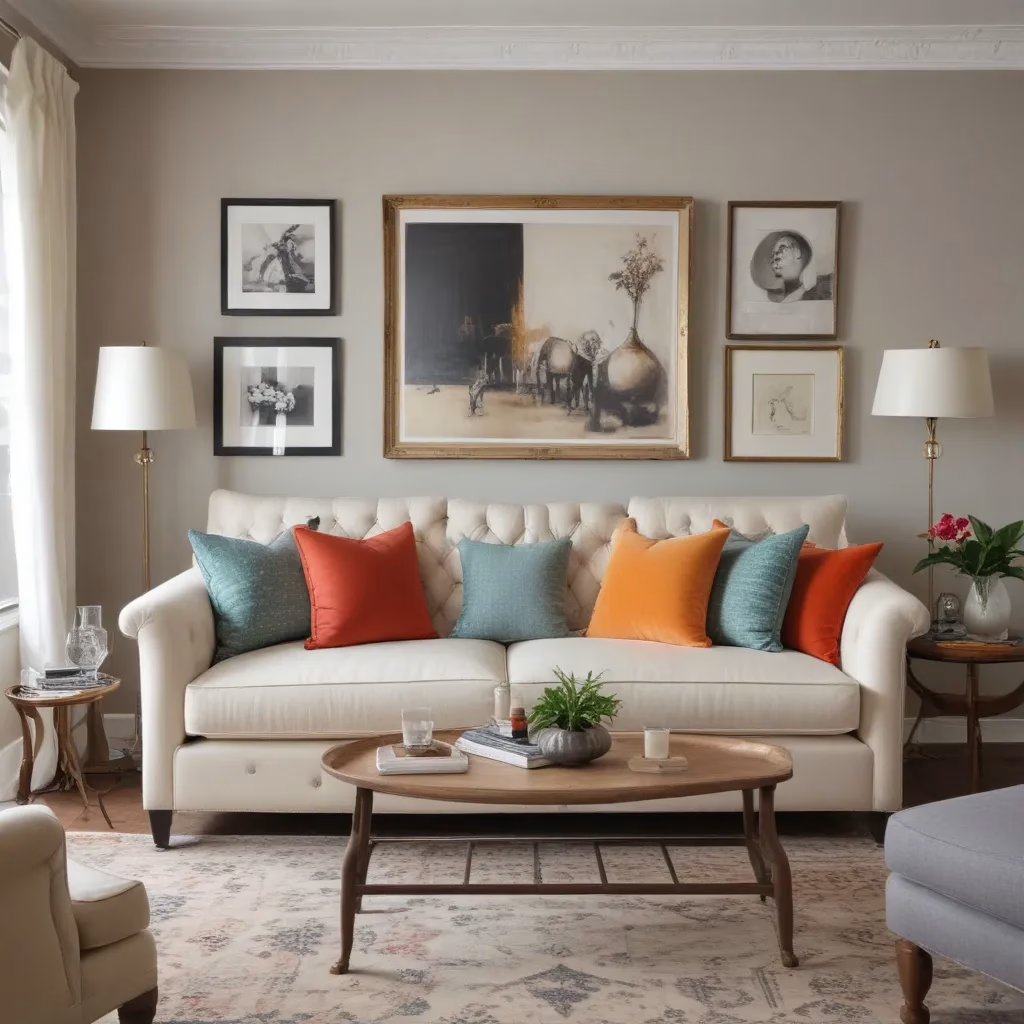
With the structural issues addressed, it was time to tackle the aesthetic overhaul. I decided to go with a bold, contrasting color scheme to really make my sofa pop. After scouring local craft stores and scouring the internet, I settled on a vibrant, jewel-toned velvet fabric that I knew would breathe new life into my living room.
Upholstery Transformation
Cutting the new fabric to size was a bit tricky, but with a sharp pair of scissors and a steady hand, I managed to get it just right. Carefully, I began stapling the fabric to the sofa frame, working my way around the edges and ensuring a smooth, taut finish.
As I stepped back to admire my handiwork, I couldn’t believe the transformation. What was once a tired, worn-out sofa had now become the centerpiece of my living room – a bold, beautiful statement piece that I couldn’t wait to show off.
Accessorizing for the Finishing Touches
With the upholstery complete, it was time to add the final touches. I scoured second-hand stores and online marketplaces for the perfect accent pieces to complement my revamped sofa. A set of vibrant throw pillows, a cozy fleece blanket, and a sleek, modern side table completed the look, tying the whole space together seamlessly.
The Grand Reveal
When I finally unveiled my masterpiece to friends and family, the reactions were priceless. “I can’t believe that’s the same sofa!” exclaimed my cousin, running her hands over the plush velvet fabric. “It looks like something straight out of a designer showroom!” chimed in my neighbor, thoroughly impressed by the dramatic transformation.
A Budget-Friendly Success Story
As I sit back and admire my handiwork, I can’t help but feel a sense of pride and accomplishment. What started as a daunting task turned into a budget-friendly success story, proving that with a little creativity and elbow grease, you can breathe new life into even the most worn-out furniture.
Lessons Learned and Future Projects
This experience has taught me so much about the power of DIY and the joy of transforming tired, old pieces into something truly special. I can’t wait to tackle my next furniture makeover project, whether it’s reviving a vintage dresser or creating a custom sofa table. The possibilities are endless, and I’m excited to continue honing my skills and sharing my budget-friendly decor tips with others.
So, if you’re staring at a well-loved but worn-out sofa, don’t despair – embrace the challenge and get ready to unleash your inner designer. With a little elbow grease, some strategic DIY know-how, and a modest budget, you too can create a stunning, one-of-a-kind piece that will be the envy of all your friends and family.


