Elevating Your Bedroom with a Handcrafted Masterpiece
Ah, the tufted headboard – a timeless design element that has graced the bedrooms of stylish homes for centuries. As a DIY enthusiast, I’ve always been drawn to the idea of creating my own custom headboard, and when the opportunity arose to revamp my teenage daughter’s room, I knew just the project to tackle.
Inspiration from the Experts
After scouring the web for the perfect tutorial, I stumbled upon a gem on Centsational Style by the talented Kate Riley. Her step-by-step guide not only provided the technical know-how but also infused the process with her signature wit and charm. I was hooked!
Measuring Up and Cutting Corners
The first step was to determine the dimensions of our headboard. Since we were working with a standard king-size bed, I opted for a grand 82-inch width and a stately 41-inch height. With plywood in hand, I headed to the local home improvement store and had them expertly cut the sheet down to size. Next, I added some 3.5-inch plywood strips to the sides, creating the illusion of sturdy legs and giving the headboard an impressive 55-inch height.
Foam, Batting, and Fabric, Oh My!
Armed with my freshly cut plywood base, I set out to gather the necessary materials. Two inches of high-quality foam provided the perfect level of cushion and support, while layers of batting helped to achieve that soft, inviting texture. As for the fabric, I fell head over heels for a stunning upholstery-grade velvet in a serene blue-grey hue from Sofa Spectacular.
The Tufting Twist
The true challenge (and the part I was most excited about) was tackling the tufting. Following Kate’s sage advice, I opted for plastic button cover kits rather than the flimsy metal ones, as they proved far more durable for the thick fabric. Carefully measuring and drilling the holes, I set to work, threading the needle and securing each button with a double loop for maximum stability.
A Labor of Love
I won’t lie, the tufting process was not for the faint of heart. It required a meticulous eye, a steady hand, and the occasional burst of creative expletives. But as I watched the headboard take shape, slowly transforming from a flat plane into a work of art, the sense of accomplishment was utterly priceless.
Hanging with Ease
With the tufting complete, it was time to tackle the final step: hanging the headboard. Following Kate’s clever tip, I installed a pair of D-ring hooks on the back, making the installation process a breeze. A quick measurement to find the wall studs, a few well-placed nails, and our handcrafted masterpiece was ready to take center stage.
The Finished Reveal
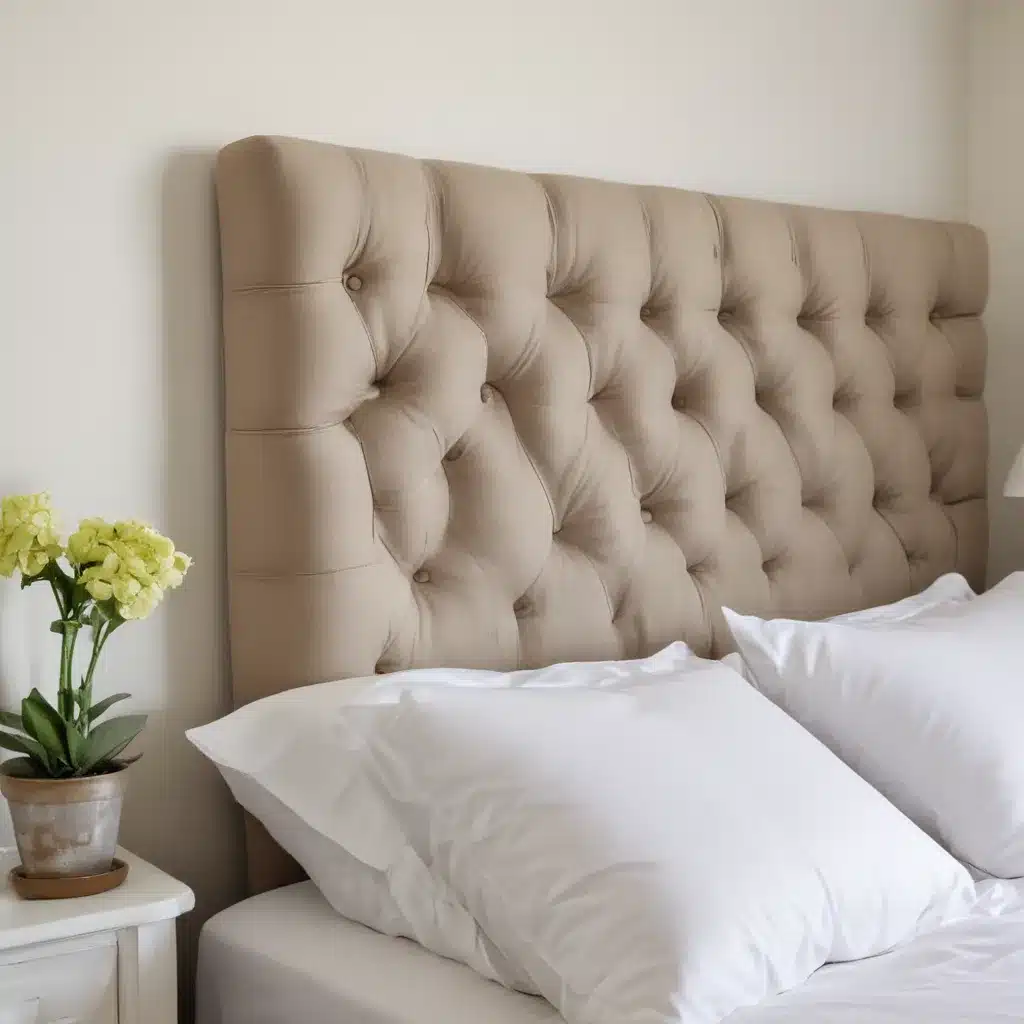
As I stepped back to admire the final product, I couldn’t help but feel a swell of pride. The tufted headboard was the perfect blend of sophistication and casual charm, seamlessly complementing the serene blue-grey hues and cozy textures of my daughter’s updated bedroom. It was a true labor of love, and the look on her face when she saw the finished result made every minute spent worth it.
Customizing Your Dreams
One of the best things about this DIY project is its endless potential for customization. Whether you prefer a classic square design, a dramatic arched silhouette, or even a playful scalloped edge, the options are truly limitless. And with a wide array of fabric choices, from velvety smooth to vibrant patterns, you can truly make this headboard your own.
Budgeting for Your Masterpiece
Of course, the million-dollar question on everyone’s mind is: how much does a project like this cost? In my case, the total investment came out to around £150, which included the plywood, foam, batting, fabric, and all the necessary tools and hardware. While it may seem like a significant upfront investment, considering the high-end look and the fact that you’re creating a truly one-of-a-kind piece, it’s a small price to pay for the wow factor it adds to your bedroom.
A Lasting Legacy
As I admire the finished headboard, I can’t help but feel a sense of pride and accomplishment. Not only have I elevated the style and comfort of my daughter’s room, but I’ve also created a lasting legacy – a piece of furniture that will likely outlive us both, a testament to the power of DIY and the enduring beauty of a well-crafted tufted headboard.
So, if you’re like me and have been dreaming of adding a touch of elegance and sophistication to your home, I urge you to take the plunge and try your hand at this incredible DIY project. With a little patience, a lot of love, and the guidance of skilled DIY experts like Kate Riley, you too can transform your bedroom into a serene oasis that reflects your unique style and personality.


