Currently Empty: £0.00

As a furniture specialist with years of experience, I’ve seen countless trends come and go in the world of home decor. But one timeless piece that never fails to add elegance and sophistication to a bedroom is a tufted headboard. Today, I’m excited to share my personal insights and professional tips on how to create a stunning tufted headboard that will transform your sleeping space.
Understanding the Appeal of Tufted Headboards
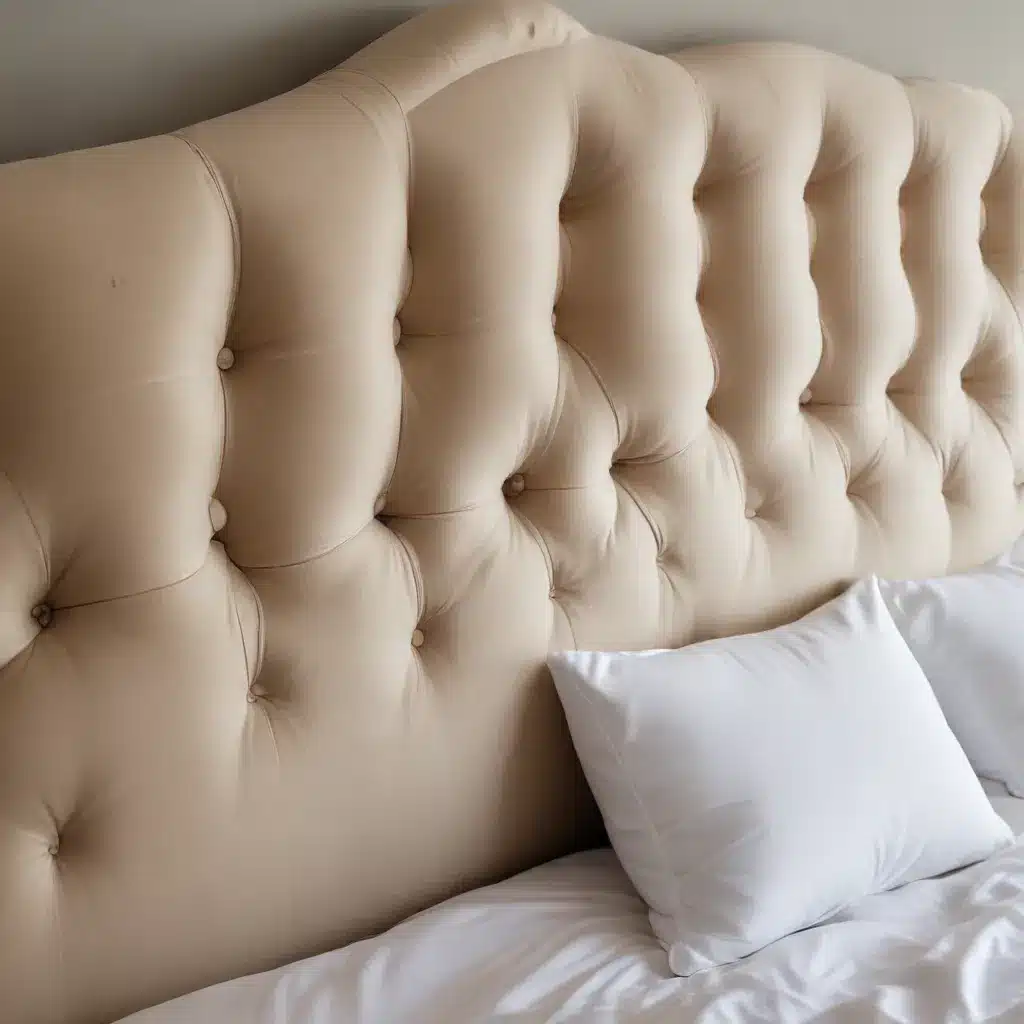
Tufted headboards have been a staple in interior design for centuries, and for good reason. They bring a sense of luxury and comfort to any bedroom, creating a focal point that draws the eye and sets the tone for the entire space. As someone who’s worked with furniture for years, I can attest to the transformative power of a well-crafted tufted headboard.
The beauty of tufted headboards lies in their versatility. Whether you prefer a classic diamond pattern or a more modern square design, there’s a tufting style to suit every taste. I’ve helped clients create everything from sleek, minimalist headboards to ornate, oversized pieces that dominate the room. The key is to choose a design that complements your existing decor and personal style.
One of the questions I’m often asked is, “Why go through the trouble of making a tufted headboard when you can buy one?” My answer is always the same: customization. When you create your own headboard, you have complete control over every aspect, from the fabric to the button size to the overall dimensions. Plus, there’s an undeniable sense of pride that comes from crafting something with your own hands.
Selecting the Right Materials
Before we dive into the creation process, let’s talk about materials. The choices you make here will significantly impact the final look and durability of your headboard. As someone who’s experimented with various materials over the years, I can offer some valuable insights.
Fabric Selection
The fabric you choose sets the tone for your entire project. I always advise my clients to consider both aesthetics and practicality. Here are some factors to keep in mind:
-
Durability: Opt for upholstery-grade fabrics that can withstand regular use. I’ve seen too many beautiful headboards ruined by fabrics that weren’t up to the task.
-
Texture: Consider how the fabric will feel against your skin. A smooth velvet might be luxurious, but a rougher linen could add interesting visual texture.
-
Pattern: Solid colors work best for tufting, as patterns can get distorted by the folds. However, if you’re feeling adventurous, a subtle pattern can add depth to your design.
-
Color: Think about how the color will coordinate with your existing bedding and room decor. I once made the mistake of choosing a vibrant red for a client’s headboard, only to realize it clashed horribly with their bedding. Learn from my errors!
Foam and Batting
The padding is what gives your headboard its plush, inviting look. Here’s what I recommend:
-
Foam: A high-density foam around 2-3 inches thick works well for most projects. I’ve found that egg crate foam can be a cost-effective alternative that still provides excellent cushioning.
-
Batting: Layer batting over your foam for a smooth, professional finish. It helps to soften any hard edges and creates a more uniform surface for tufting.
Buttons and Thread
These small details can make a big difference in the final look of your headboard:
-
Buttons: Choose buttons that complement your fabric. Covered buttons in matching fabric create a cohesive look, while contrasting buttons can add visual interest.
-
Thread: Use a strong, upholstery-grade thread for tufting. I’ve learned the hard way that regular sewing thread just doesn’t cut it for this kind of project.
The Tufting Process: Tips from a Pro
Now, let’s get into the nitty-gritty of creating your tufted headboard. As someone who’s made more headboards than I can count, I’ve developed a few tricks that can help streamline the process and ensure a professional-looking result.
Marking Your Tufting Pattern
The key to a beautiful tufted headboard is precision in your pattern. Here’s how I approach this crucial step:
-
Create a template: Use graph paper to plan out your tufting pattern. This helps you visualize the final look and ensures even spacing.
-
Transfer the pattern: Once you’re happy with your design, transfer it to your headboard base. I like to use a pegboard as a template for marking my tufting points. It’s a time-saver and guarantees perfectly aligned holes.
-
Double-check your measurements: Trust me, it’s worth taking the extra time to ensure all your markings are correct. There’s nothing more frustrating than realizing your pattern is off halfway through the tufting process.
Mastering the Tufting Technique
Tufting can be tricky, but with practice, you’ll develop a rhythm. Here are some tips I’ve picked up over the years:
-
Start from the center: Always begin tufting from the center of your headboard and work your way out. This helps maintain symmetry and prevents fabric bunching.
-
Use the right tools: A long upholstery needle and waxed button thread are essential for smooth tufting. I’ve found that a staple gun is also invaluable for securing the fabric at the back of the headboard.
-
Create depth: Don’t be afraid to pull your buttons deep into the foam for a dramatic, plush look. The deeper the tuft, the more luxurious your headboard will appear.
-
Be patient: Tufting takes time, especially if you’re new to it. I remember my first tufting project took me an entire weekend, but the results were worth it.
Finishing Touches
The final steps can make or break your project. Here’s how I ensure a polished look:
-
Trim excess fabric: Carefully trim any excess fabric at the back of the headboard, leaving enough to wrap around the edges securely.
-
Add a backing: Cover the back of your headboard with a thin fabric or felt. This gives a clean, professional finish and hides all your hard work.
-
Attach to the bed frame: There are several ways to attach your headboard to your bed frame or wall. I prefer using French cleats for a secure, flush mount that’s easy to remove if needed.
Common Mistakes to Avoid
In my years of working with furniture, I’ve seen (and made) my fair share of mistakes. Here are some common pitfalls to watch out for:
-
Choosing the wrong fabric: As mentioned earlier, not all fabrics are suitable for tufting. Avoid anything too thin or stretchy, as it won’t hold its shape well.
-
Uneven tufting: Take your time to ensure each tuft is evenly spaced and pulled to the same depth. Uneven tufting can ruin the overall look of your headboard.
-
Skimping on padding: A well-padded headboard is not only more comfortable but also easier to tuft. Don’t try to save money by using thin foam.
-
Ignoring the importance of a sturdy base: Your headboard needs a solid foundation. I recommend using plywood or MDF for the base, as it provides the necessary support for tufting.
-
Rushing the process: Creating a tufted headboard is a time-consuming project. Rushing through it will likely lead to mistakes and a less-than-stellar result.
Maintaining Your Tufted Headboard
Once you’ve created your beautiful tufted headboard, you’ll want to keep it looking its best. Here are some maintenance tips I share with all my clients:
-
Regular cleaning: Vacuum your headboard weekly using the upholstery attachment of your vacuum cleaner. This prevents dust and dirt from accumulating in the tufts.
-
Spot cleaning: For small stains, use a mild fabric cleaner and blot gently. Avoid rubbing, as this can damage the fabric and distort the tufting.
-
Professional cleaning: Consider having your headboard professionally cleaned once a year, especially if it’s made from a delicate fabric like silk or velvet.
-
Protect from sunlight: Direct sunlight can fade your fabric over time. If your headboard is positioned near a window, consider using curtains or blinds to protect it when the sun is strongest.
-
Check for loose buttons: Periodically check your tufting to ensure all buttons are secure. If you notice any loose buttons, tighten them promptly to prevent further damage.
Incorporating Your Tufted Headboard into Your Bedroom Design
A tufted headboard can serve as the centerpiece of your bedroom decor. Here are some design ideas to help you make the most of your new creation:
-
Coordinate with bedding: Choose bedding that complements your headboard fabric. If your headboard is a solid color, consider patterned bedding for contrast.
-
Add throw pillows: Decorative pillows can tie your headboard into the rest of your room’s color scheme. Don’t be afraid to mix textures and patterns for added visual interest.
-
Consider lighting: Wall sconces or pendant lights on either side of the headboard can create a cozy, intimate atmosphere.
-
Balance with other furniture: If your headboard is ornate, balance it with simpler bedside tables and dressers. Conversely, a minimalist headboard can be paired with more detailed furniture pieces.
-
Create a cohesive color scheme: Use your headboard color as a starting point for your room’s overall color palette. This creates a harmonious, well-designed look.
Final Thoughts
Creating a tufted headboard is a rewarding project that allows you to showcase your creativity and craftsmanship. As a furniture specialist, I can attest to the satisfaction that comes from seeing a beautifully crafted headboard transform a bedroom.
Remember, the key to success lies in careful planning, quality materials, and patience. Don’t be discouraged if your first attempt isn’t perfect – like any skill, tufting improves with practice.
If you’re looking for more inspiration or advice on furniture projects, I highly recommend checking out Sofa Spectacular. They offer a wealth of information on various furniture styles and trends that can complement your new tufted headboard beautifully.
With these tips and tricks, you’re well on your way to creating a stunning tufted headboard that will be the envy of all your guests. Happy crafting!

