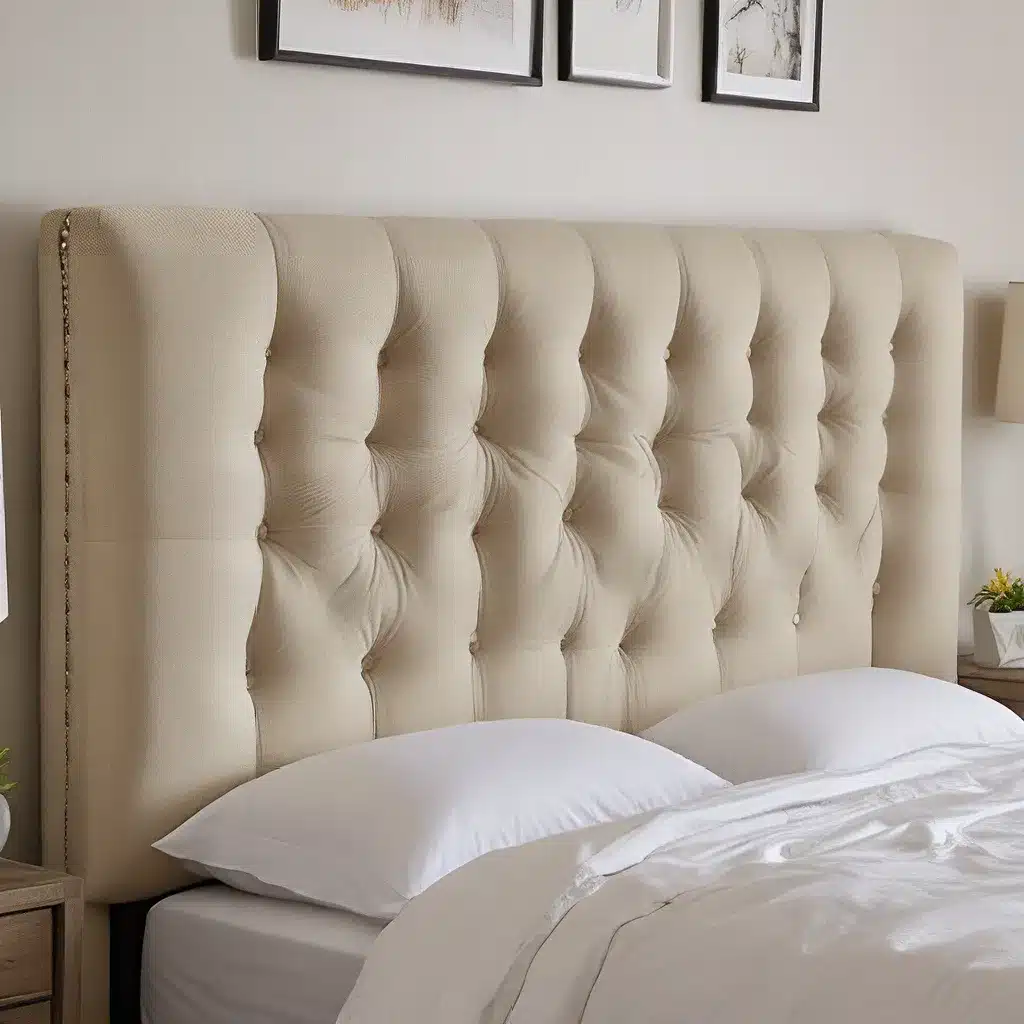
Ah, the tufted headboard – a timeless piece of furniture that instantly adds a touch of elegance and sophistication to any bedroom. And you know what? I’m about to let you in on a little secret: you can create this stunning masterpiece yourself, right in the comfort of your own home!
Now, I get it, the thought of DIYing a tufted headboard might seem a bit daunting at first. After all, those intricate button details and perfectly aligned curves don’t exactly scream “easy peasy.” But trust me, with the right guidance and a little bit of patience, you can absolutely pull this off.
So, grab your toolbox and let’s dive in, shall we? I’m about to take you on a journey that’ll have you feeling like a bonafide upholstery expert by the time we’re done. Get ready to impress your friends, family, and maybe even that interior designer cousin of yours who always acts like they know it all.
Choosing the Perfect Fabric
Now, the fabric you choose for your tufted headboard is key. It’s what’s going to set the tone for the entire piece and really make it shine. And let me tell you, the options are endless!
Do you want to go for a rich, velvety texture that screams “luxe”? Or maybe you’re feeling something a little more subtle, like a linen or even a playful printed fabric? The choice is yours, my friend.
Personally, I’m a sucker for a good velvet. There’s just something about that soft, plush feel that instantly makes me want to sink into my pillow. And the best part? Velvet is actually pretty durable, so you don’t have to worry about it looking worn out after a few years of use.
Now, when it comes to figuring out how much fabric you’ll need, the general rule of thumb is to measure the width and height of your headboard, then add an extra 6-12 inches to each side. This gives you enough material to wrap around the frame and secure it in the back.
And don’t forget to factor in any additional fabric you might need for the tufting buttons! Depending on the size and spacing of your buttons, you’ll want to add an extra yard or two to your total. Trust me, it’s better to have a little extra than to come up short.
Building the Headboard Frame
Alright, now that you’ve got your fabric sorted, it’s time to start building the headboard frame. This is where the real magic happens, my friends.
The key here is to use a sturdy, solid wood material like plywood or MDF. You want something that’s going to hold up to the weight of the fabric and buttons without bending or warping over time.
Once you’ve got your wood, it’s time to cut it to size. Measure the dimensions of your bed and then add a few extra inches to the width and height to give yourself some wiggle room. Remember, you can always trim it down later, but you can’t magically make it bigger if you cut it too small.
Now, the fun part: drilling those all-important button holes! This is where the tufted look really starts to come to life. Grab a tape measure, pencil, and a power drill, and start marking out where you want your buttons to go. Aim for about 6-8 inches of space between each one, and make sure they’re evenly spaced.
And here’s a little pro tip for you: use a Forstner bit to create clean, smooth holes that’ll make the button installation a breeze. Trust me, it’s worth the extra few bucks for that crisp, polished look.
Tufting and Upholstering
Alright, now that the frame is built and the holes are drilled, it’s time to start upholstering. This is where the real artistry comes into play, my friends.
First things first, you’ll want to attach your fabric to the back of the frame. Wrap it around the edges, pull it tight, and staple it in place. Make sure to smooth out any wrinkles or bumps as you go.
Next up, it’s time to start tufting. Now, I know what you’re thinking: “Tufting? Isn’t that the part that’s supposed to be super difficult?” Well, let me let you in on a little secret – it’s actually not as hard as it looks!
The key is to use those handy dandy zip ties we talked about earlier. Simply thread one end through the button, then feed it through the hole in the frame and secure it with a second zip tie on the back. Voila! Instant tufted perfection.
Just be sure to pull those zip ties nice and tight to get that deep, luxurious look you’re going for. And if you’re feeling really fancy, you can even add a little decorative touch with some contrasting thread or embroidery floss.
Finally, once all your buttons are in place, it’s time to give the whole thing a final once-over. Smooth out any stray fabric, make sure everything is aligned just right, and then sit back and admire your handiwork.
Finishing Touches
Okay, so you’ve got your tufted headboard all ready to go, but we’re not quite done yet. There are a few final touches that can really take your creation to the next level.
First up, consider adding some nailhead trim. These little metal accents can give your headboard a seriously elevated, high-end look. Plus, they’re super easy to install – just line them up along the edges and give ’em a few taps with a hammer.
Now, if you really want to make a statement, why not try your hand at some decorative painting? A little bit of color can go a long way in transforming a basic wooden headboard into a true work of art. Think bold, abstract designs or even a playful, hand-painted pattern.
And let’s not forget about the finishing touches. Things like decorative pillows, cozy throws, and even a Sofa Spectacular bedding set can really pull the whole look together.
The beauty of a DIY tufted headboard is that you can make it truly your own. So don’t be afraid to get creative and have a little fun with it. After all, the end result is going to be a stunning, one-of-a-kind piece that you can proudly display in your bedroom for years to come.
Embrace the Process
Now, I know what you’re thinking: “This all sounds great, but what if I mess it up?” Well, let me tell you, that’s all part of the fun! The journey of creating a tufted headboard is just as rewarding as the final product.
Think of it as a creative adventure, with a few unexpected twists and turns along the way. Maybe you’ll have to redo a section of tufting, or find a creative solution to a tricky problem. But you know what? That’s where the magic happens.
So, embrace the process, my friends. Enjoy the challenge, the problem-solving, and the pure satisfaction of seeing your hard work come to life. Because at the end of the day, that’s what truly makes a DIY project worth it.
So, what are you waiting for? Grab your tools, pick out your dream fabric, and let’s get to work! I can’t wait to see the amazing tufted headboard you create. And who knows, maybe you’ll even inspire your interior designer cousin to step up their game.
Happy crafting!


