Currently Empty: £0.00

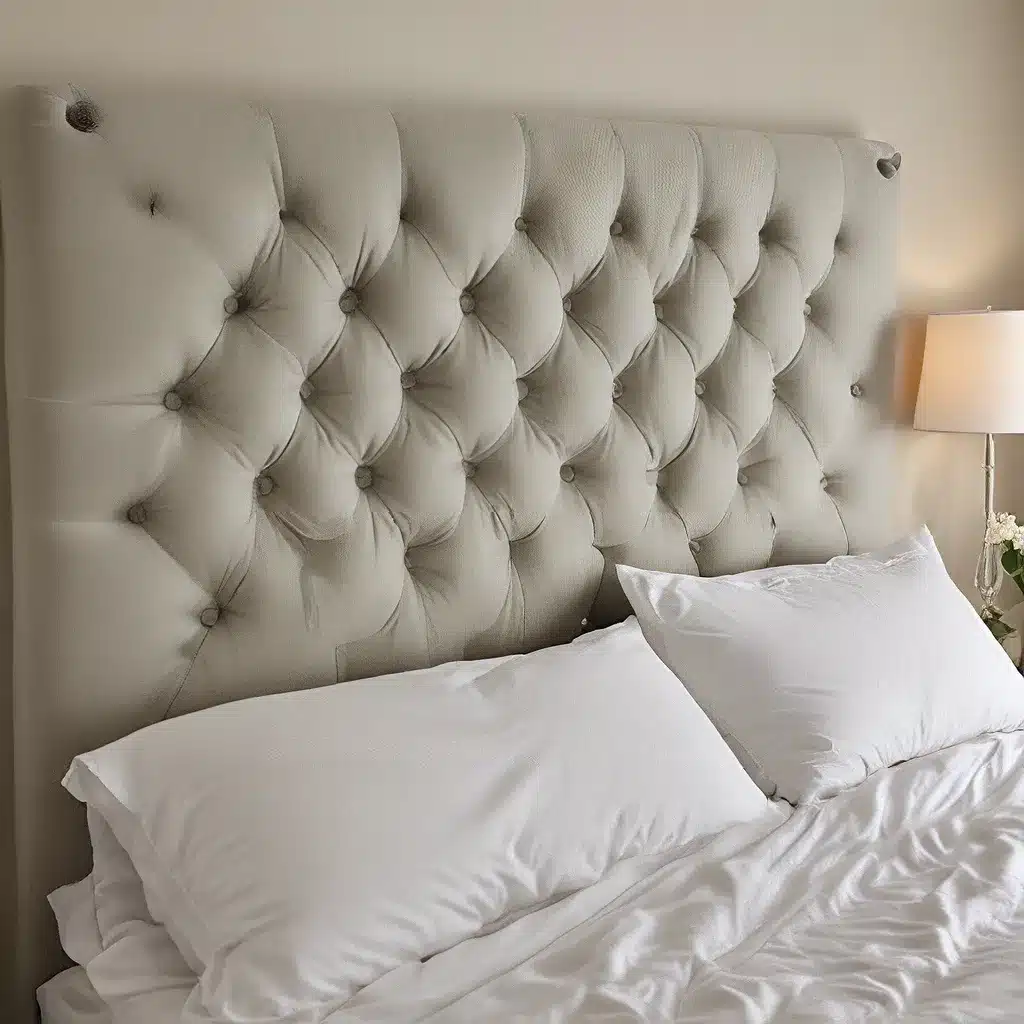
Ah, the humble headboard – a simple yet powerful piece of furniture that can single-handedly elevate the entire look and feel of your bedroom. But let’s be honest, the price tags on those fancy, upholstered headboards at high-end stores can make your wallet weep. Well, my friends, today I’m here to let you in on a little secret: you can create your own jaw-dropping, tufted headboard for a fraction of the cost!
I know, I know, the idea of tackling a tufting project might sound a bit intimidating, but trust me, it’s not as complicated as it seems. In fact, with the right guidance and a little bit of elbow grease, you can transform a basic piece of plywood into a stunning focal point for your bedroom. And the best part? You’ll have the satisfaction of knowing you created something truly special with your own two hands.
So, whether you’re looking to upgrade your sofa store’s offerings or simply want to give your personal space a fresh new look, read on as I walk you through the step-by-step process of making your very own tufted headboard.
Gathering Your Materials
Before we dive into the nitty-gritty of the project, let’s make sure you have all the necessary supplies. The good news is that most of these items can be found at your local craft or home improvement store, and they won’t break the bank.
You’ll need:
– Plywood or MDF (the size will depend on your bed dimensions)
– Foam (either a mattress topper or high-density foam)
– Batting (to create a smooth, even surface)
– Fabric (choose something you love – the possibilities are endless!)
– Buttons (for the tufting)
– Needle and thread (for the tufting)
– Nailhead trim (for that extra touch of sophistication)
– Staple gun (heavy-duty is best)
– Scissors and measuring tape
– Drill and drill bits
Now, I know what you’re thinking – that’s a lot of stuff! But trust me, once you have everything gathered, the actual assembly is a breeze. And the best part? You can often find many of these materials on sale or even score some great deals at thrift stores or garage sales.
Cutting and Shaping Your Headboard
Alright, let’s get started! The first step is to determine the size of your headboard. Measure your bed frame and decide how tall and wide you want your headboard to be. Keep in mind that you’ll want to leave a few inches of clearance on each side to ensure it fits properly.
Once you have your measurements, head to the hardware store and have them cut your plywood or MDF to size. This is a crucial step, so don’t be afraid to ask the staff for help if you’re not sure how to do it yourself.
Now, here’s a pro tip – consider the shape of your headboard. While a classic rectangle is always a safe bet, you could get creative and try a more unique shape, like an arched or curved design. Just remember to account for any extra cutting or shaping that might be required.
Layering the Foam and Batting
With your headboard base ready to go, it’s time to start adding the soft, plush layers. Begin by cutting your foam to fit the size of your headboard. If you’re using a mattress topper, this should be a breeze. For high-density foam, you may need to do a bit of trimming to get the perfect fit.
Next, lay the foam onto the plywood or MDF, and secure it in place with a generous amount of spray adhesive or double-sided tape. This will help prevent any shifting or bunching once you start adding the fabric.
Finally, cover the foam with a layer of batting. This will create a smooth, even surface for your fabric to drape over. Again, use adhesive or tape to keep the batting in place.
Upholstering and Tufting
Now, the fun part – it’s time to add the fabric! Carefully wrap the fabric around the edges of the headboard, making sure to keep it taut and smooth as you staple it in place. Be sure to pay close attention to the corners, as you’ll want them to look clean and crisp.
Once the fabric is secured, it’s time to tackle the tufting. This is where your needle and thread come into play. Start by marking out the placement of your buttons – you’ll want to keep them evenly spaced and aligned.
Pro tip: Use a piece of cardboard or another template to help you mark the button placement consistently.
Now, use the needle and thread to create the tufts. This can take a bit of patience and practice, but the end result is so worth it. Simply push the needle through the fabric, batting, and foam, and tie off the thread securely on the back.
Repeat this process for each button, making sure to keep the tension even and the tufts nice and plump.
Adding the Finishing Touches
With the tufting complete, it’s time to add the final touches that will really make your headboard shine. Carefully attach the nailhead trim along the edges, using a hammer or tack strip to secure it in place.
Pro tip: For a seamless look, try using a continuous strip of nailhead trim rather than individual tacks.
Finally, hang your stunning new headboard on the wall. This is where having a helper can come in handy, as you’ll want to make sure it’s level and securely anchored.
And there you have it, my friends – your very own tufted headboard that looks like it came straight out of a high-end design magazine. The best part? You can customize it to perfectly match your bedroom’s style and your own personal taste.
Loving Your Handiwork
As you step back and admire your handiwork, I hope you feel a sense of pride and accomplishment. DIY projects like this one are not only budget-friendly, but they also allow you to inject your own unique personality into your living space.
Who knows, you might even get inspired to try your hand at creating other custom furniture pieces for your home. The sky’s the limit when you have the confidence and know-how to tackle a project like this.
So, the next time you’re browsing through Sofa Spectacular or any other home decor store, remember that you have the skills to transform your space in ways you never thought possible. All it takes is a little creativity, a dash of determination, and a whole lot of tufting magic.
Happy DIY-ing, my friends! I can’t wait to see what you create.

