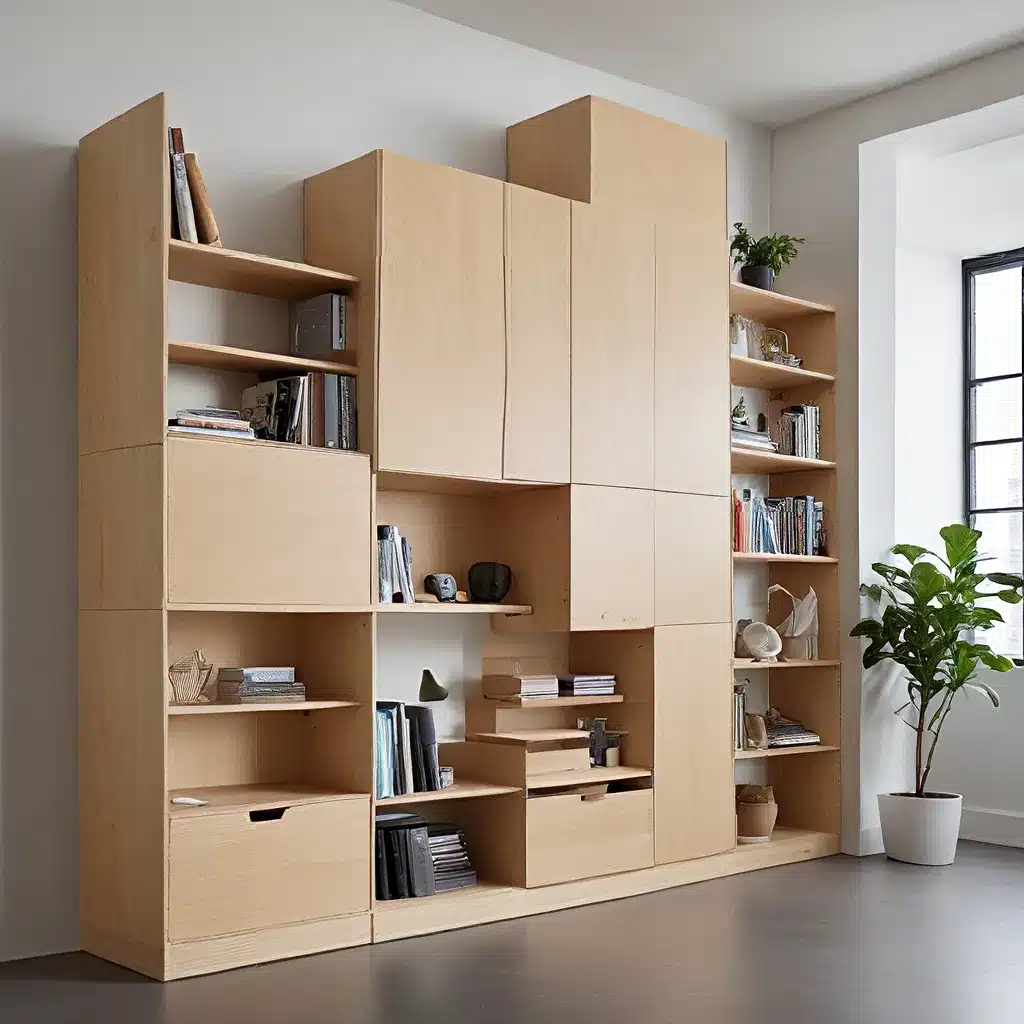
Ah, the IKEA PAX – that trusty wardrobe system that has become synonymous with budget-friendly storage solutions. But you know what they say, “One person’s IKEA hack is another person’s masterpiece.” And that’s exactly what I’m about to show you.
Unleashing the Power of PAX
When I first laid eyes on the Sofa Spectacular showroom, I was instantly inspired. The sleek, modern designs had me dreaming of transforming my own ho-hum closet into a high-end haven. But as a self-proclaimed DIY newbie, the thought of building a custom closet from scratch was enough to make my palms sweat.
Enter the IKEA PAX – the savior of storage-deprived souls like myself. This modular system offered a blank canvas for my vision, and I was determined to make it shine. With a little creativity, a whole lot of elbow grease, and a generous helping of trial and error, I set out to create a closet that would make even the most seasoned interior designer green with envy.
Battling the Basics
Let’s be real, the standard PAX units can be a bit… well, boring. Functional, yes, but about as exciting as a beige cardigan. I knew I had to step it up a notch if I wanted to achieve that sought-after custom look.
First things first, I had to tackle the basics – leveling the units, adding baseboards, and installing crown molding. Sounds simple enough, right? Well, let me tell you, nothing is simple when you’re working with IKEA furniture. But with a trusty laser level and a healthy dose of patience, I managed to conquer those pesky challenges.
Elevating the Aesthetic
Now came the fun part – the real magic-making. I was determined to transform those plain old PAX units into a work of art. And let me tell you, I spared no expense (or sweat) in the process.
The key to my success? Attention to detail. From recessing the puck lights to adding custom drawer fronts, every step was executed with precision. And let’s not forget the crowning glory – the stunning Farrow & Ball paint job that made the whole thing look like a million bucks.
But I didn’t stop there. Oh no, my friends. I took it one step further by wallpapering the back of the units, adding decorative wood trim, and even swapping out the plain old hanging rods for rustic wooden ones. It was like a symphony of design elements, each one playing its part in creating a truly custom-built closet.
The Pièce de Résistance
And the grand finale? The drawers, of course. These weren’t just any old IKEA drawers – oh no, they were a masterpiece in their own right. I meticulously crafted the fronts, ensuring they seamlessly blended with the rest of the cabinetry. And let’s not forget the hardware – those hefty, unlacquered brass pulls were the proverbial cherry on top.
As I stood back and admired my handiwork, I couldn’t help but feel a surge of pride. This wasn’t just a closet – it was a work of art, a testament to the power of DIY and a shining example of what can be achieved with a little elbow grease and a whole lot of creativity.
Lessons Learned and Tips to Share
Now, I know what you’re thinking – “Wow, this must have been an insanely complicated project.” And you know what? You’re not wrong. But trust me, with the right mindset and a healthy dose of determination, anyone can pull off a transformation like this.
One of the key lessons I learned? Embrace the unexpected. When things didn’t go according to plan (and trust me, that happened more times than I care to admit), I had to be willing to pivot and find creative solutions. And let me tell you, those “happy accidents” often turned out to be the best part of the final design.
Another tip? Don’t be afraid to get your hands dirty. Seriously, this project was a labor of love, but the satisfaction of seeing it all come together was worth every bead of sweat. And trust me, the sense of accomplishment you’ll feel when you step back and admire your handiwork is priceless.
A Closet Fit for Royalty (or at Least a Design Maven)
So there you have it, folks – my journey from IKEA novice to closet connoisseur. And let me tell you, the end result is nothing short of spectacular.
Whether you’re a seasoned DIYer or a complete newbie, I hope this story has inspired you to think outside the (PAX) box and transform your own storage space into a showstopper. After all, why settle for ordinary when you can have extraordinary?
So, what are you waiting for? Grab your toolbox, put on your design thinking cap, and let’s get to work on creating a closet that’ll have your friends and family swooning with envy. Who knows, you might just surprise yourself and discover a hidden interior design superpower you never knew you had.
Happy hacking, my friends!


