Breathe New Life into Your Old Couch
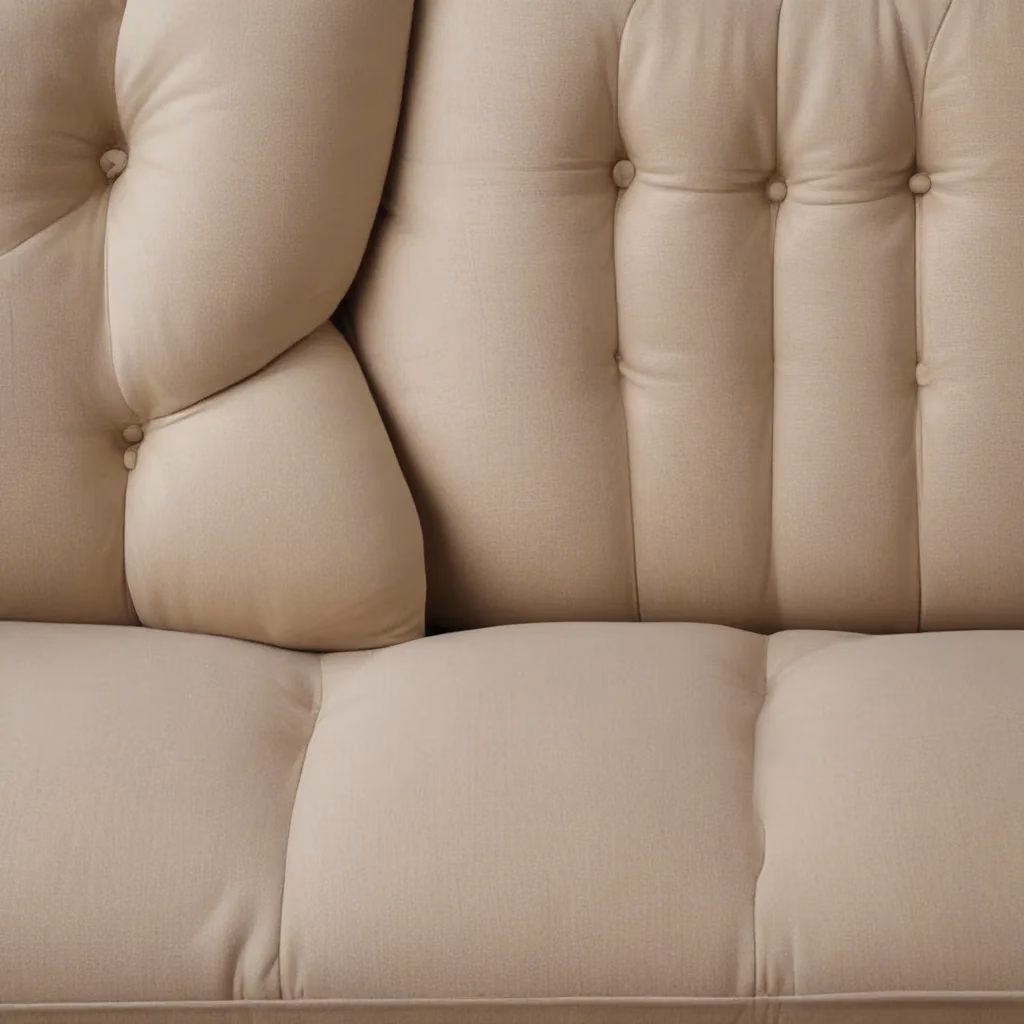
Have you ever looked at your beloved sofa and thought, “I wish I could just get a brand new one”? I know the feeling all too well. My trusty Pottery Barn sofa has been with me for the past 15 years, and while it’s still incredibly comfortable, the faded fabric and scuffed-up legs have started to make it look a bit, well, tired.
As a self-proclaimed DIY enthusiast, I’m always on the lookout for clever ways to refresh my home decor without breaking the bank. And let me tell you, when it comes to giving an old sofa a makeover, the possibilities are endless! From dyeing the slipcover to swapping out the legs, the right touches can transform your tired-looking couch into a stunning centerpiece for your living space.
In this article, I’m going to share my personal journey of revamping my own family room sofa. Along the way, I’ll provide you with step-by-step instructions, budget-friendly tips, and a healthy dose of humor (because let’s be real, home improvement projects can get a little messy!). So, whether you’re looking to breathe new life into a hand-me-down couch or simply want to give your current sofa a fresh update, get ready to be inspired. Let’s dive in!
Dyeing the Slipcover: A Cinderella Story
When I first noticed the sun-faded patches on my sofa’s slipcover, I’ll admit, I panicked a little. Our bonus room gets a ton of natural light, and it was starting to take a toll on the once-vibrant fabric. My initial thought was to simply buy a brand new slipcover, but after doing some research, I quickly realized that wasn’t going to be as easy as I’d hoped.
Apparently, the Pottery Barn “Grande” collection that my sofa is a part of has been discontinued, and finding a replacement cover proved to be quite the challenge. That’s when I had a lightbulb moment: Why not try dyeing the existing slipcover myself?
Now, I’ll be honest, the idea of dyeing a massive piece of fabric in my tiny front-loading washing machine seemed a tad daunting at first. But after a bit of trial and error, I discovered a foolproof method that kept the dye consistent and prevented any unsightly blotching.
The key, it turns out, is all in the preparation. First, I washed the slipcover on a cold cycle using just baking soda and white vinegar (no detergent) to remove any lingering chemicals. Then, I created a concentrated dye bath using a combination of charcoal grey and pearl grey Rit Dye, mixing it with plenty of very hot water.
The next step was to add the dye and a salt solution to the washing machine’s dispenser drawer while the cycle was running. This helped the dye really penetrate the fabric and achieve an even, rich color. After a few rounds of this dyeing process, my once-faded slipcover emerged looking brand new (well, almost)!
The best part? The whole project cost me less than £50, a far cry from the £2,500 I would have spent on a brand new sofa cover. Talk about a Cinderella story!
Swapping Out the Legs: A Modern Makeover
While the refreshed slipcover was a game-changer, I knew there was one more thing I could do to really take my sofa to the next level: replacing the legs.
Now, I’ll admit, I was a bit hesitant at first. The existing legs on my Pottery Barn sofa were perfectly functional, but they definitely had a more traditional, farmhouse-inspired vibe. And with the rest of the room’s decor moving in a more modern direction, I felt like the legs were really starting to look a bit dated.
After some careful measuring and a quick trip to the hardware store, I landed on a set of gorgeous, natural-finish birch wood legs that I knew would be the perfect complement to my revamped slipcover. The process of swapping them out was surprisingly simple – all I had to do was unscrew the old legs and screw in the new ones. It took less than 15 minutes, and the transformation was remarkable!
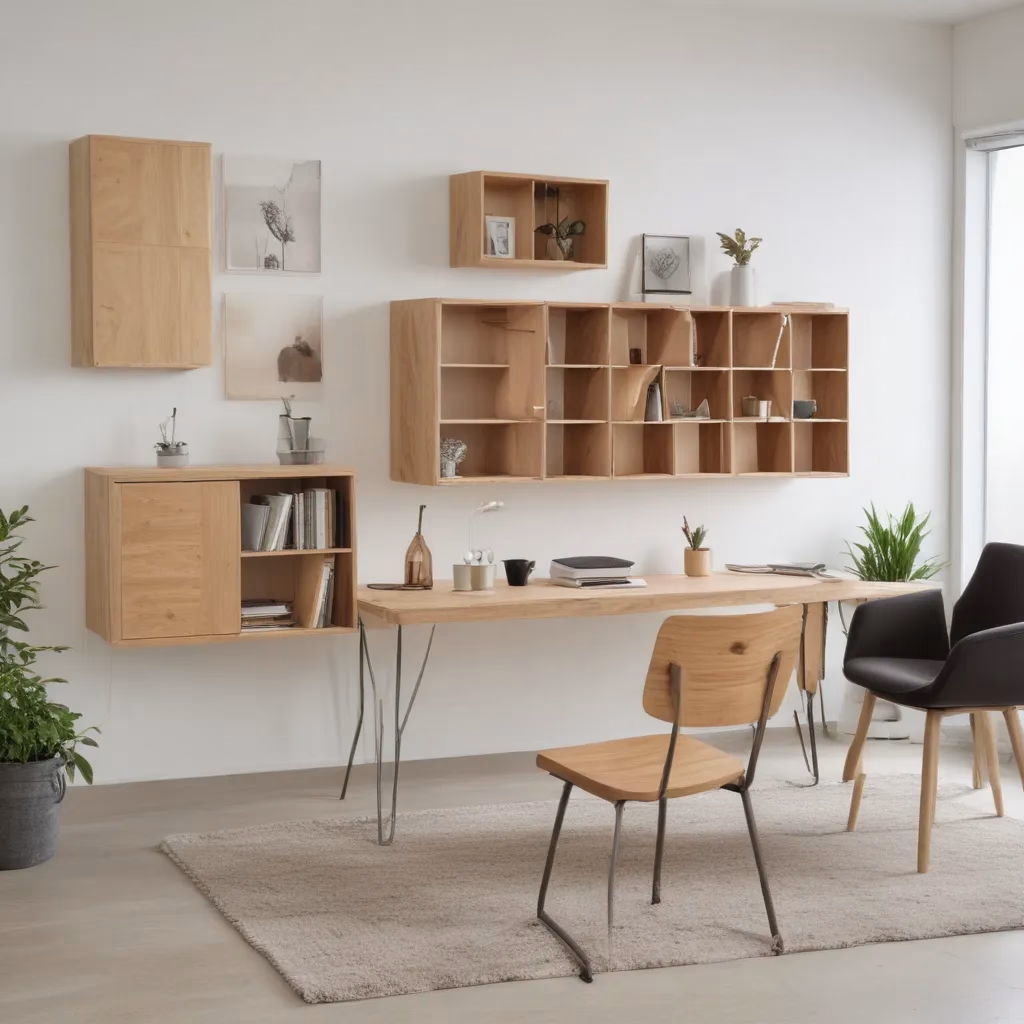
To tie the whole look together, I decided to carry the birch wood theme throughout the space, incorporating it into a custom art station I built for my daughter. Using a sheet of unstained pine plywood and some inexpensive file holders, I created a modern, renter-friendly storage solution that provides the perfect backdrop for her creative masterpieces.
The best part? This whole furniture-hacking adventure cost me less than £100 – a small price to pay for a living room that looks like it was styled by an interior designer. And let me tell you, the reaction from my family and friends has been priceless. They can’t believe it’s the same old sofa!
Mixing It Up with Unexpected Accents
Of course, breathingCreative’s Refresh Your Sofa makeover journey didn’t stop there. Once I had the basics covered – the dyed slipcover and the new legs – I started to have a little fun with some unexpected accents and decor pieces.
One of my favorite additions was a set of simple, yet stylish, dowel pulls that I added to an old IKEA media unit. By cutting some oversized dowels to size and drilling a few pilot holes, I was able to create a custom, modern look that seamlessly tied into the birch wood theme throughout the space. It was such an easy and affordable way to breathe new life into a piece of furniture that had seen better days.
And speaking of affordable upgrades, let’s talk about that art station I mentioned earlier. I have to admit, I’m pretty proud of this one. By repurposing some basic materials like plywood, PVC piping, and clear file holders, I was able to create a functional and visually striking storage solution for my daughter’s ever-growing collection of artwork. The best part? The whole project cost me less than £10!
As I put the finishing touches on my living room transformation, I couldn’t help but feel a sense of pride and accomplishment. What started as a simple mission to refresh an old sofa had evolved into a complete room makeover, filled with personalized, budget-friendly touches that truly reflect my family’s style and personality.
Embrace the Journey, Cherish the Memories
Now, I know what you might be thinking: “Wow, that sounds like a lot of work!” And you’d be absolutely right. Revamping a tired-looking sofa is no small feat, and there were definitely a few moments where I wanted to throw in the towel (or the slipcover, in this case!).
But you know what? I wouldn’t trade this experience for anything. Not only did I end up with a living room that I’m absolutely over the moon about, but I also got to tap into my inner DIY warrior and unleash my creative side. And let’s not forget the priceless memories I made along the way – like the time I accidentally dyed my hands charcoal grey while mixing the dye, or the moment my daughter discovered her new art station and immediately started filling it with her masterpieces.
At the end of the day, breathingCreative’s Refresh Your Sofa makeover journey was all about embracing the process, celebrating the little victories, and finding joy in the journey. And let me tell you, the final result is a living room that not only looks stunning, but also tells the story of our family’s evolution and the memories we’ve created within these four walls.
So, if you’re considering giving your own sofa a much-needed facelift, I say go for it! Trust me, the sense of accomplishment you’ll feel when you step back and admire your handiwork will be worth every drop of sweat (and dye-stained fingertips). Who knows, you might just discover a hidden talent for furniture upcycling – and maybe even inspire your friends and family to do the same.
Now, if you’ll excuse me, I’m off to plan my next big home project. After all, there’s always room for another Sofa Spectacular in my life!


