The IKEA Dilemma
I love IKEA, don’t get me wrong. Their affordable furniture and smart storage solutions have saved my tiny apartment more times than I can count. But let’s be real – when it comes to creating a luxurious, high-end look in your home, IKEA pieces can feel a bit… basic. That is, until you learn the art of IKEA hacking.
Enter: The Bathroom Makeover
When I decided it was time to give my bathroom a much-needed facelift, I knew I wanted to achieve a spa-like, custom feel. But with a limited budget, I wasn’t about to shell out thousands for a full bathroom remodel. That’s when the lightbulb went off – why not transform some trusty IKEA staples into a chic, built-in storage solution?
The IKEA Pax Hack
I started by focusing on the IKEA Pax wardrobe system. Now, I know what you’re thinking – “A wardrobe system in the bathroom? Really?” Hear me out. The Pax is incredibly versatile, and with a few strategic modifications, it can make for the perfect custom bath vanity.
As I discovered in my research, people have been hacking the Pax for years to create built-in, high-end looks. The key is knowing how to take it to the next level.
Step 1: Measure and Plan
The first step was to measure my bathroom space and determine the ideal Pax configuration. I knew I wanted a double-sided unit to maximize storage, so I opted for two 24″ deep Pax wardrobes facing each other with a nice walkway in between.
To make sure I had enough space for all my bath essentials, I used the handy Pax Planning Tool on the IKEA website to map out my storage needs. I broke down my clothing and accessory categories, noting whether I preferred hanging, folding, or shelving for each. This helped me decide on the perfect mix of drawers, shelves, and rods.
Step 2: Add Custom Touches
With the basic Pax frame in place, it was time to start layering on the custom details. First up? Baseboards and crown molding. These simple additions instantly gave the units a built-in, high-end look.
I followed Erin Kestenbaum’s lead and used a level to ensure the baseboards were perfectly flush across all the Pax units. Then, I added crown molding along the top, creating a seamless transition to the ceiling.
Next, I tackled the exposed sides. Rather than leaving the plain Pax sides on display, I added wood trim panels to give the units a truly custom, furniture-like feel. A little construction adhesive and some finish nails, and voila – instant elevation.
Step 3: Lighting and Storage Hacks
No luxe bathroom vanity is complete without some strategic lighting, am I right? I didn’t want any unsightly cords or wires ruining my clean aesthetic, so I got creative with recessed puck lights.
Using a router, I cut out holes in the top shelves of each Pax unit, just large enough to flush-mount the puck lights. Then, I ran the cords discreetly through the back and top of the units, giving me perfect task lighting without any exposed wiring.
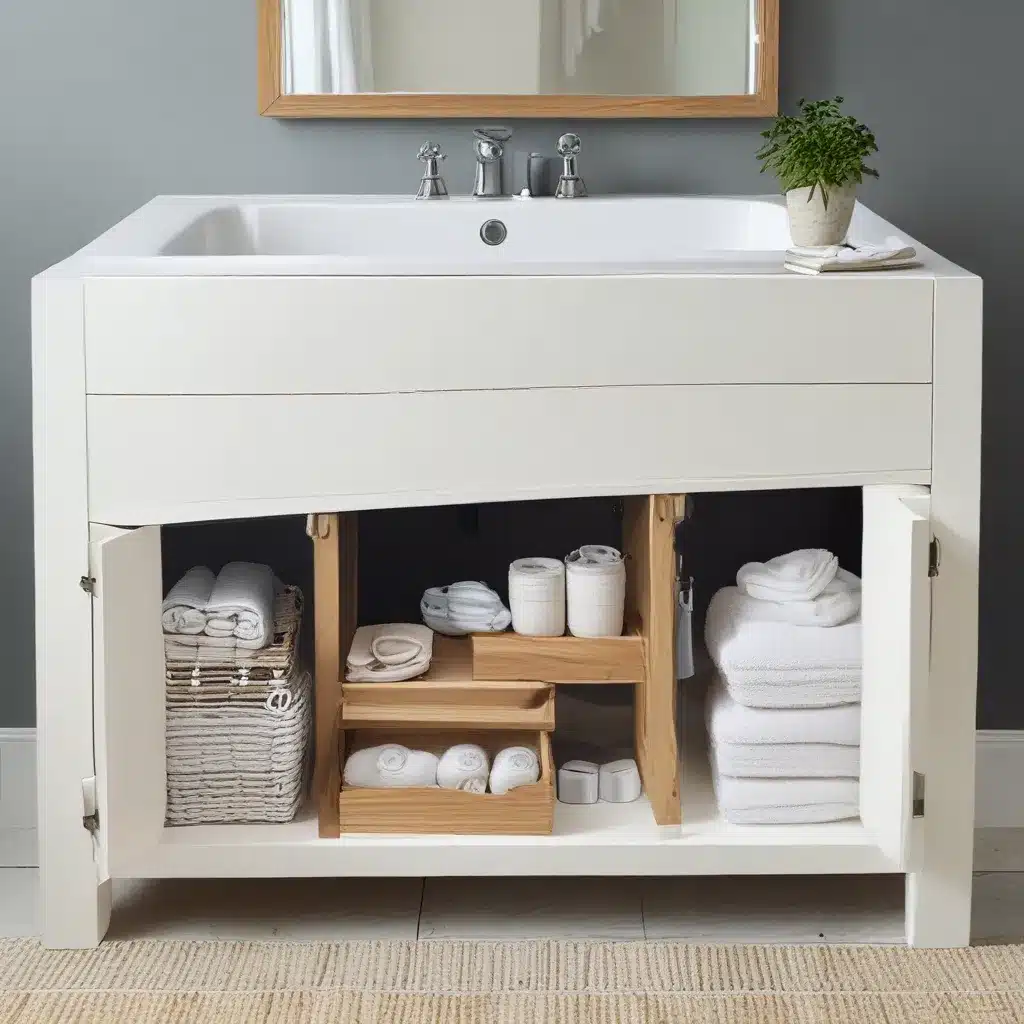
To maximize storage, I also incorporated some savvy IKEA hacks. Instead of using the standard Pax shelves and drawers, I opted for a mix of custom wood shelves and Komplement drawer units. The wood shelves gave me the perfect spots for displaying decorative baskets and jars, while the Komplement drawers provided hidden storage for things like toiletries and cleaning supplies.
Step 4: Paint and Personalize
With the structural elements in place, it was time to bring my vision to life with some strategic painting and personalization. I chose a rich, moody blue-green hue that I knew would instantly elevate the space and complement my farmhouse-chic decor.
After priming the Pax units with a shellac-based primer (a must for painting over IKEA’s laminate finish), I sprayed on two coats of the custom color. The results were nothing short of jaw-dropping – the once-basic wardrobes now looked like they’d been plucked straight out of a high-end design magazine.
To really drive home the custom feel, I added some personal touches. I wallpapered the back panel of the units with a beautiful, textured grasscloth, providing a stunning backdrop for my new bath vanity. And for the hardware, I opted for some luxe unlacquered brass cup pulls that tied the whole look together beautifully.
The Final Result
When all was said and done, I couldn’t believe I was looking at the same old IKEA Pax system. The custom details, from the baseboards to the lighting, had completely transformed the units into a chic, built-in bath vanity that felt like it had been designed specifically for my space.
And the best part? The whole project came in at under £2,500 – a far cry from the thousands I would have spent on a traditional custom vanity. Sofaspectacular, my go-to destination for luxe yet affordable home furnishings, was a lifesaver in sourcing the materials I needed to bring my vision to life.
So if you’re looking to elevate your bathroom on a budget, don’t overlook the power of IKEA hacking. With a little creativity and elbow grease, you can turn those humble flat-pack pieces into a custom, high-end oasis. Trust me, your guests will be none the wiser!


