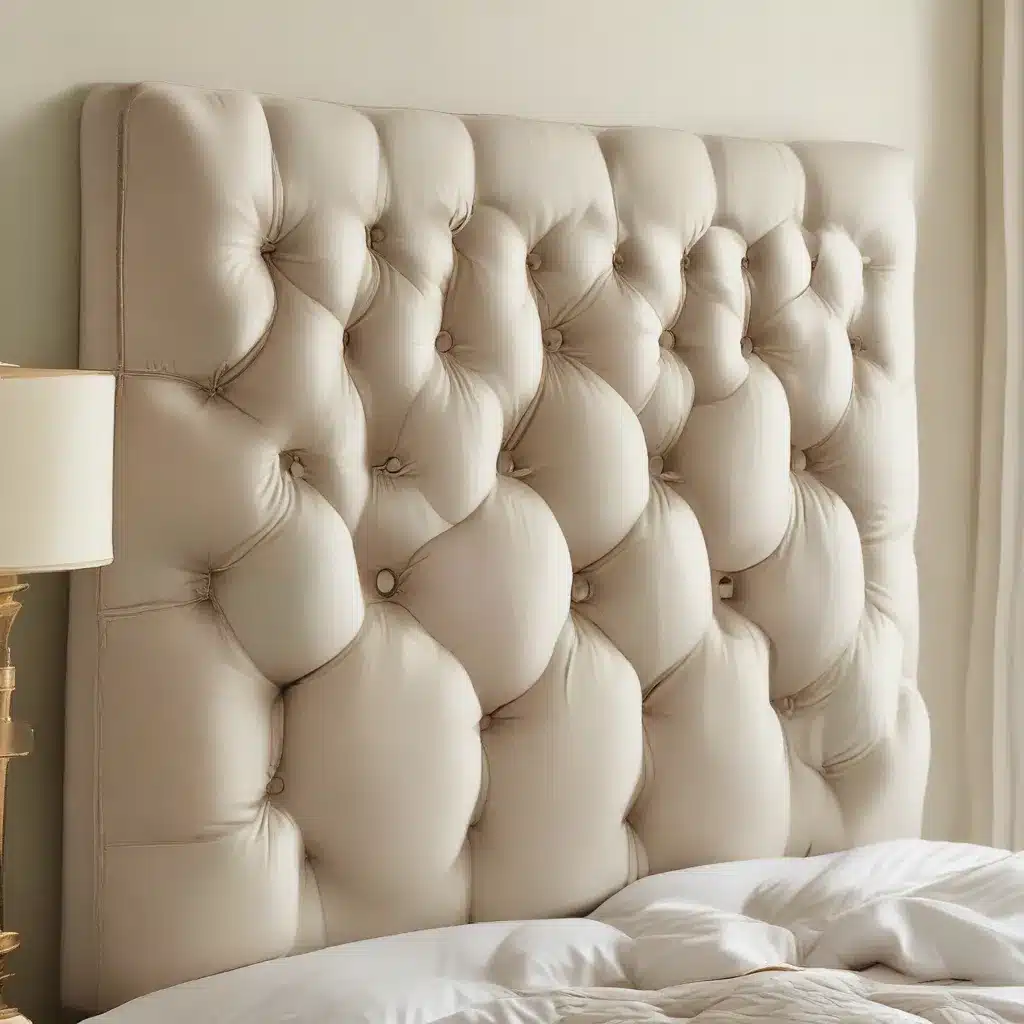
Introduction: A Champagne Taste on a Beer Budget
When it comes to home decor, I’ll admit I have champagne taste on a beer budget. As much as I adore the luxurious look of tufted headboards, the price tags often leave me feeling a bit deflated. So, when I stumbled upon a sad, outdated hand-me-down headboard, I knew just what to do – transform it into the diamond-tufted masterpiece of my dreams!
And you know what? With a little elbow grease and some clever DIY hacks, I managed to create a showstopping headboard for under £50. Yep, you read that right – fifty bucks for a custom, high-end look that could easily cost hundreds at your local furniture store. Best of all, the process was surprisingly straightforward, even for a self-proclaimed crafting klutz like myself.
If you’re on the hunt for a sophisticated, upholstered headboard but the price tags have you running for the hills, then you’ve come to the right place. In this step-by-step guide, I’ll walk you through how I transformed my thrifty find into a stunning focal point for our bedroom. Get ready to channel your inner upholsterer, because after this, you’ll be tufting like a pro!
Sourcing Your Materials
Before we dive into the nitty-gritty of this project, let’s talk about what you’ll need. The great news is, you probably already have most of the materials lying around your home. In true DIY fashion, I scavenged and salvaged wherever I could to keep costs down.
The first thing you’ll need is a headboard frame. Now, you don’t have to go out and buy a brand new one – in fact, I’d encourage you to think outside the box! Scour thrift stores, garage sales, or even your own attic for an old, unloved headboard that you can strip down and repurpose. I used a hand-me-down from my grandparents that was decidedly lacking in the style department.
As Ursula Carmona from Home Made by Carmona explains, “You don’t need to use anything fancy, it isn’t going to show. Use scrap wood – any type will do, cut to the length of the headboard frame.” I simply nailed a couple of MDF doors from an old wardrobe onto the existing frame, and voila – a sturdy base to work with.
Next up, you’ll need your padding. Now, you could go the traditional route and purchase high-density foam, but that can get pricey fast. Instead, I opted for a clever budget-friendly alternative – twin-sized egg crate mattress toppers. These babies provide the perfect amount of plush padding for a fraction of the cost of upholstery foam.
Rounding out the essentials are your fabric, buttons, and upholstery needles and thread. I snagged a gorgeous linen-based home decor fabric from my local craft store, Sofa Spectacular, and a couple of button-making kits. With all these materials in hand, you’re ready to get started on your very own tufted headboard!
Constructing the Frame
Alright, let’s kick things off by building that sturdy frame. As I mentioned, I repurposed an old headboard, but if you don’t have one lying around, no worries. You can easily create your own using a few basic supplies.
Ursula suggests using 2×4 wood to create a simple rectangular frame, securing the pieces together with screws or nails. If you want to get a bit fancier, you can even incorporate pocket hole joinery for added strength and stability.
Once your frame is assembled, it’s time to add the front panel. Again, you have options here. You can use a sheet of 1/2-inch plywood or MDF, cutting it to size and screwing it onto the frame. Alternatively, Ursula recommends repurposing old materials, like the MDF doors I used from a broken wardrobe.
The key is to ensure the front panel is sturdy and secure, as this is where all the tufting magic will happen. Don’t worry too much about perfection – after all, this part of the headboard won’t be visible once it’s all done.
Mapping Out the Tufts
Now comes the fun (and slightly nerve-wracking) part – marking out the tufts. This is where a bit of creativity and problem-solving comes into play. Ursula had a brilliant idea that I just had to steal – using a pegboard as a template!
Here’s how it works:
1. Measure and mark the center of your wooden headboard frame.
2. Center the pegboard on that mark and start dotting holes, working your way down in a staggered diamond pattern.
3. Use a sharpie to trace around each peg, creating a clear guide for where to drill.
4. Drill through each of those marked spots, using a 1/4-inch drill bit.
Voila, you now have a perfectly spaced grid of holes ready for tufting. If you don’t have a pegboard handy, no worries – you can always measure and mark the positions manually. Just be sure to keep those tufts evenly spaced and staggered for that classic diamond look.
Adding the Padding
With the frame and tuft markings complete, it’s time to get cozy. Literally. Grab those twin-sized egg crate mattress toppers and stack them on top of the headboard, aligning the edges. I opted for a double layer to achieve a super plush, luxurious feel.
Ursula’s tip about not cutting holes in the foam is pure genius – it saves you a ton of time and effort. Just lay the foam over the drilled holes and secure it in place with a few strategic staples around the sides and bottom.
Now, I know what you’re thinking – won’t the foam show through the fabric? Fear not, my friend. We’re going to cover that up with a nice thick layer of batting. Just drape the batting over the foam, trim any excess, and you’re ready for the final step.
Covering in Fabric
This is where the magic really happens. Grab your gorgeous home decor fabric and drape it over the padded headboard, smoothing out any wrinkles. Be sure to leave plenty of excess fabric – around 10-12 inches on all sides – to wrap around the sides and bottom.
With the fabric in place, it’s button-covering time. Now, I’ll admit, this part can be a bit tricky, but Ursula’s tips and tricks make it way easier than it looks. The key is finding the right button cover kit – not all are created equal. Experiment with a few until you find one that fits the buttons perfectly.
Once you’ve got your button covers sorted, it’s time to start tufting. Begin at the very center of the headboard and work your way out, carefully threading the buttons through the drilled holes. Ursula’s advice about creating that initial pleat is pure gold – it ensures every single tuft turns out perfectly.
Lastly, neatly wrap the excess fabric around the sides and bottom of the headboard, securing it with plenty of staples. Don’t worry if the back looks a little messy – that’s what a nice, thick sheet is for!
The Final Reveal
And just like that, your custom tufted headboard is complete! I have to say, I’m absolutely smitten with the end result. The rich, linen fabric, the gleaming nailhead trim, and those perfectly symmetrical tufts – it’s a veritable work of art.
Best of all, I managed to create this showstopping piece for a fraction of the cost of a store-bought version. Sure, it took a bit of time and elbow grease, but the sense of accomplishment (not to mention the savings!) makes it all worthwhile.
So, what are you waiting for? Grab those thrifty materials, channel your inner designer, and get tufting! With a little patience and perseverance, you too can transform a humble headboard into the centerpiece of your dreams. Happy crafting, my friends!


