The Journey Begins
Picture this: You’ve just sunk into the plush cushions of your brand new custom sofa, ready to kick back and relax. But something’s missing – that perfect spot to prop up your feet and store all your cozy blankets and magazines. Sound familiar? Well, my friend, I’m here to let you in on a little secret: you can make your own dreamy storage ottoman in just a weekend!
Now, I know what you’re thinking – “But I’m no DIY expert!” Trust me, I’ve been there. I remember the days when the thought of picking up a power tool filled me with dread. But let me tell you, once you get the hang of it, the sense of accomplishment is unbeatable. And the best part? You get to customize every inch to perfectly suit your space and style.
Gather Your Supplies
Alright, let’s get started! First things first, you’ll need to gather your materials. Don’t worry, it’s a pretty straightforward list:
- Plywood (for the top and bottom)
- 2x4s (for the frame)
- Wood glue
- Screws
- Staple gun
- Upholstery fabric
- Foam padding
- Decorative trim (optional)
Now, you might be wondering, “Plywood and 2x4s? That doesn’t sound very glamorous.” But trust me, with a little elbow grease and a dash of creativity, you’re going to turn these humble materials into a showstopper.
Measure Twice, Cut Once
Before we dive into the building process, let’s take a moment to plan ahead. Measure the space where you want your new ottoman to live, and decide on the dimensions. I’d recommend something around 36 inches wide by 22 inches deep – that’s the size I built, and it’s been the perfect fit for my living room. Just keep in mind that you can easily adjust the measurements to suit your needs.
Once you’ve got your dimensions sorted, it’s time to start cutting. Grab your plywood and 2x4s, and get to work. I found it helpful to use a miter saw to get clean, precise cuts, but you can also use a good old-fashioned hand saw if that’s what you’ve got. Just be sure to measure twice and cut once – we don’t want any mistakes here!
Building the Frame
Now that we’ve got our pieces cut, let’s start assembling the frame. Grab your 2x4s and use a Kreg Jig (or wood screws if you don’t have one) to create a sturdy box. This is the foundation of your ottoman, so make sure it’s rock solid.
As the folks at Anika’s DIY Life suggest, you can use pocket holes and a depth collar set at 3/4 to make the process a breeze. Or, if you’re like me and don’t have a Kreg Jig, just use some good old-fashioned countersunk wood screws from the sides.
Once you’ve got your frame built, it’s time to add the plywood top and bottom. Secure them in place with more wood screws, making sure everything is nice and level. And don’t forget to paint or stain the frame – I went with an oil-rubbed bronze finish to match my living room decor.
Upholstering the Ottoman
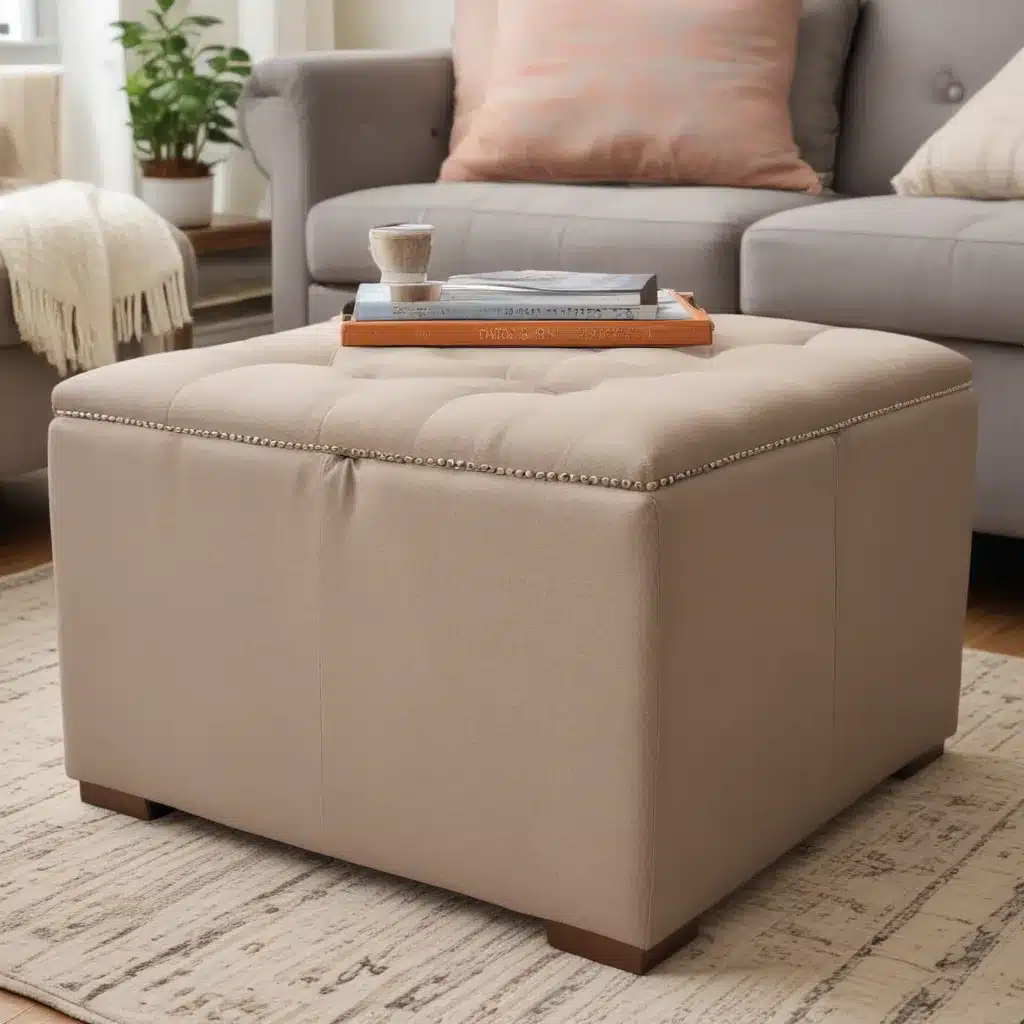
Alright, now for the fun part – turning this plain wooden box into a plush, upholstered masterpiece! Start by cutting your foam padding to size and attaching it to the top of the ottoman. You want it to be thick enough to provide a comfy spot for your feet, but not so thick that it looks awkward.
Next, it’s time to tackle the fabric. Anika’s DIY Life has some great tips on how to upholster the ottoman – basically, you’ll want to wrap the fabric around the sides, folding and gluing the raw edges. And don’t be afraid to experiment with different patterns and colors – this is your chance to really make it your own!
If you’re feeling extra fancy, you can also add some decorative trim around the edges. I went with a classic tufted look, but the possibilities are endless. Just remember to take your time and don’t be afraid to ask for help if you get stuck.
The Finishing Touches
Alright, now that your ottoman is upholstered and looking fabulous, it’s time to put the finishing touches on your masterpiece. Start by attaching the top to the frame – you can use hinges or simply leave it as a removable lid, whichever you prefer.
And let’s not forget about the storage aspect! Jen from The House of Wood has a great outdoor storage ottoman design that you could totally adapt for indoor use. Just add a few simple shelves or cubbies inside, and voila – you’ve got the perfect spot to stash all your cozy essentials.
Finally, step back and admire your handiwork. Isn’t it amazing what a little creativity and elbow grease can create? I guarantee your friends and family will be in awe of your new DIY storage ottoman. In fact, they might even ask you to make one for them!
The Ultimate Cozy Companion
So there you have it, my fellow DIY enthusiasts – your very own custom storage ottoman, built from scratch and tailored to your heart’s content. Whether you choose to use it as a footrest, a hidden storage solution, or even a cocktail table (like Jen’s clever design), this piece is sure to become a beloved addition to your living space.
And the best part? You get to say, “I made that!” Isn’t that just the most satisfying feeling? So, what are you waiting for? Grab your tools, put on your DIY hat, and let’s get to work. Your dream storage ottoman is just a weekend away!


